Statuses, colors and skins
Building Dashboards with shinydashboard

Png Kee Seng
Researcher
Beautifying a restaurant

1 Image by Freepik
Statuses in shinydashboard
- Some shinydashboard objects have a
statusproperty - These status can be set by specifying the
statusargument<object>(status = <status>, ...)

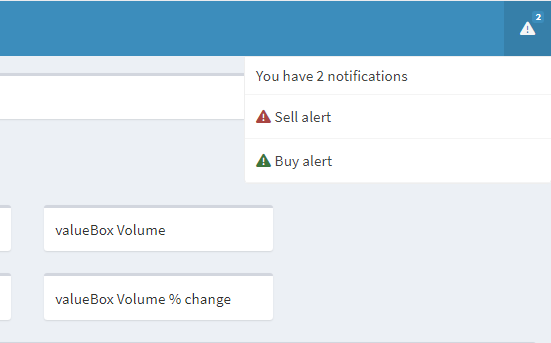
Statuses in notificationItems
- Let's add two notification items in the header
- Set buy alert to be a success message
- Set sell alert to be a danger message
- Default status for
notificationItem()is"success"
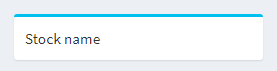
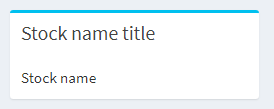
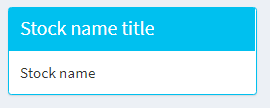
Statuses in boxes
Adding color to shinydashboard
- In some shinydashboard objects, we can set
color - Suppose
closeprice has fallen by 2% since yesterday- Render
valueBox()with a red coloration to warn Sally
- Render

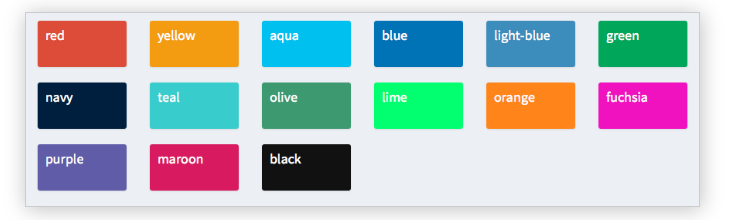
More colors
- Available colors in shinydashboard:
- Can check the available statuses and colors with
?validStatusesand?validColors
Trying different skins


