Customization with CSS formatting
Building Dashboards with shinydashboard

Png Kee Seng
Researcher
How to further customize a shinydashboard?
- A dark color theme may be achieved by choosing a
"black"skin - Can we change the appearance of individual objects?
- Can be achieved by using cascading style sheets (CSS) code
- Next, a crash course on CSS
- Don't worry too much about the finer details
Introduction to CSS: adding comments
- CSS is a styling language
- Controls the appearance of each object
- A CSS code is made up of chunks of selectors
- With properties, subproperties, etc.
- Forms a dictionary which keeps track of each feature's appearance
- We shall save CSS code as a string
- Use single quotation marks
'...'
- Use single quotation marks
- Comments can be inserted into CSS code
css_code <- '
/* This is a comment */
'
Introduction to CSS: selectors
- In a chunk, there is a selector
- Corresponds to a certain feature
.selectorrefers to a CSS class
css_code <- ' /* This is a selector */ selector {property1: value1; property2: value2;} `
css_code <- '
/* This is a selector class */
.selector {
  property1: value1;
  property2: value2;
}
`
Introduction to CSS: selector combinations
- Two selectors
.class1and.class2can be combined as.class1 .class2- Within
.class1, select a subclass called.class2
- Within
- The space is important
- Otherwise, the code will not work correctly
css_code <- '
.class1 .class2 {
  property1: value1;
  property2: value2;
  property3: value3;
}
`
A more concrete example
- To change the font settings in a shinydashboard header
- Need
.main-header .logo - Select the
.main-headerclass, and then look for.logosubclass
- Need
- To change the background color to black
- Need
.skin-blue .main-header .logo
- Need
css_code <- ' /* Format the text in the main header */ .main-header .logo {font-family: "Times New Roman";font-weight: bold;font-size: 24px;} '
css_code <- ' /* Change the background-color to black */ .skin-blue .main-header .logo {background-color: #000000; } '
A full example
.main-header .logo,.skin-blue .main-header .logo.skin-blue .main-header .logo:hover.skin-blue .main-header .navbar
- There are many more selector combinations
css_code <- ' .main-header .logo { font-family: "helvetica", serif, Times, "Times New Roman"; font-weight: bold; font-size: 24px; } .skin-blue .main-header .logo { background-color: #000000; }.skin-blue .main-header .logo:hover { background-color: blue; }.skin-blue .main-header .navbar { background-color: #999999; } '
Applying CSS formatting to a shinydashboard
- CSS code ought to be inserted in
dashboardBody()
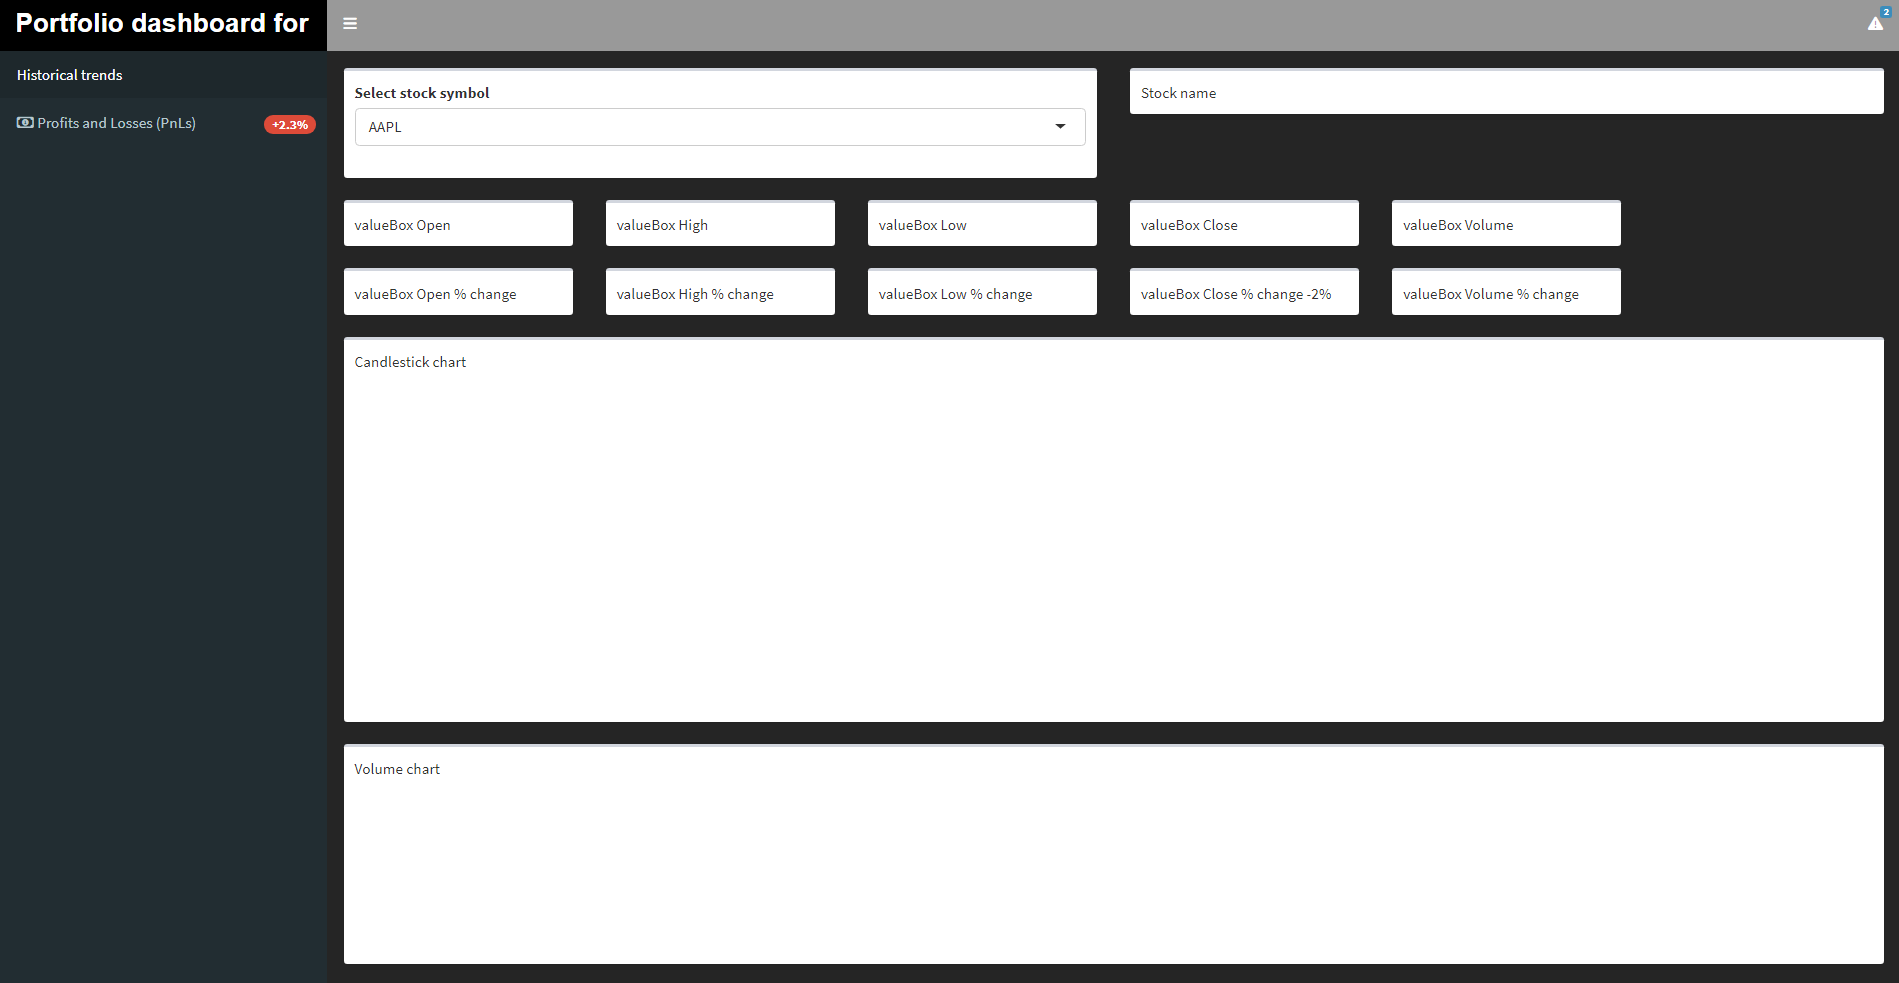
body <- dashboardBody(tags$head(tags$style(HTML(css_code))),...)
Let's practice!
Building Dashboards with shinydashboard

