Visual enhancements
Case Studies: Building Web Applications with Shiny in R

Dean Attali
Shiny Consultant
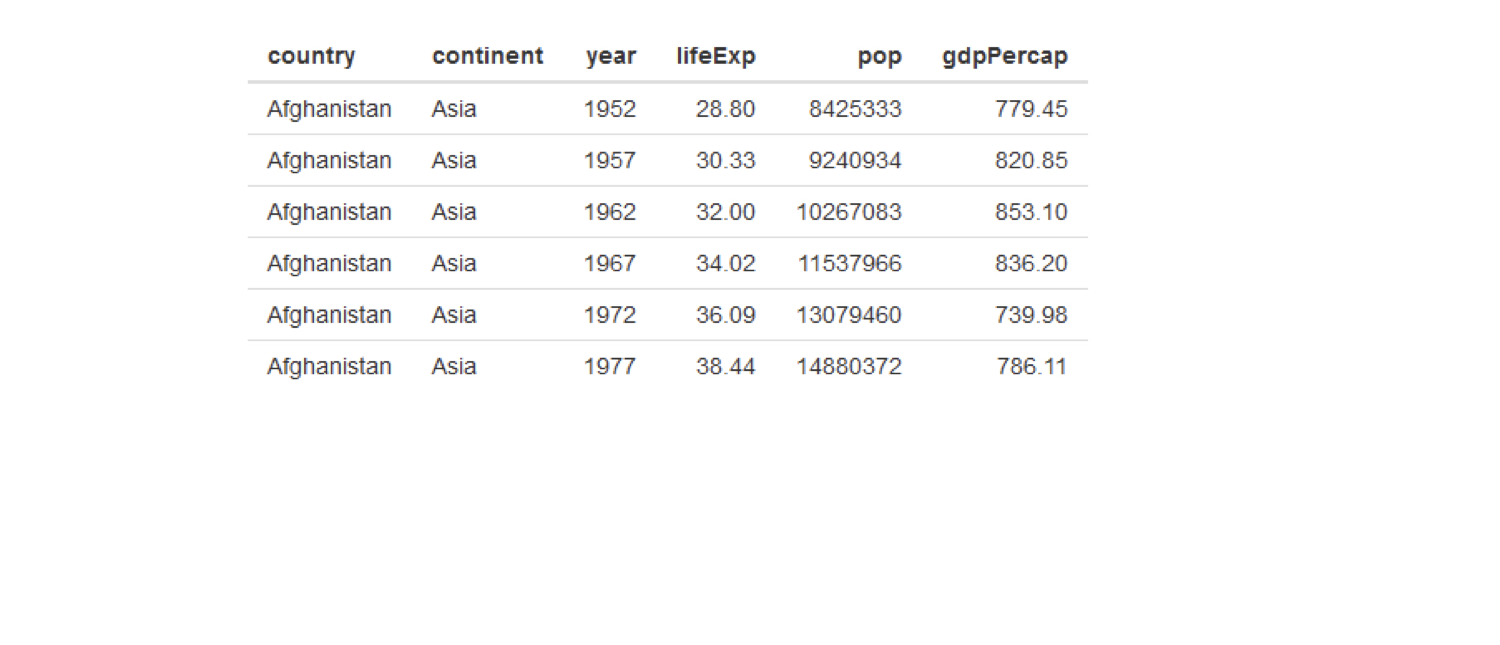
Shiny tables
tableOutput("table")output$table <- renderTable({ gapminder })
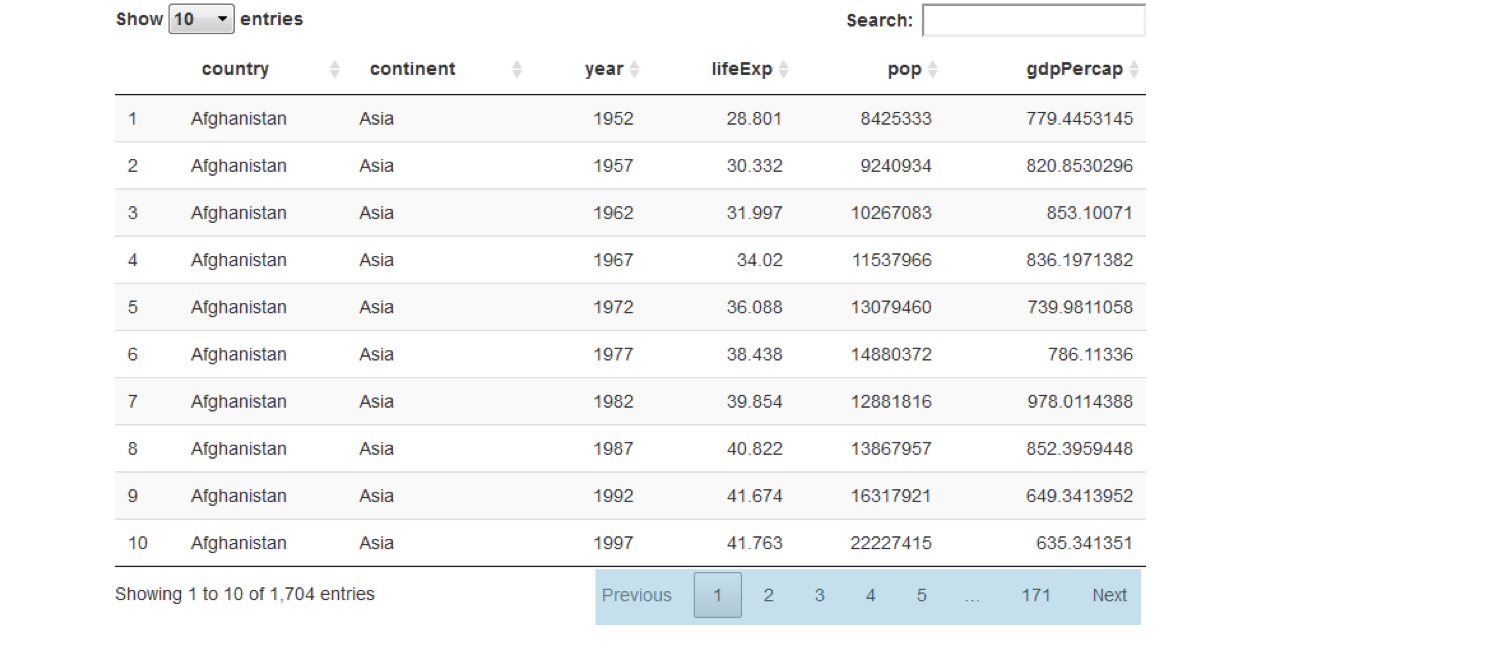
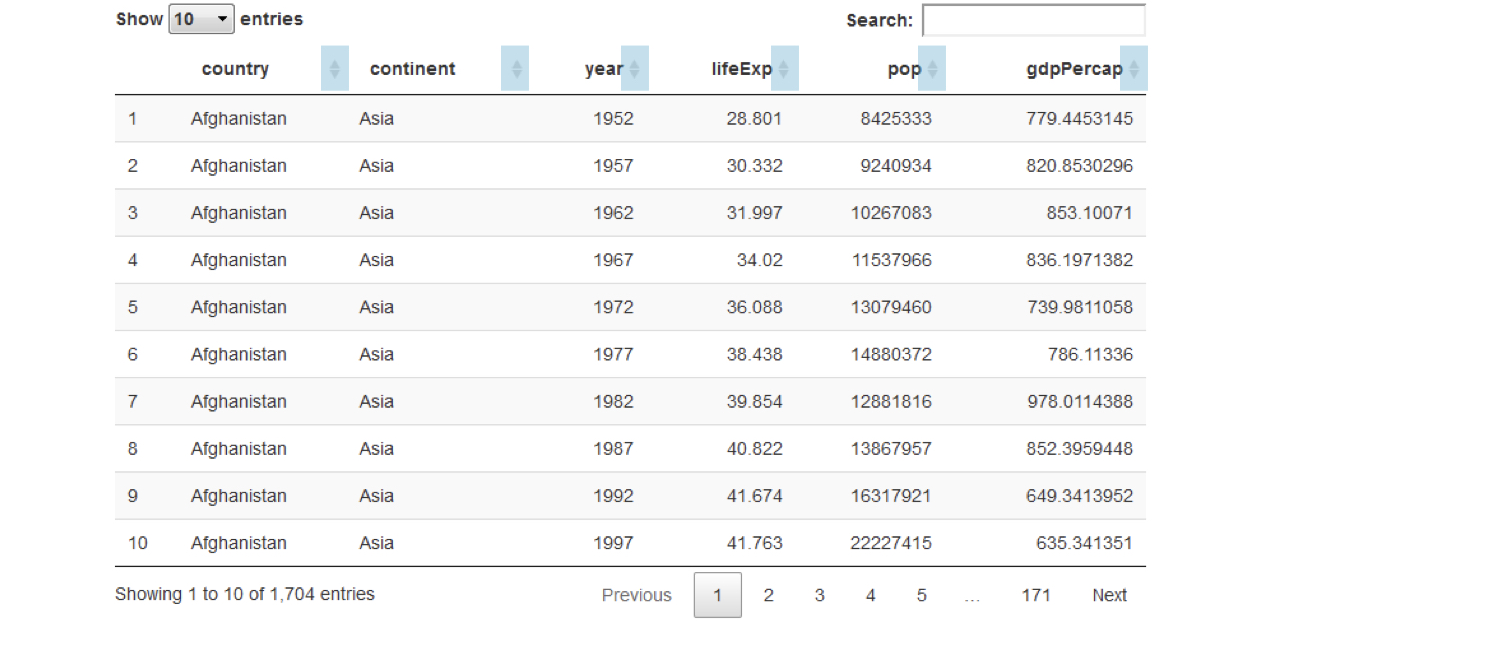
Make better tables with DT
DT::dataTableOutput("table")output$table <- DT::renderDataTable({ gapminder })

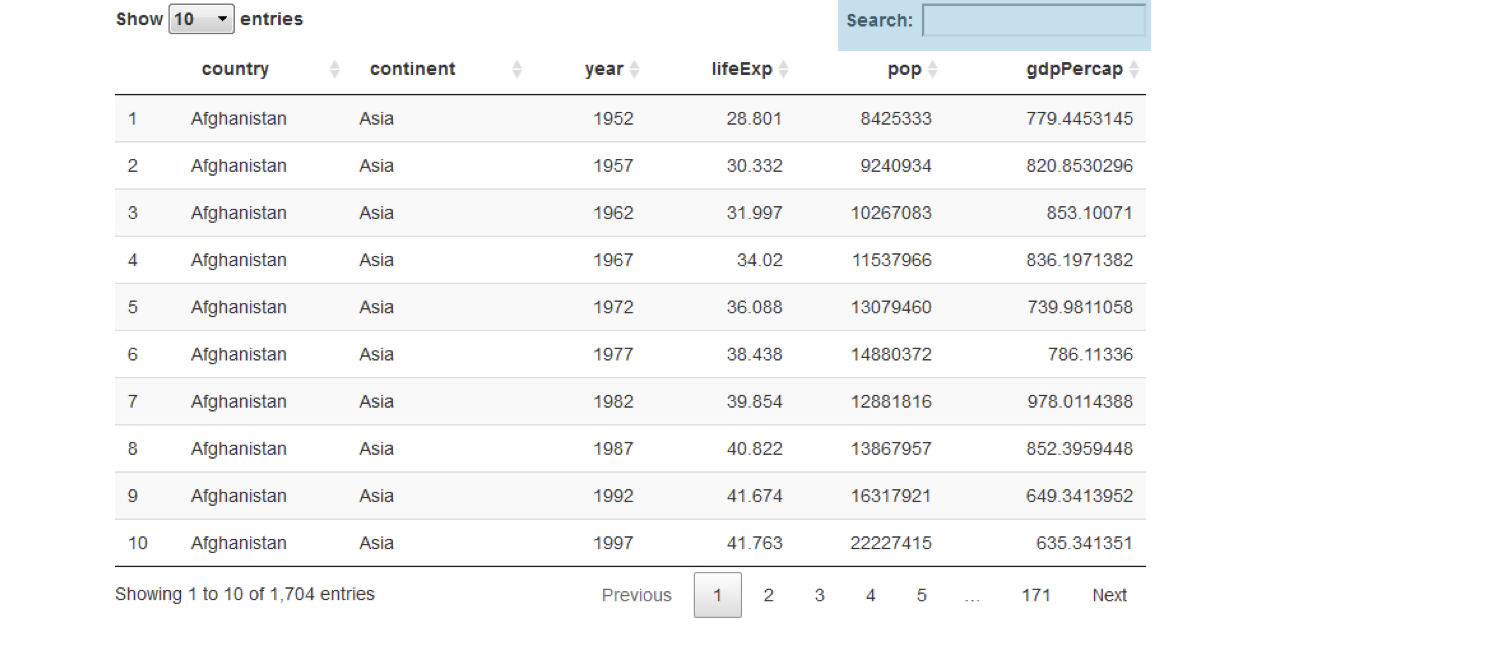
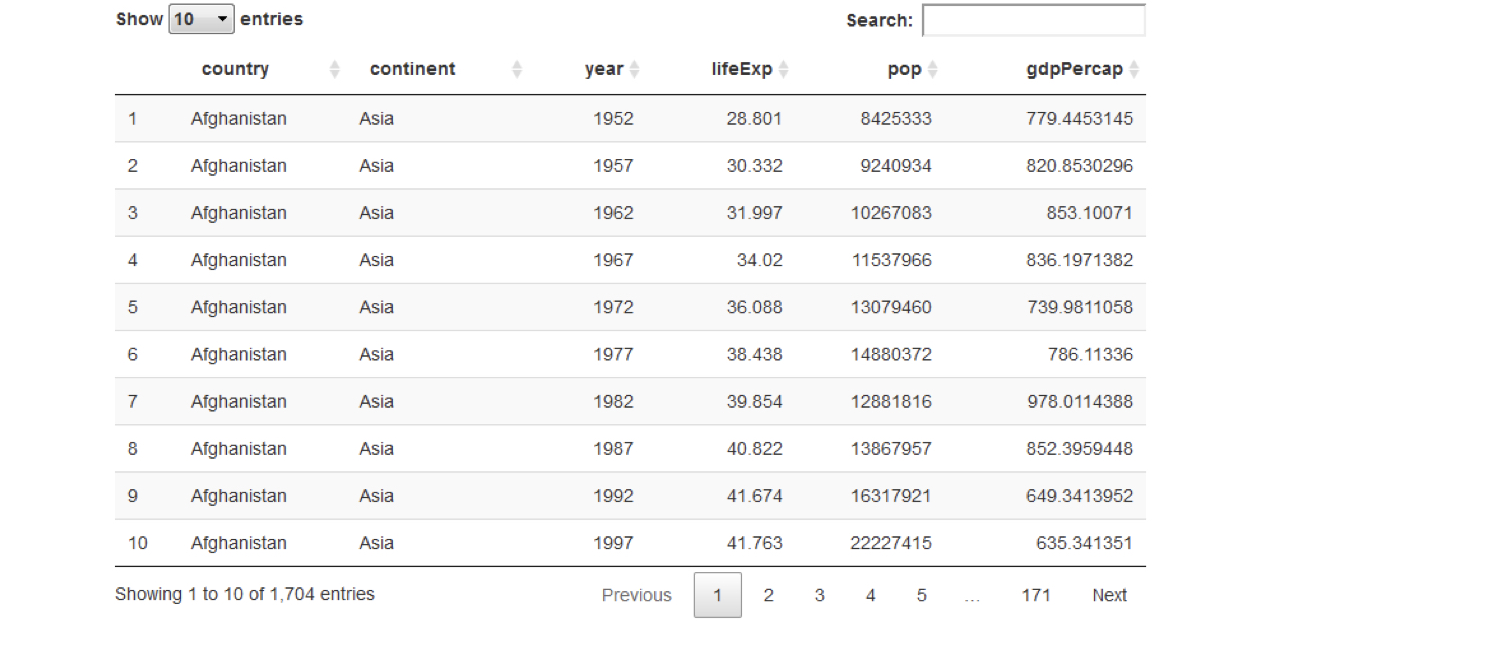
Make better tables with DT
DT::dataTableOutput("table")output$table <- DT::renderDataTable({ gapminder })
Make better tables with DT
DT::dataTableOutput("table")output$table <- DT::renderDataTable({ gapminder })
Make better tables with DT
DT::dataTableOutput("table")output$table <- DT::renderDataTable({ gapminder })
Make better tables with DT
DT::dataTableOutput("table")output$table <- DT::renderDataTable({ gapminder })
Split the UI into tabs
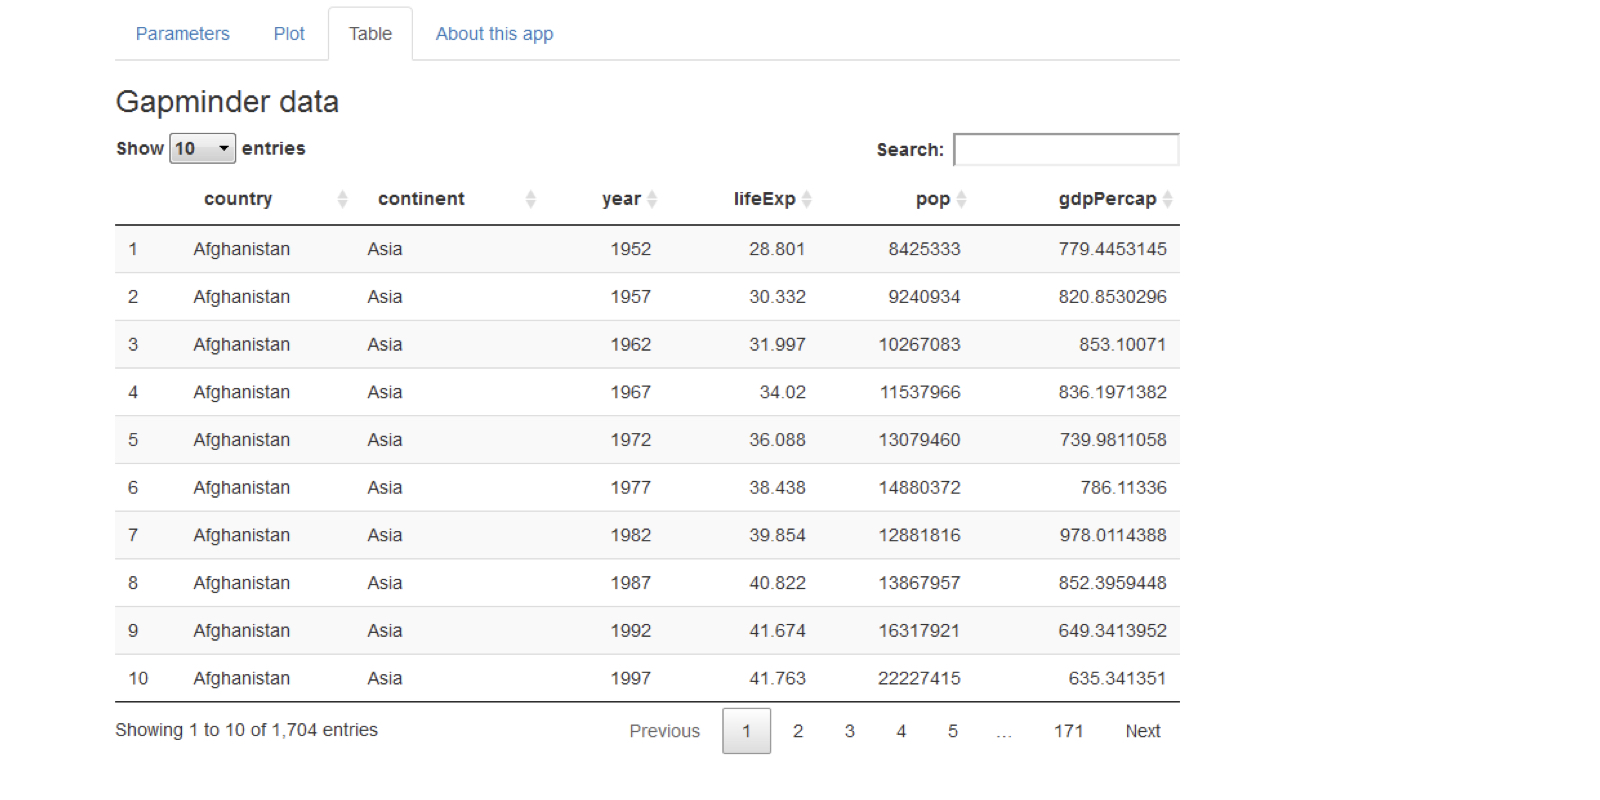
Split the UI into tabs
Split the UI into tabs
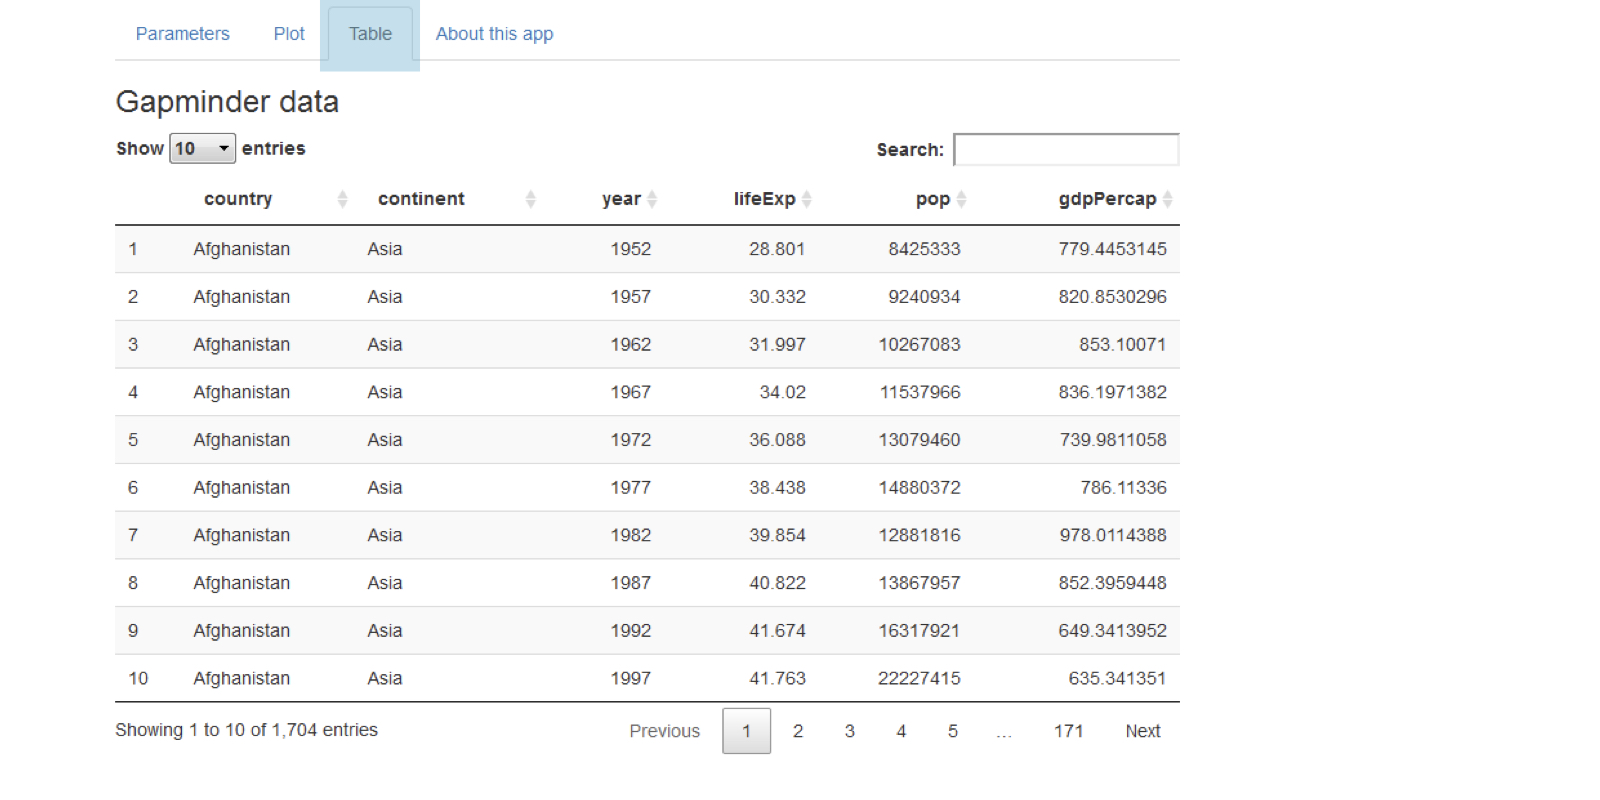
tabPanel(title = "tab 1", "content goes here")tabPanel(title = "tab 2", "second tab", plotOutput("plot"))
fluidPage(tabsetPanel(tabPanel(title = "tab 1", "first tab content goes here"), tabPanel(title = "tab 2", "second tab", plotOutput("plot")), tabPanel(title = "tab 3", textInput("text", "Name", ""))))

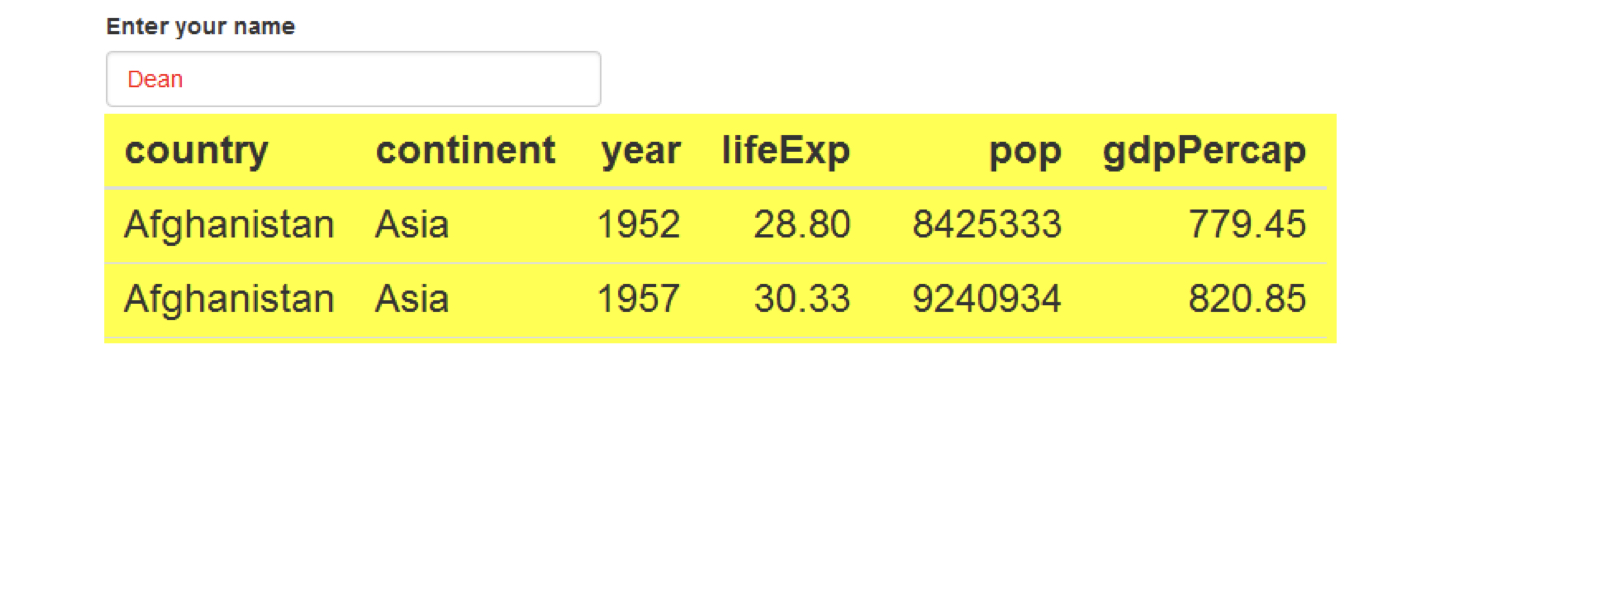
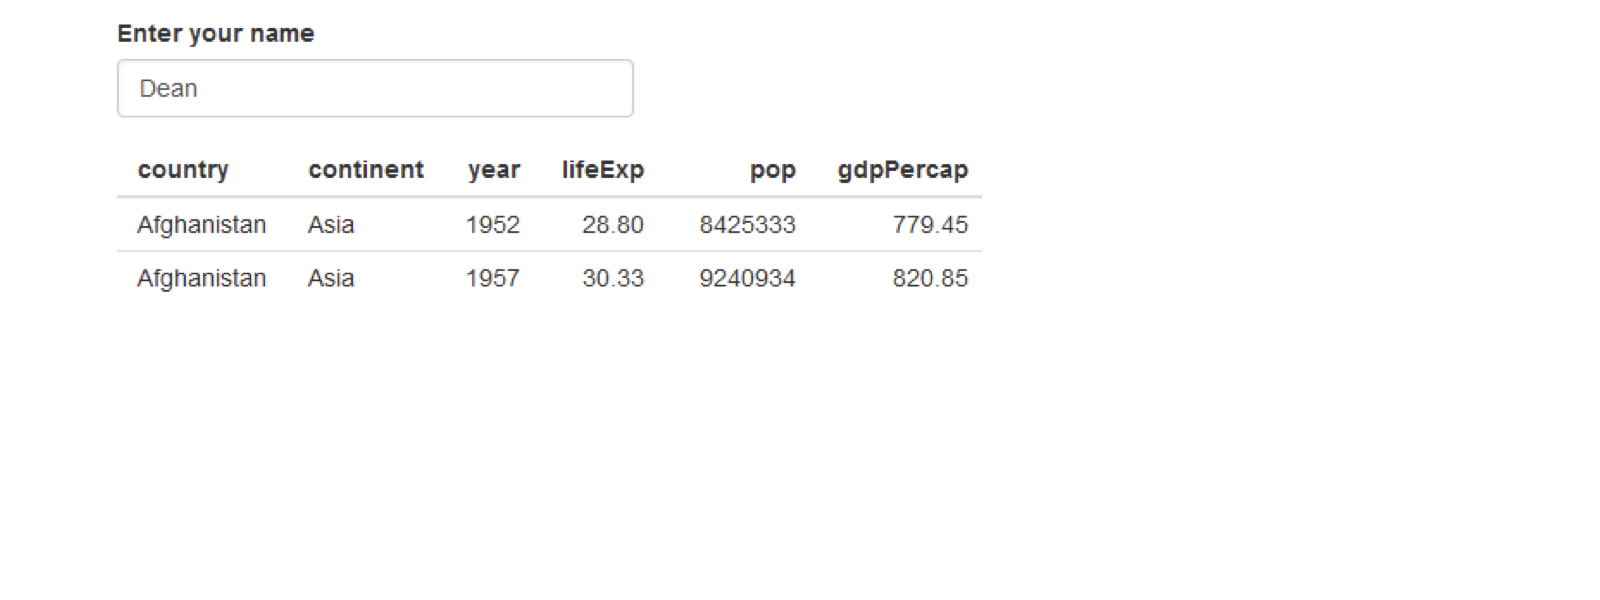
CSS example
ui <- fluidPage(
  textInput("name", "Enter your name", "Dean"),
  tableOutput("table")
)
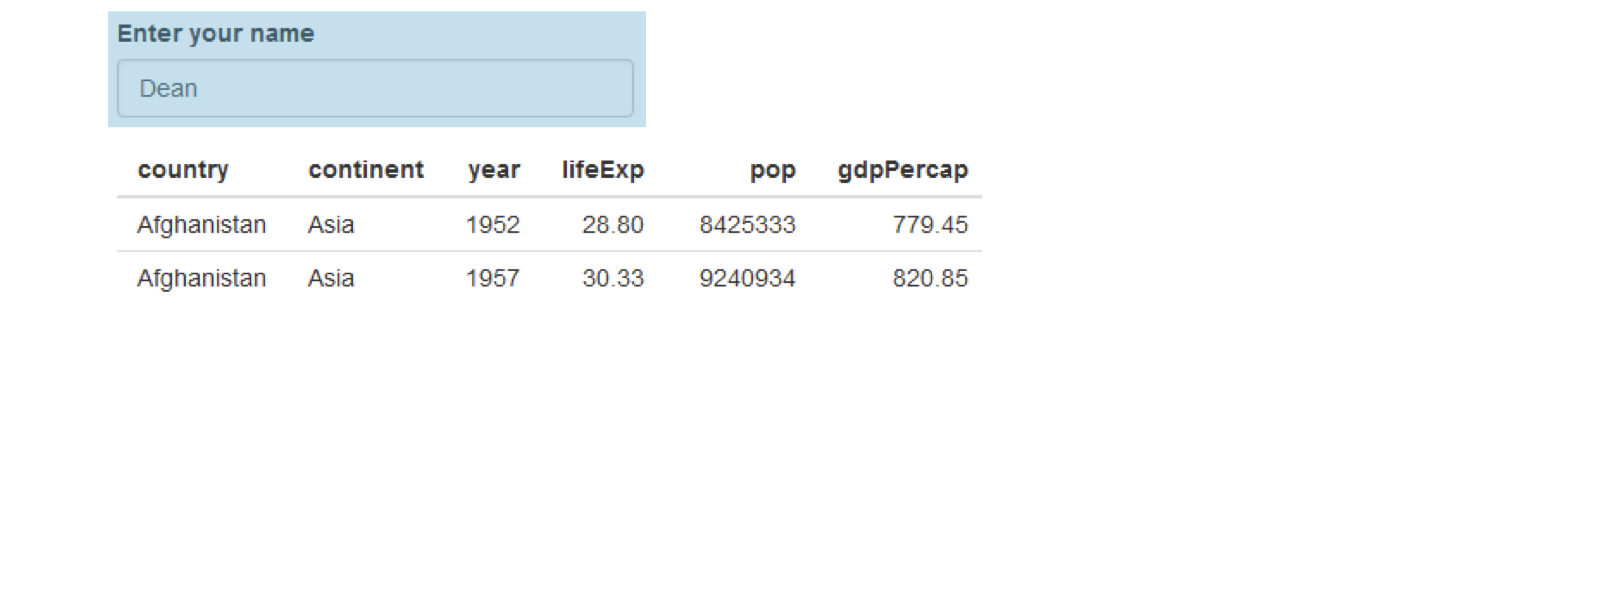
CSS example
ui <- fluidPage(
  textInput("name", "Enter your name", "Dean"),
  tableOutput("table")
)
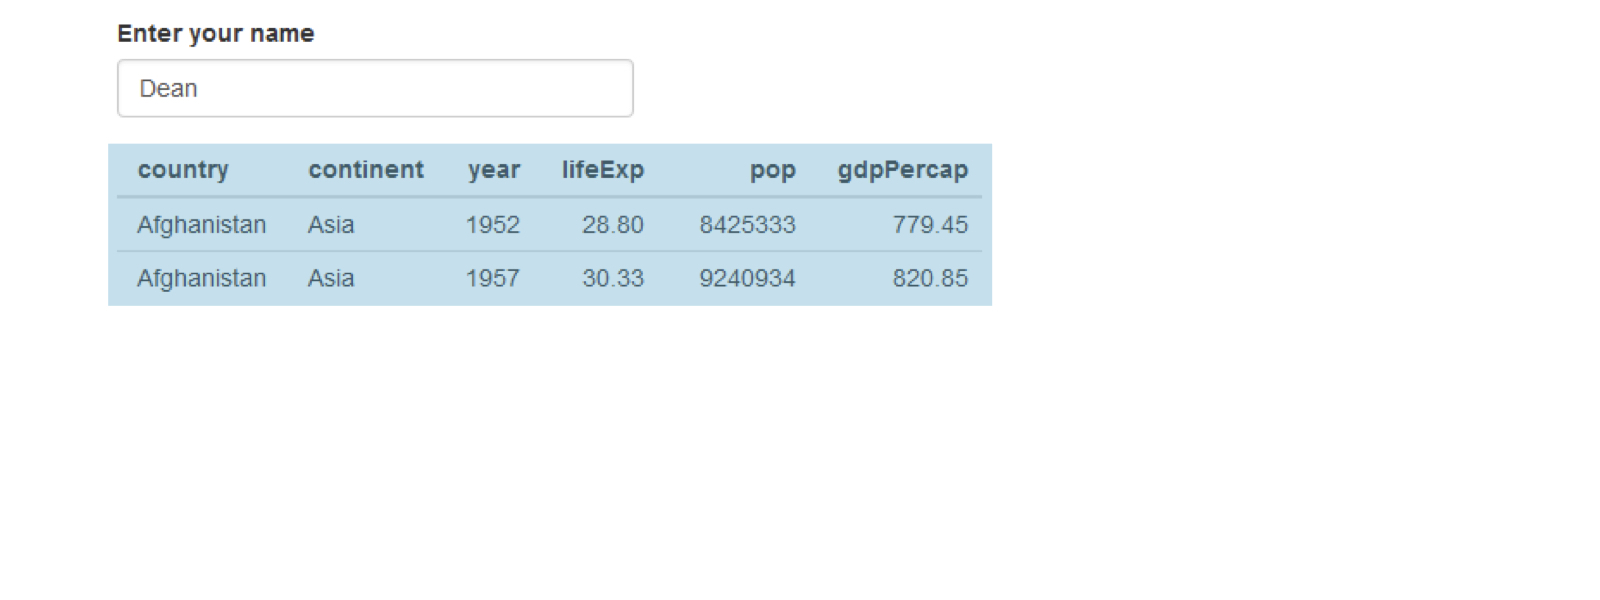
CSS example
ui <- fluidPage(
  textInput("name", "Enter your name", "Dean"),
  tableOutput("table")
)
CSS example
ui <- fluidPage(
  textInput("name", "Enter your name", "Dean"),
  tableOutput("table")
)