Penyempurnaan visual
Studi Kasus: Membangun Aplikasi Web dengan Shiny di R

Dean Attali
Shiny Consultant
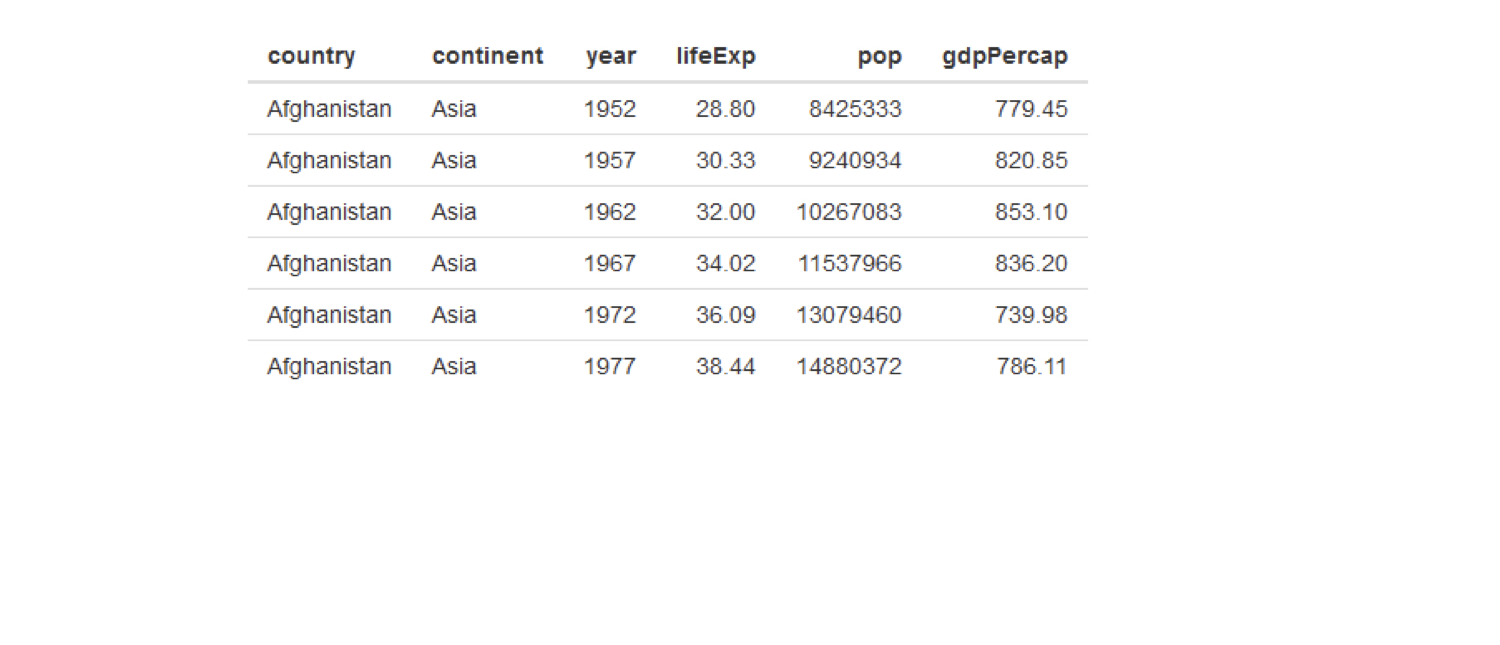
Tabel Shiny
tableOutput("table")output$table <- renderTable({ gapminder })
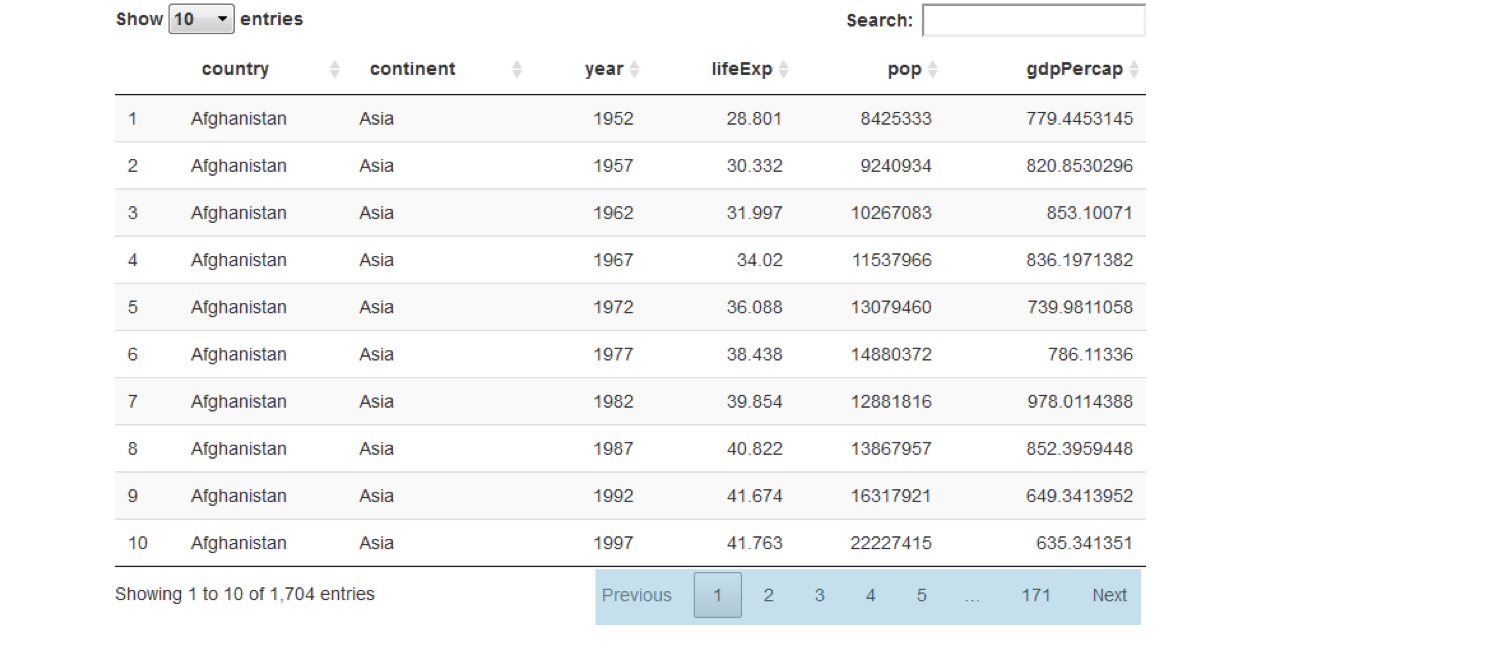
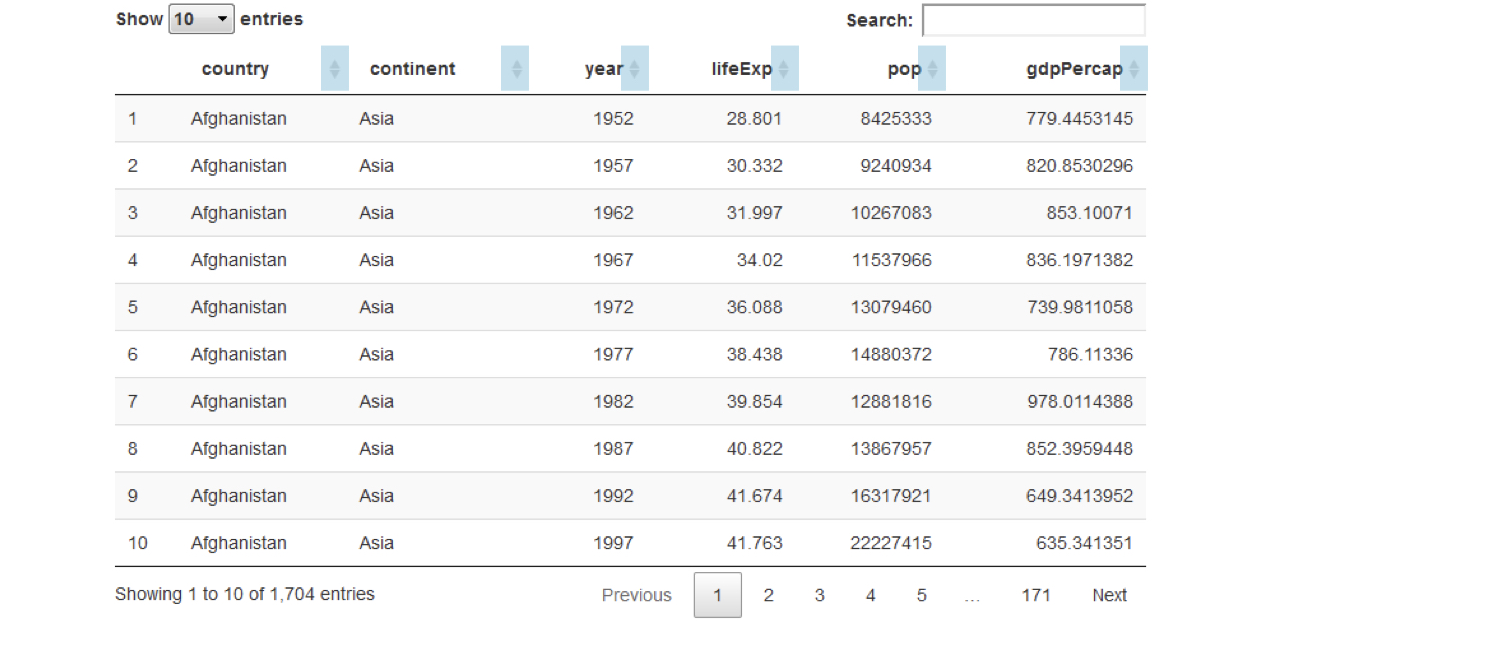
Buat tabel lebih baik dengan DT
DT::dataTableOutput("table")output$table <- DT::renderDataTable({ gapminder })

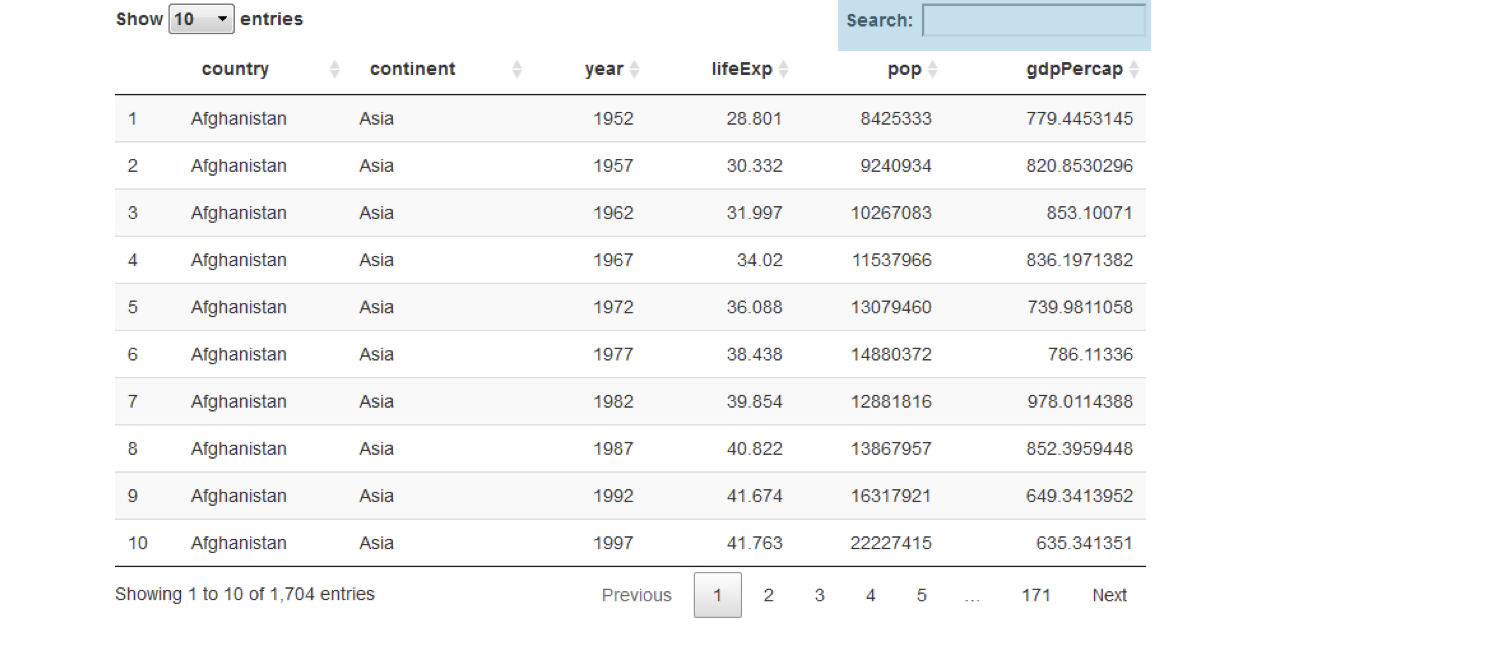
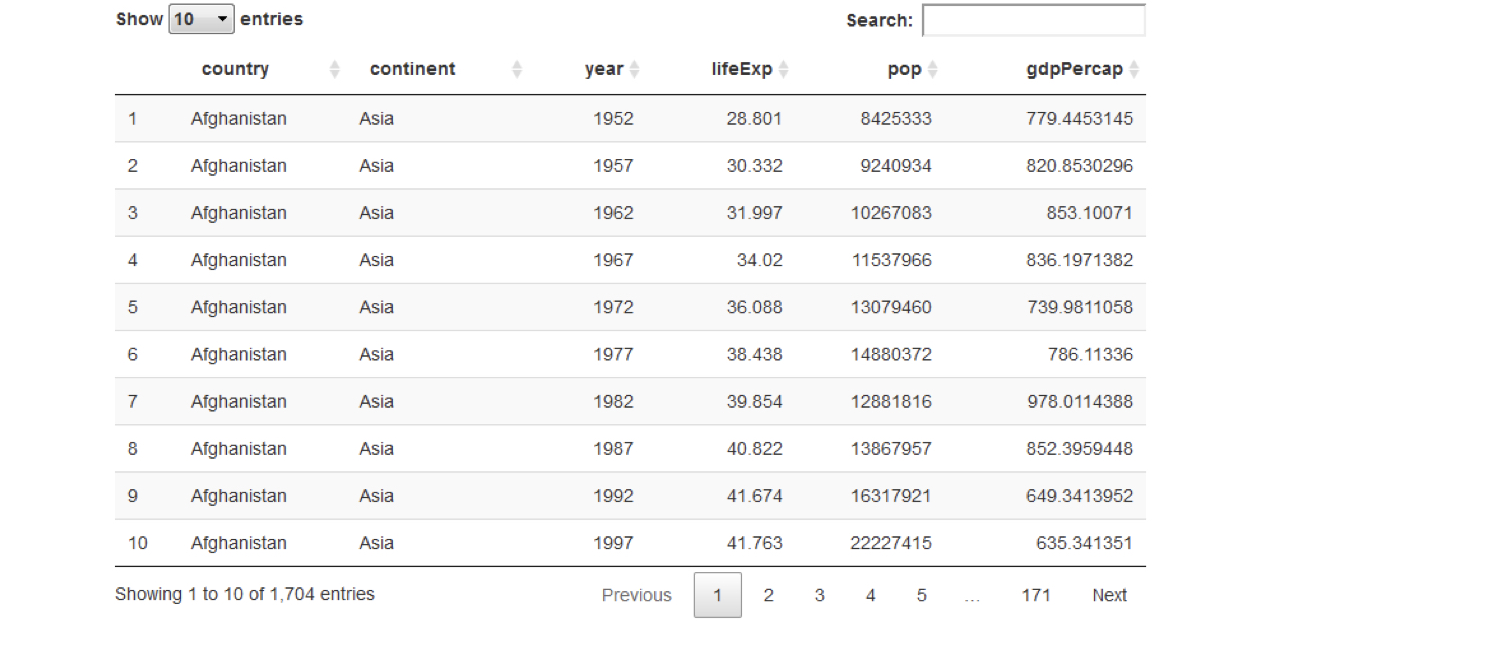
Buat tabel lebih baik dengan DT
DT::dataTableOutput("table")output$table <- DT::renderDataTable({ gapminder })
Buat tabel lebih baik dengan DT
DT::dataTableOutput("table")output$table <- DT::renderDataTable({ gapminder })
Buat tabel lebih baik dengan DT
DT::dataTableOutput("table")output$table <- DT::renderDataTable({ gapminder })
Buat tabel lebih baik dengan DT
DT::dataTableOutput("table")output$table <- DT::renderDataTable({ gapminder })
Bagi UI ke tab
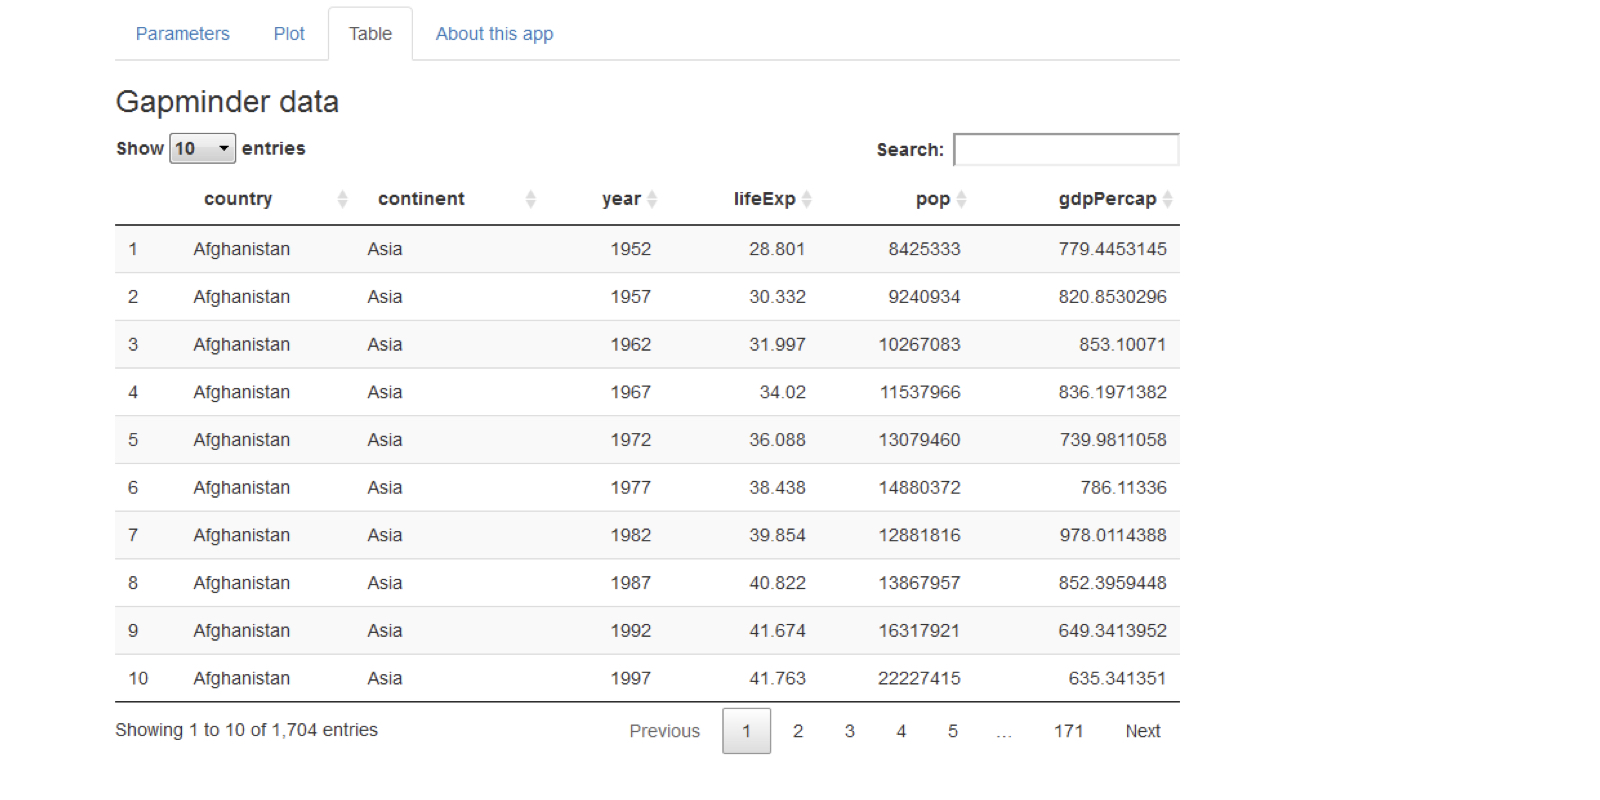
Bagi UI ke tab
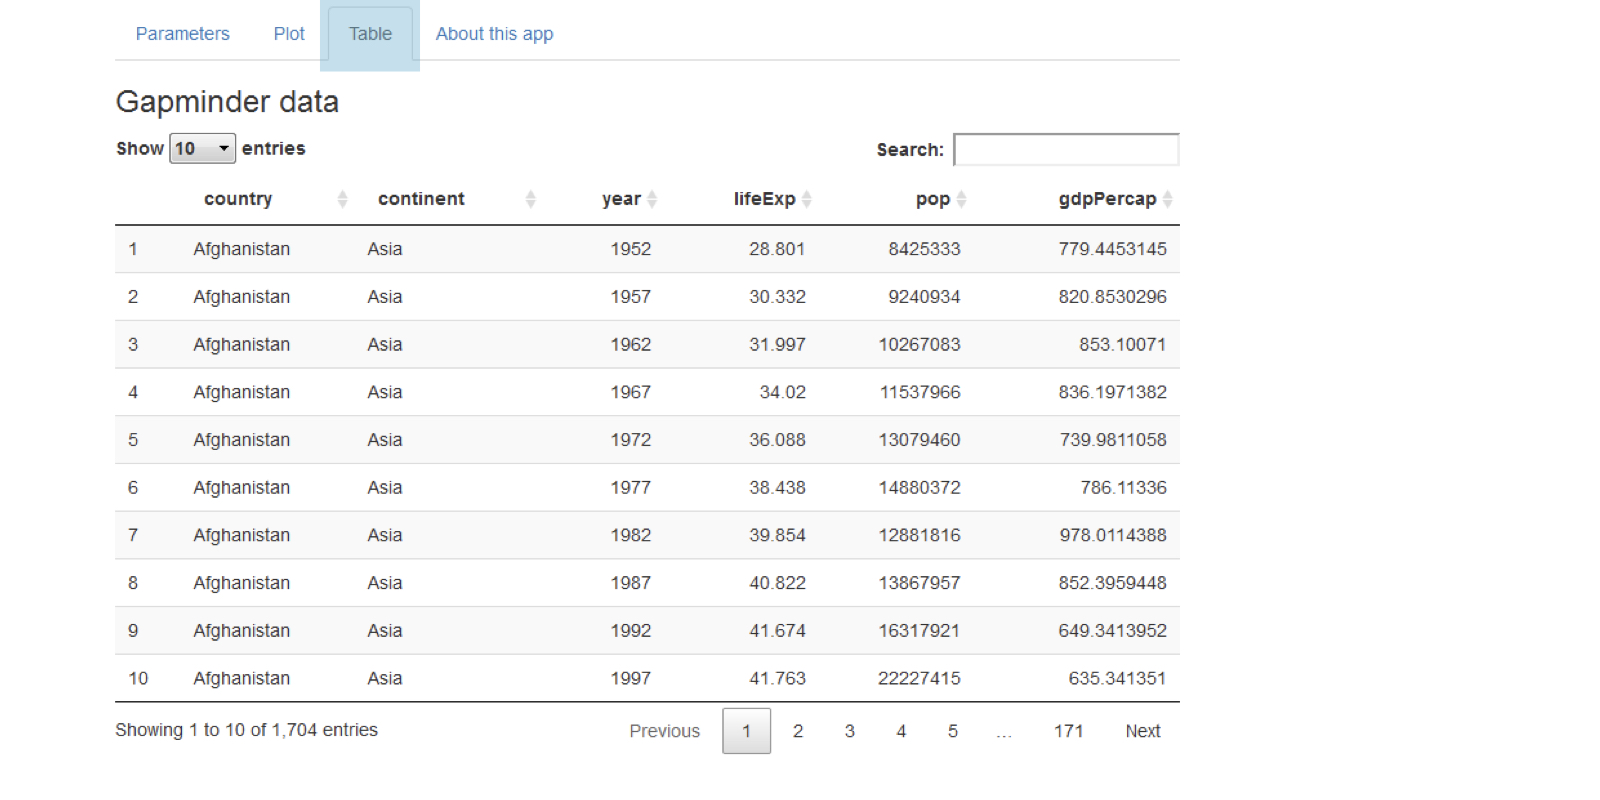
Bagi UI ke tab
tabPanel(title = "tab 1", "content goes here")tabPanel(title = "tab 2", "second tab", plotOutput("plot"))
fluidPage(tabsetPanel(tabPanel(title = "tab 1", "first tab content goes here"), tabPanel(title = "tab 2", "second tab", plotOutput("plot")), tabPanel(title = "tab 3", textInput("text", "Name", ""))))

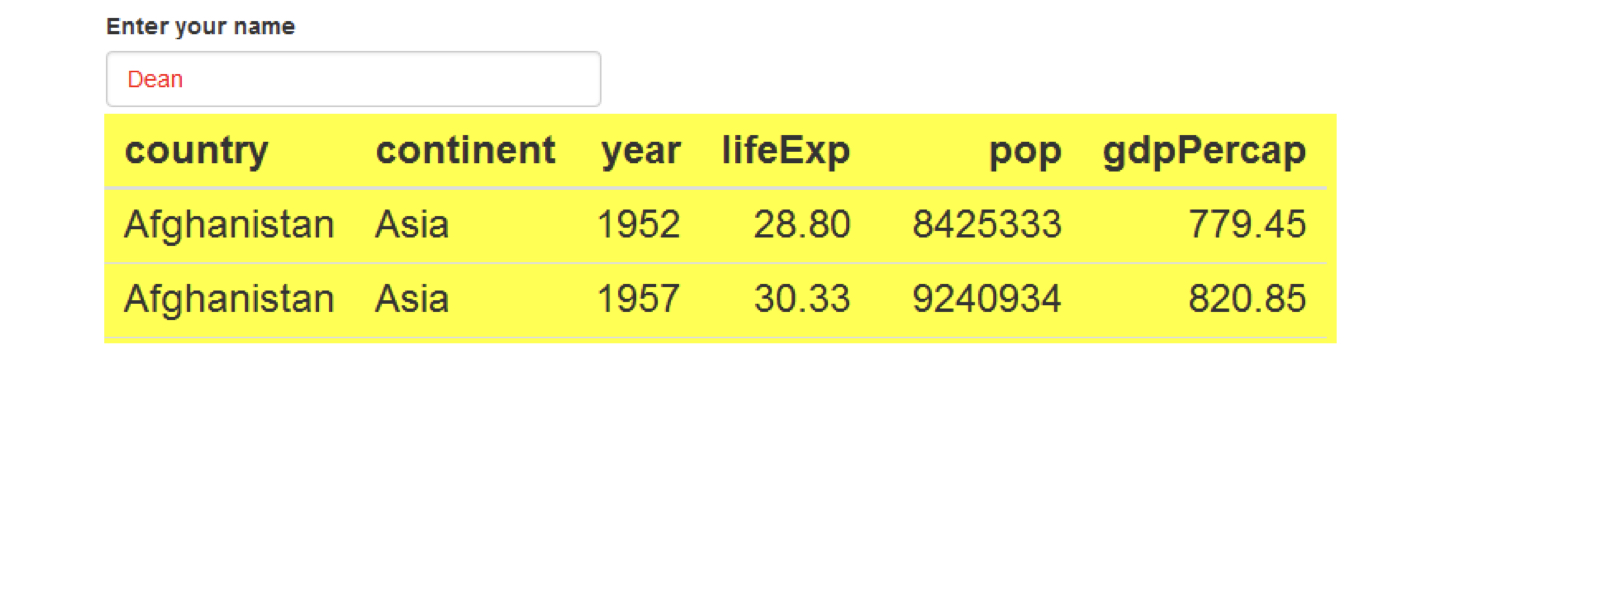
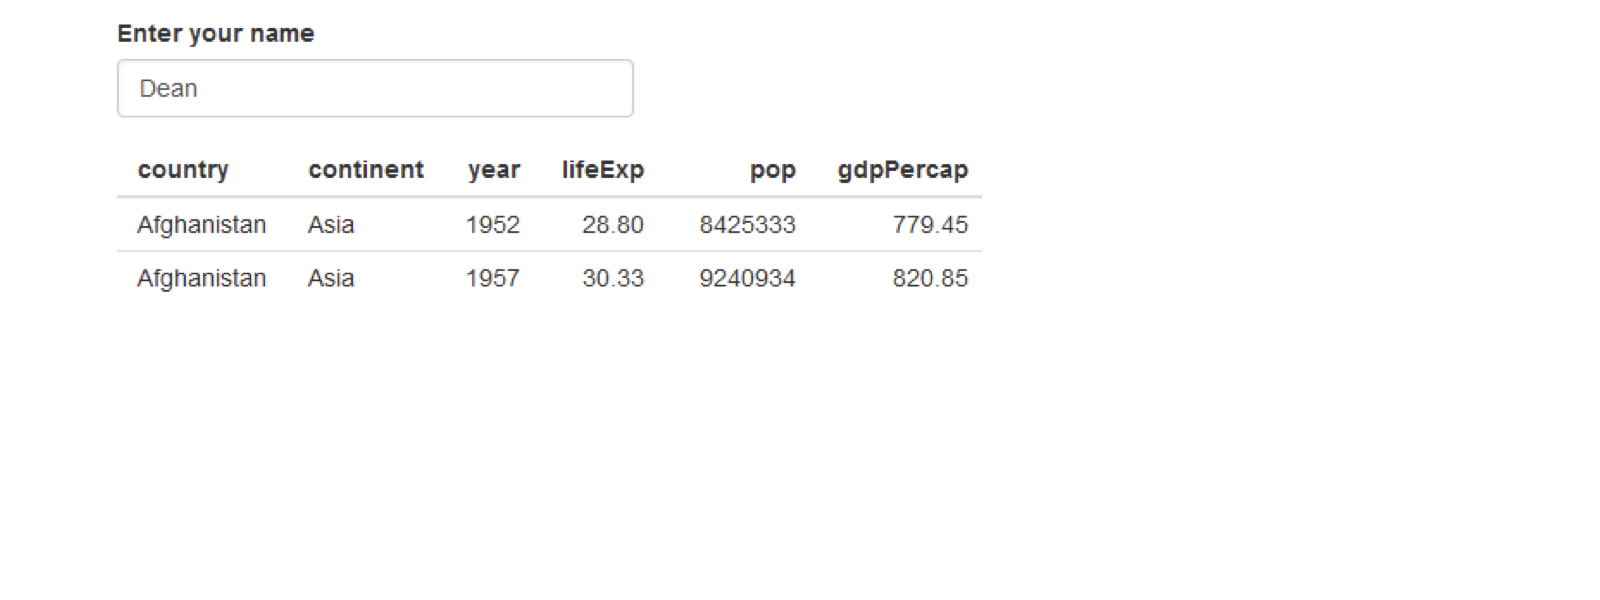
Contoh CSS
ui <- fluidPage(
  textInput("name", "Enter your name", "Dean"),
  tableOutput("table")
)
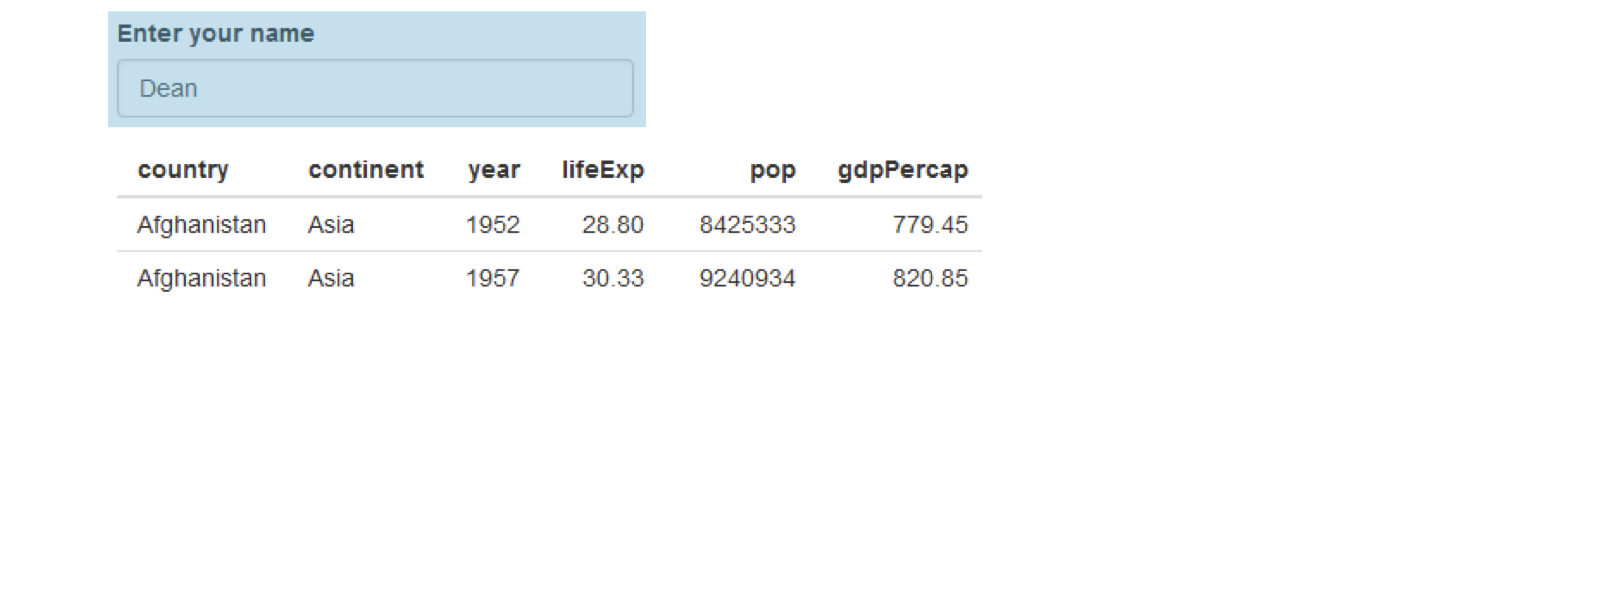
Contoh CSS
ui <- fluidPage(
  textInput("name", "Enter your name", "Dean"),
  tableOutput("table")
)
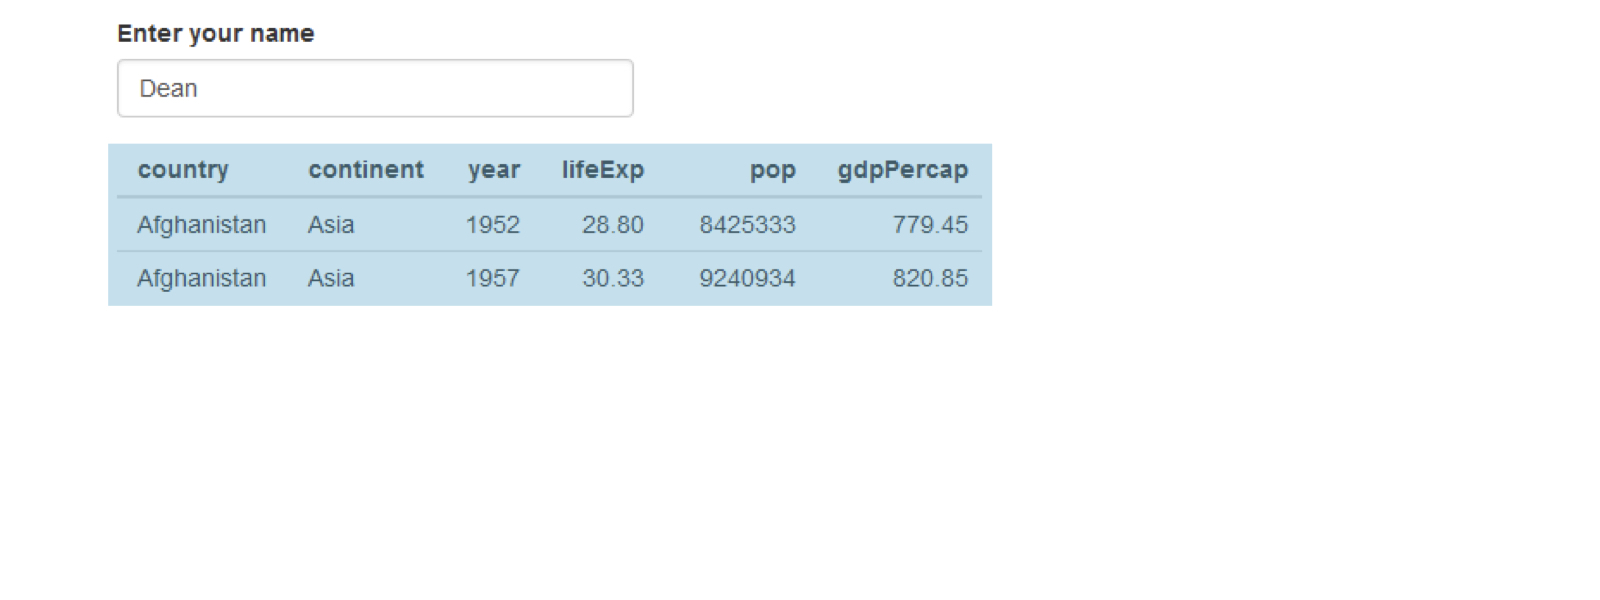
Contoh CSS
ui <- fluidPage(
  textInput("name", "Enter your name", "Dean"),
  tableOutput("table")
)
Contoh CSS
ui <- fluidPage(
  textInput("name", "Enter your name", "Dean"),
  tableOutput("table")
)