Il body

Creare dashboard con shinydashboard

Png Kee Seng

Researcher

Panoramica

  • Gran parte della UI di shinydashboard
  • Di solito qui si mettono input e output
    • Come piatti e ordini in un ristorante
    • Il server gestisce la comunicazione
  • Il body è definito da dashboardBody() e di solito salvato in body
body <- dashboardBody(...)
Creare dashboard con shinydashboard

Wireframing

  • Fai il wireframing
    • Definisci la struttura prima dei contenuti
  • In shinydashboard, decidi prima le posizioni degli oggetti

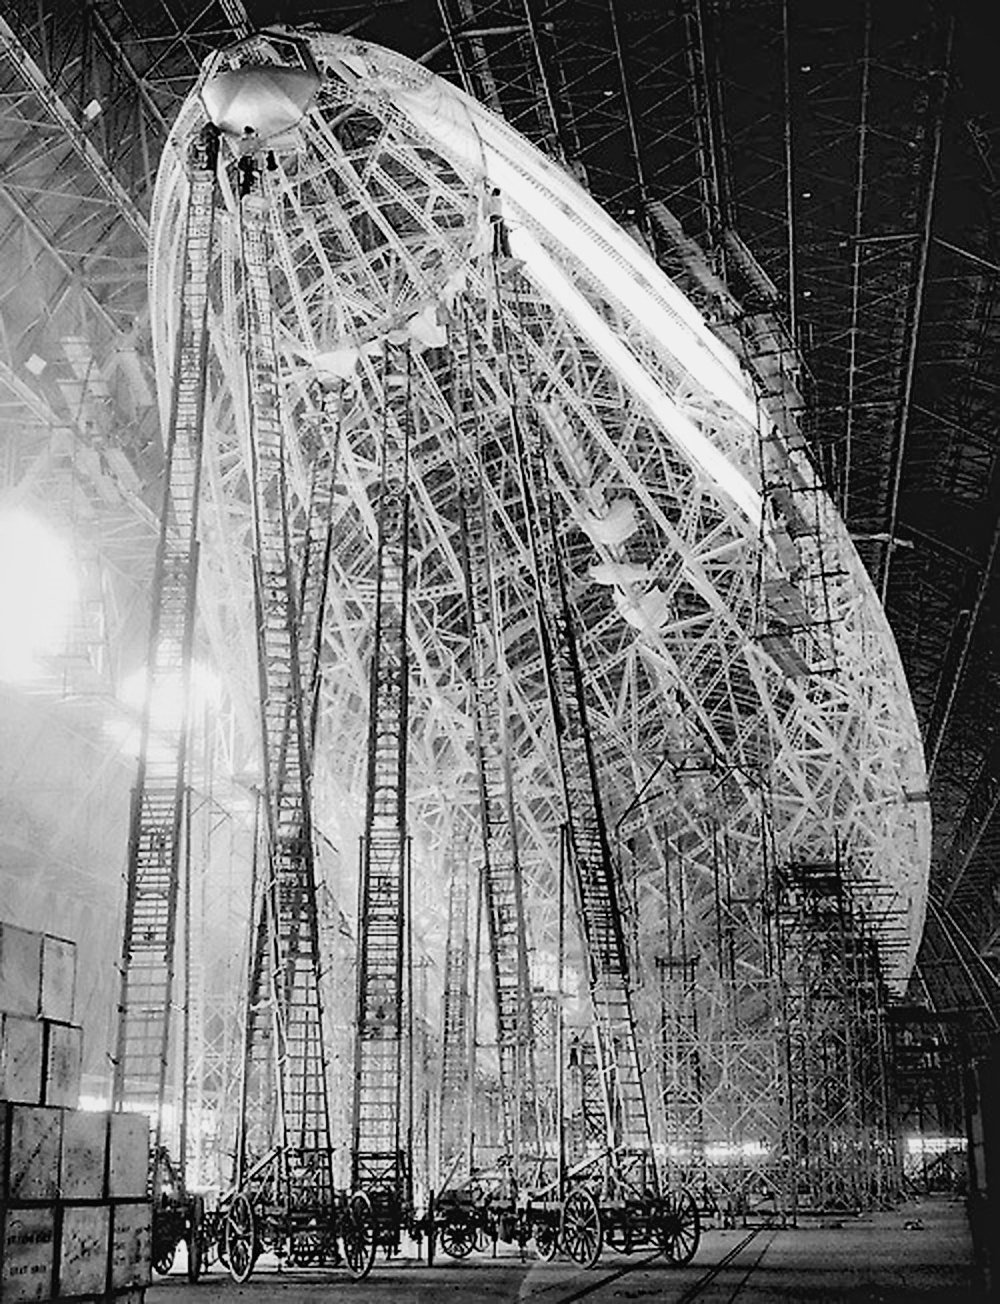
Wireframe di un dirigibile.

1 Brett Jordan, Flickr
Creare dashboard con shinydashboard

Aggiungere righe e box: box vuoti

  • Aggiungi righe con fluidRow()
  • E box con box()

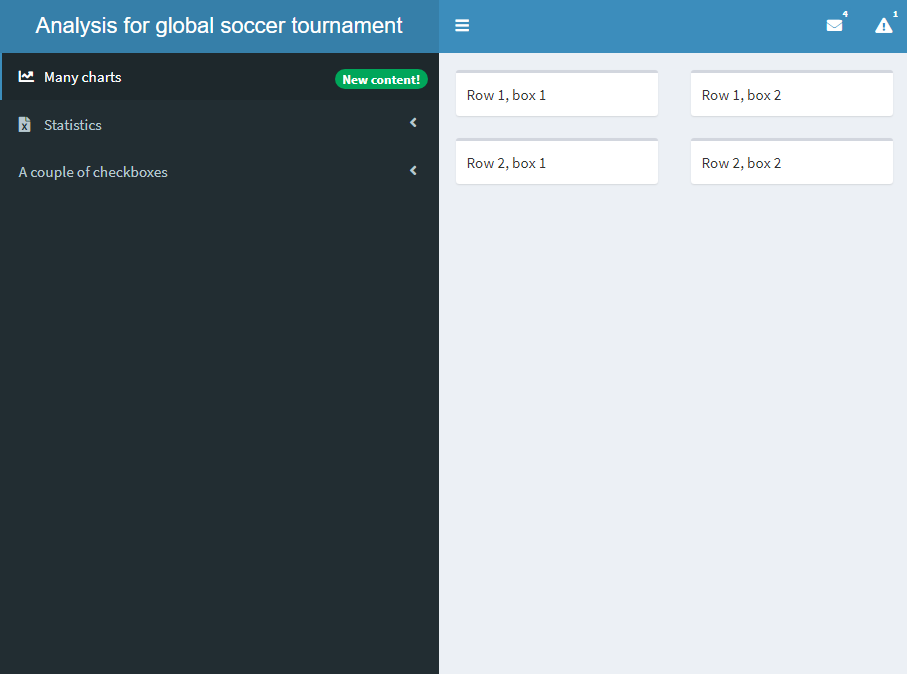
Dashboard con due righe, ciascuna con due box vuoti.

body <- dashboardBody(

fluidRow(
box("Riga 1, box 1"), box("Riga 1, box 2")
), fluidRow(
box("Riga 2, box 1"), box("Riga 2, box 2")
)
)
Creare dashboard con shinydashboard

Aggiungere righe e box: contenuti nei box
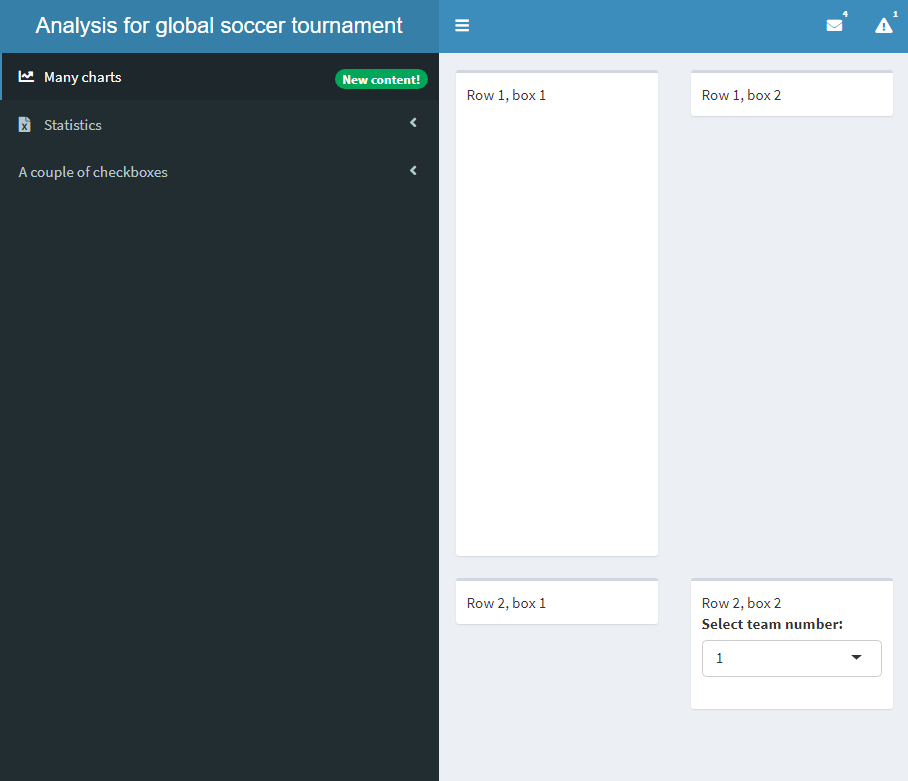
Corpo con quattro riquadri e contenuti in alcuni riquadri.

body <- dashboardBody(
  fluidRow(box("Riga 1, box 1", 

plotOutput('plot')),
box("Riga 1, box 2")), fluidRow(box("Riga 2, box 1"), box("Riga 2, box 2",
selectInput("select", "Seleziona numero squadra:", choices = c(1,2))))
)
Creare dashboard con shinydashboard

Evitare l'overflow dei box

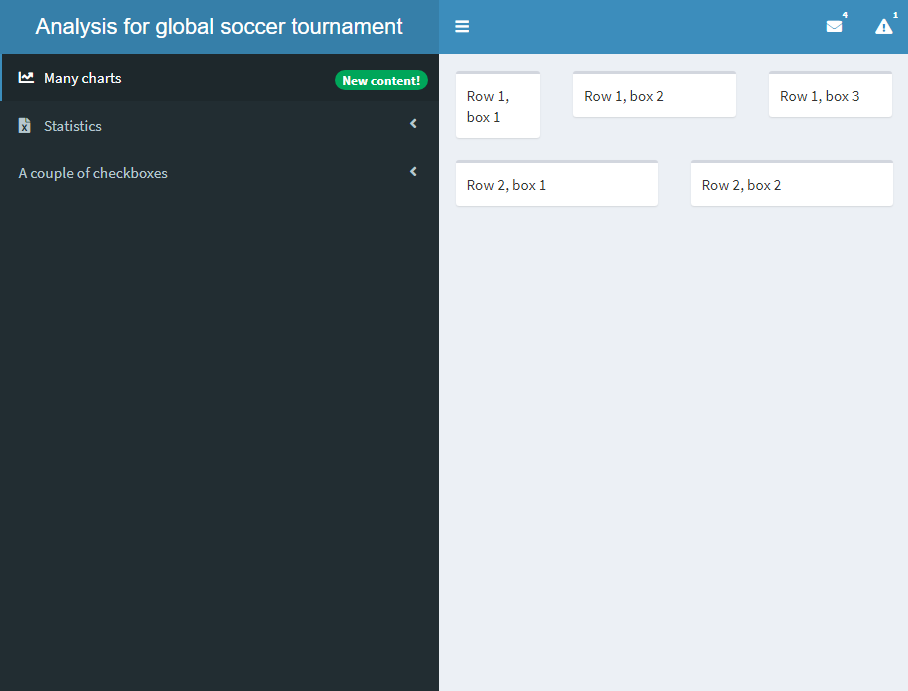
  • Ogni box occupa 6/12 dell'ampiezza orizzontale di default
  • Per evitare overflow, imposta width
    • Nell'esempio: 3, 5 e 4
  • Aggiungere box() è fortemente consigliato

Più box nel body

body <- dashboardBody(
  fluidRow(box("Riga 1, box 1"), 
           box("Riga 1, box 2"),
           box("Riga 1, box 3")),
  fluidRow(box("Riga 2, box 1"), 
           box("Riga 2, box 2"))
)
body <- dashboardBody(
  fluidRow(box("Riga 1, box 1", width = 3), 
           box("Riga 1, box 2", width = 5),
           box("Riga 1, box 3", width = 4)),
  fluidRow(box("Riga 2, box 1"), 
           box("Riga 2, box 2"))
)
Creare dashboard con shinydashboard

valueBox e infoBox

  • Ci sono anche box per piccole quantità di info
    • valueBox()
    • infoBox()

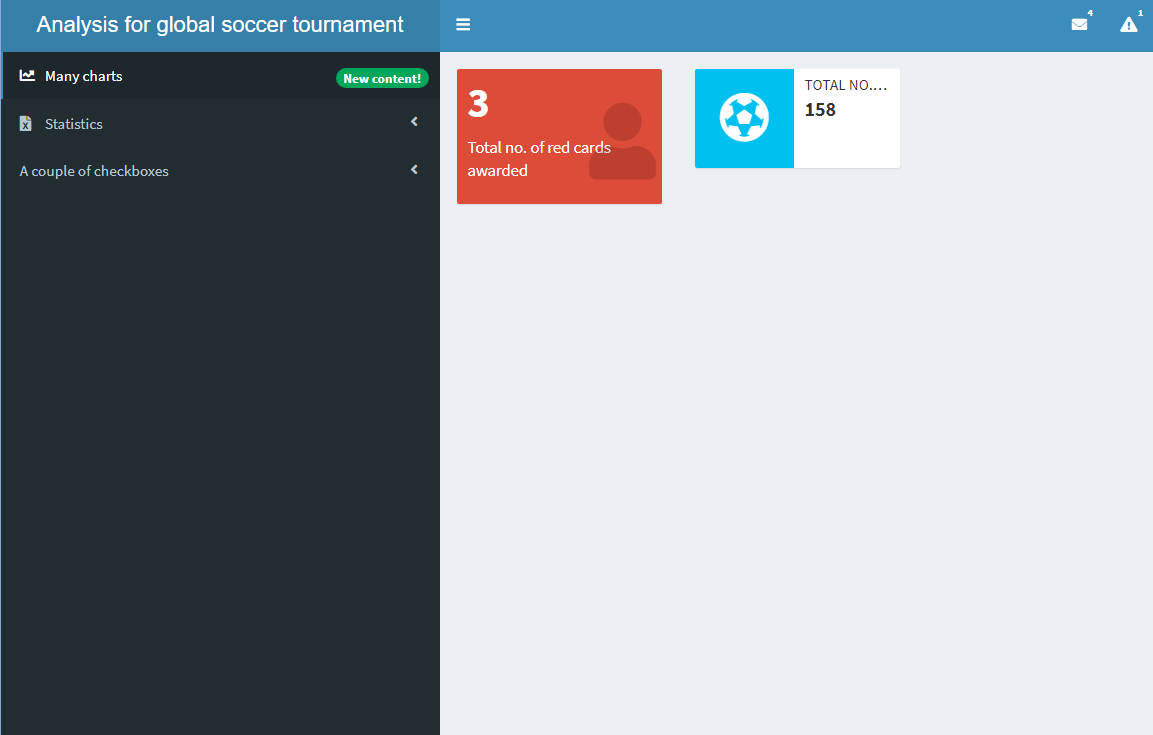
valueBox e infoBox nel body.

body <- dashboardBody(
  fluidRow(valueBox(value = 3, 
                    subtitle = "Tot. cartellini rossi assegnati", 
                    icon = icon("user"),
                    color = "red"),

infoBox(value = 158, title = "Tot. goal segnati", icon = icon("futbol")) ))
Creare dashboard con shinydashboard

valueBoxOutput e infoBoxOutput

  • Varianti di valueBox() e infoBox(): valueBoxOutput() e infoBoxOutput()
  • Sono funzioni di output
  • Esistono anche renderValueBox() e renderInfoBox()
  • Servono insieme a valueBox() e infoBox()

valueBoxOutput e infoBoxOutput nel body. La dashboard resa è identica alla precedente.

body <- dashboardBody(
  fluidRow(valueBoxOutput(outputId = "valuebox1"),
           infoBoxOutput(outputId = "infobox1")
           ))
server <- function(input, output){
  output$valuebox1 <- renderValueBox(
    valueBox(3, "Tot. cartellini rossi assegnati",
                icon = icon("user"), color = "red"))
  output$infobox1 <- renderInfoBox(
    infoBox(158, 
                   title = "Tot. goal segnati", 
                   icon = icon("futbol")))
}
Creare dashboard con shinydashboard

Analogia tra valueBoxOutput e plotOutput

  • plotOutput():
    • Messo nella UI
    • Ne definisce la posizione nella dashboard
  • renderPlot():
    • Messo in server()
    • Contiene un oggetto ggplot()
  • valueBoxOutput():
    • Messo nella UI
    • Ne definisce la posizione nella dashboard
  • renderValueBox():
    • Messo in server()
    • Contiene un oggetto valueBox()
Creare dashboard con shinydashboard

Collegare sidebar e body

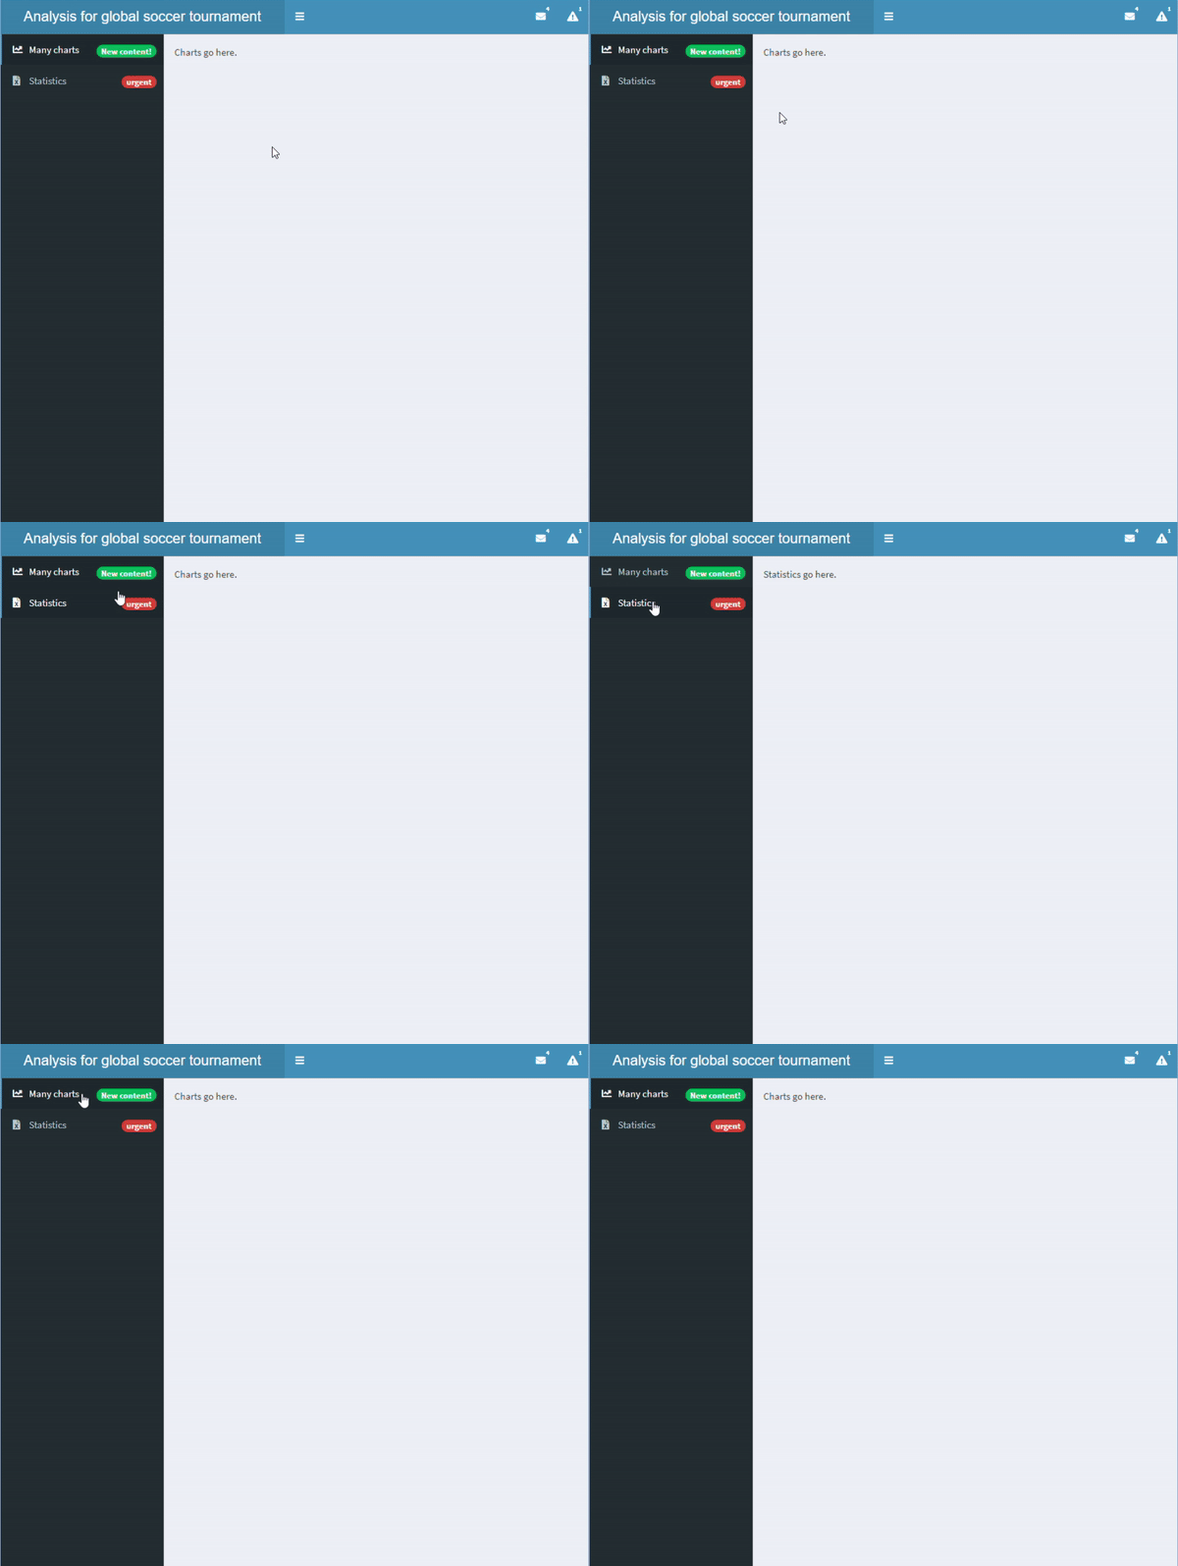
  • Ricorda la sidebar con due pulsanti: "charts" e "statistics"
  • Per collegarli al body, aggiungi tabItems()
    • Ogni pagina è definita da tabItem()
    • Le etichette di ogni coppia menuItem()-tabItem() devono coincidere

Il body e la sidebar ora sono collegati

sidebar <- dashboardSidebar(
  sidebarMenu(
    id = "pages",

menuItem("Many charts", tabName = "charts", icon = icon("chart-line"), badgeLabel = "New content!", badgeColor = "green"),
menuItem("Statistics", icon = icon("file-excel"), tabName = "statistics", badgeLabel = "urgent", badgeColor = "red") ))
body <- dashboardBody( tabItems(
tabItem("charts", "I grafici vanno qui." ), tabItem("statistics", "Le statistiche vanno qui." )))
Creare dashboard con shinydashboard

Tab nel body

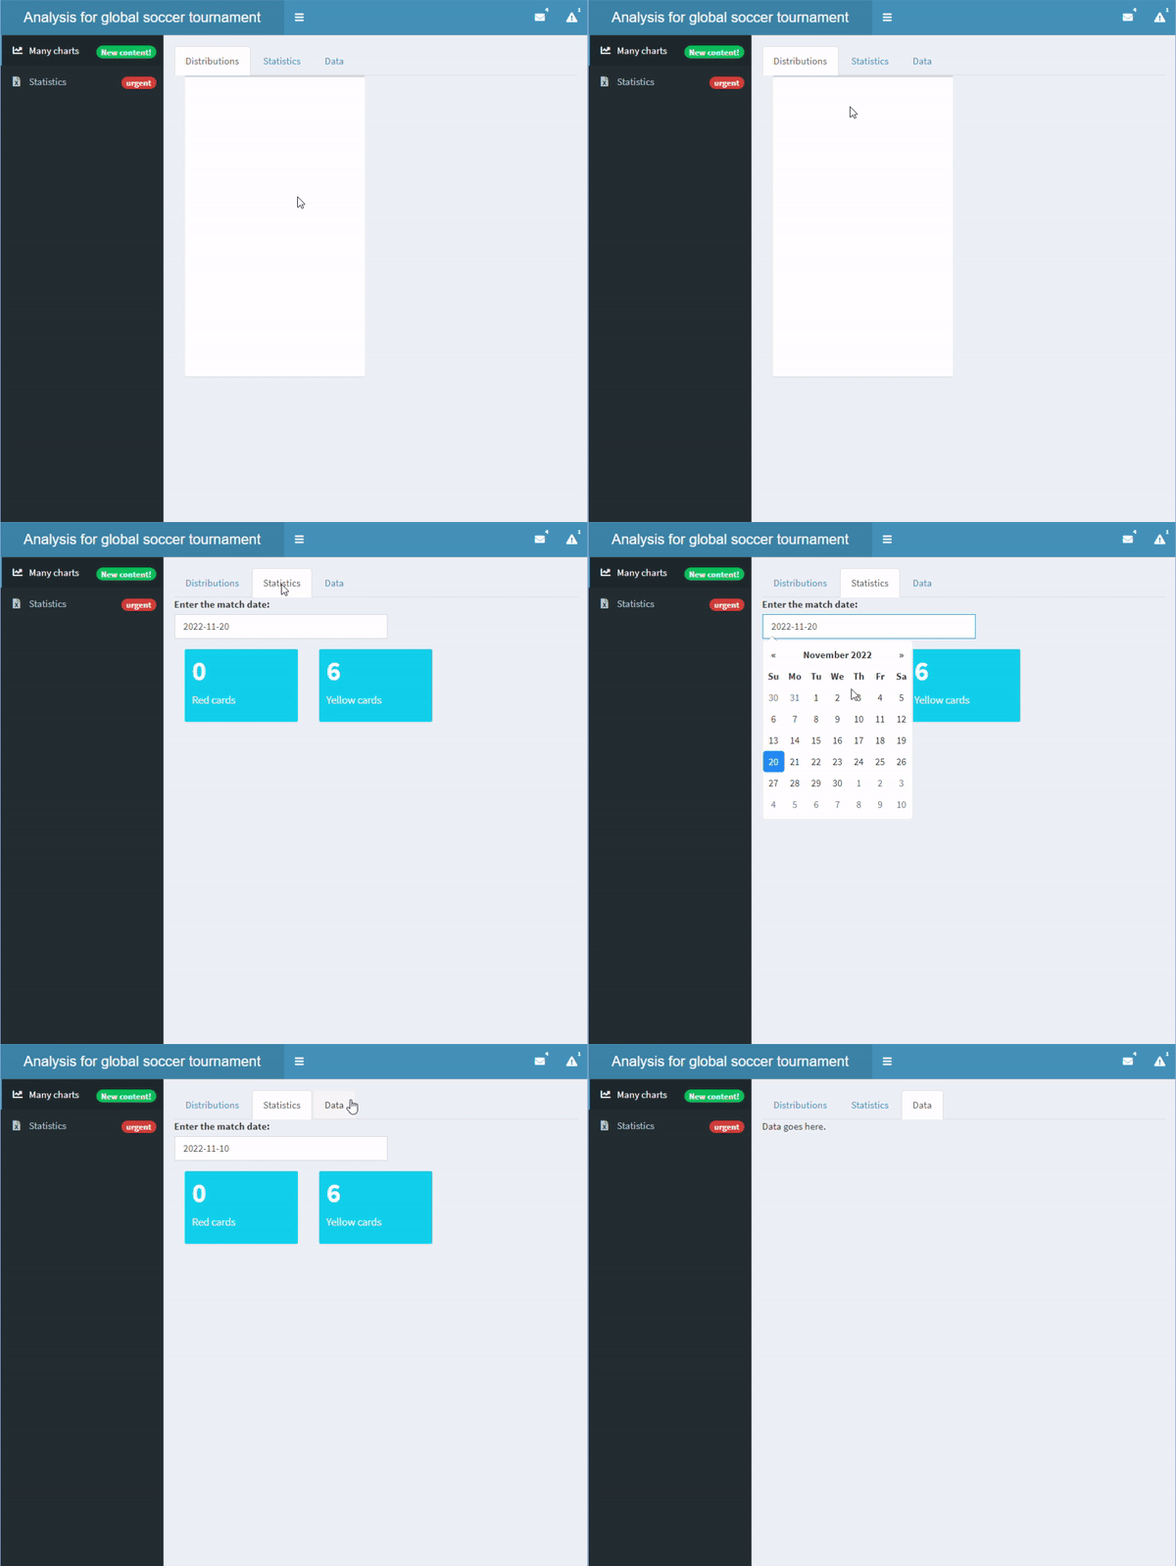
  • In una shinyApp, si possono definire tab anche con tabsetPanel()
    • Ogni tab con tabPanel()
  • Non confonderli con tabItems() e tabItem()

Aggiungere tabset nel body

body <- dashboardBody(tabsetPanel(

tabPanel("Distributions", box(plotOutput("dist"))), tabPanel("Statistics", dateInput("matchdate", "Inserisci la data della partita:", value = "2022-11-20"), valueBoxOutput("red"), valueBoxOutput("yellow")), tabPanel("Data", "I dati vanno qui.", tableOutput("data"))
))
server <- function(input, output){ output$red <- renderValueBox(valueBox(0, "Cartellini rossi")) output$yellow <- renderValueBox(valueBox(6, "Cartellini gialli")) }
Creare dashboard con shinydashboard

Vamos praticar!

Creare dashboard con shinydashboard

Preparing Video For Download...