시각적 향상
사례 연구: R의 Shiny로 웹 애플리케이션 만들기

Dean Attali
Shiny Consultant
Shiny 테이블
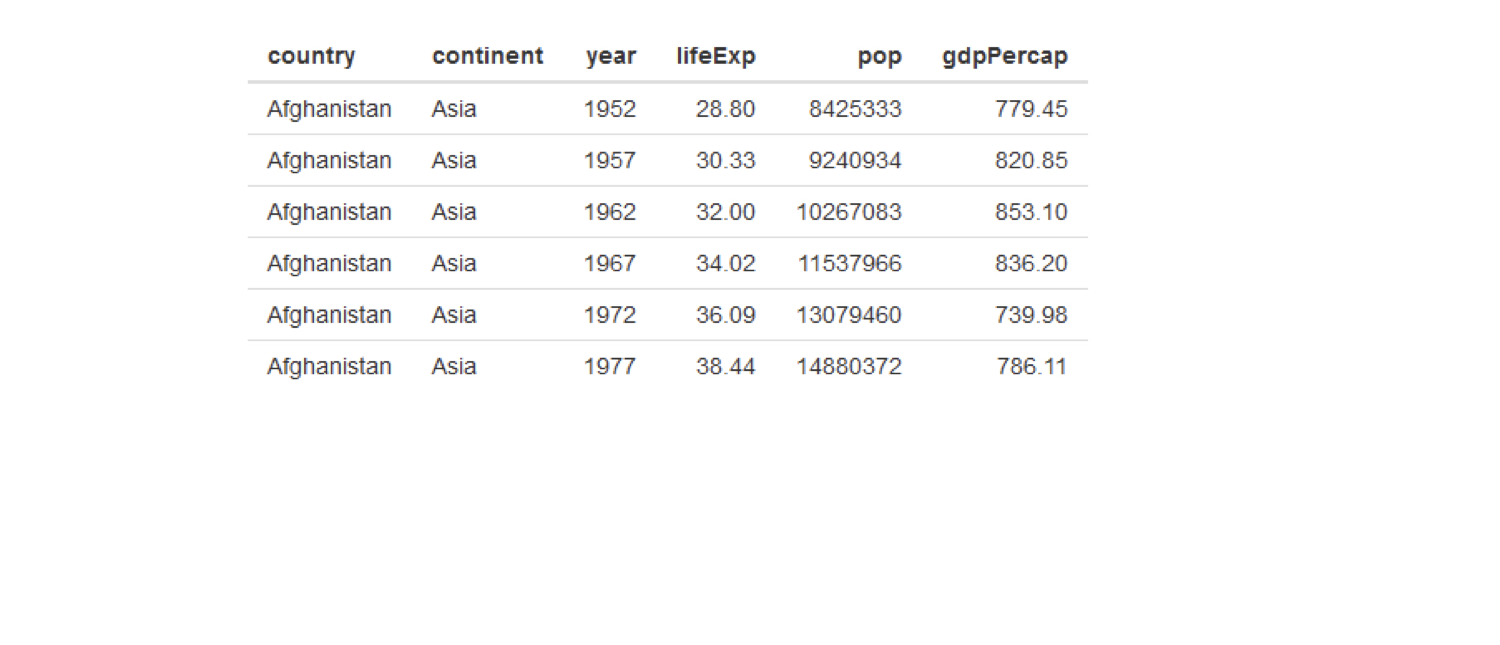
tableOutput("table")output$table <- renderTable({ gapminder })
DT로 더 나은 테이블 만들기
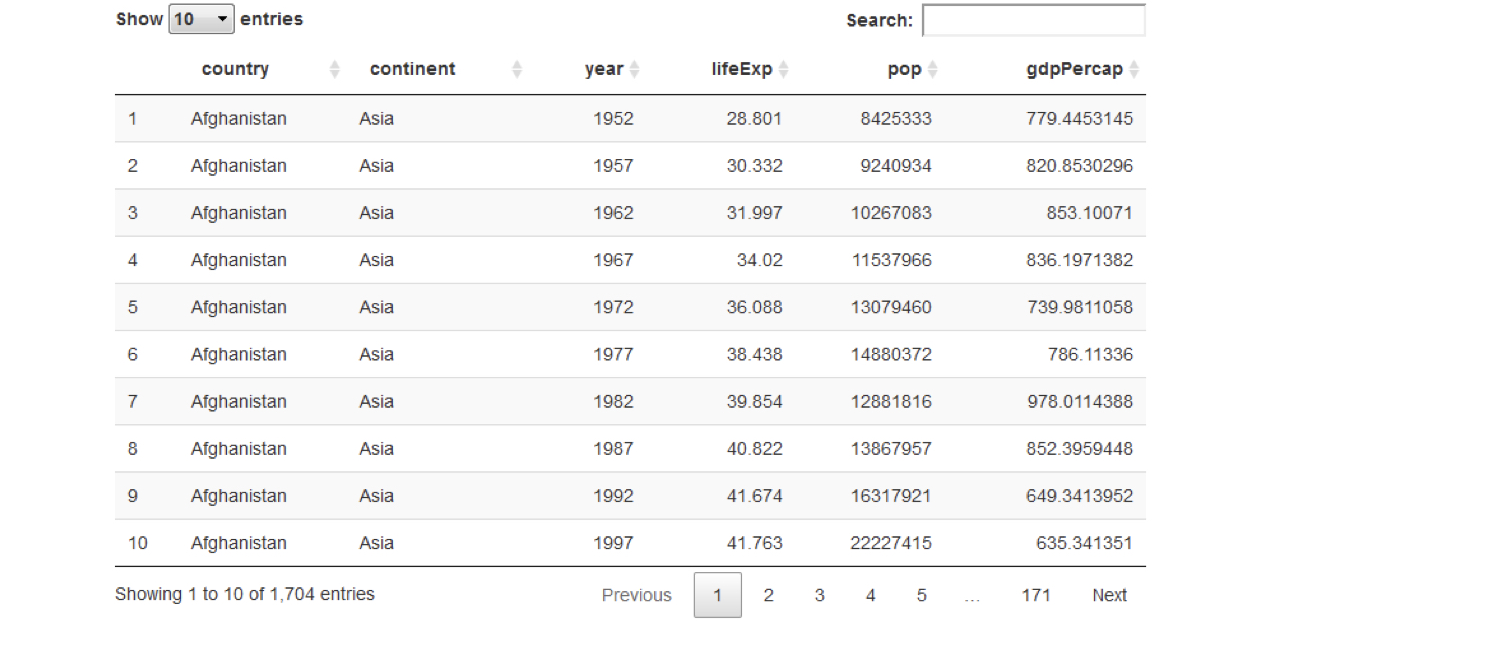
DT::dataTableOutput("table")output$table <- DT::renderDataTable({ gapminder })
DT로 더 나은 테이블 만들기
DT::dataTableOutput("table")output$table <- DT::renderDataTable({ gapminder })
DT로 더 나은 테이블 만들기
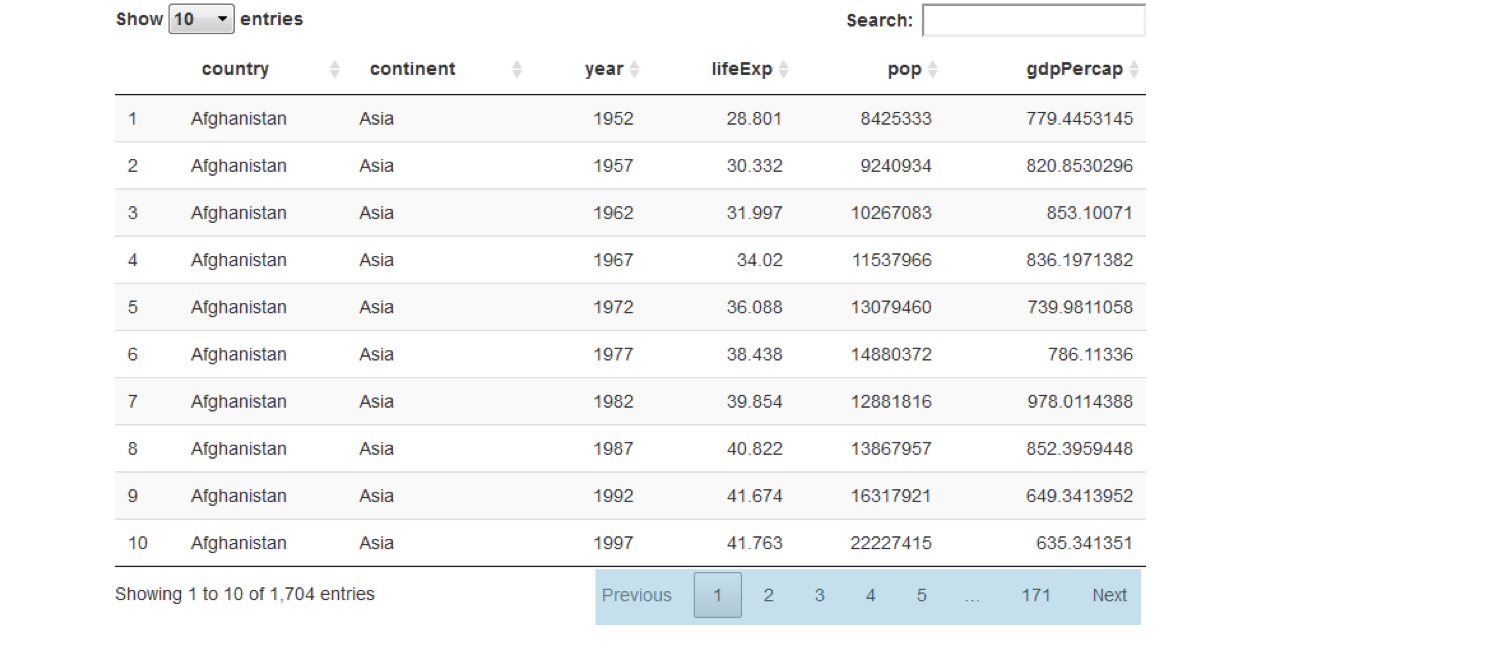
DT::dataTableOutput("table")output$table <- DT::renderDataTable({ gapminder })
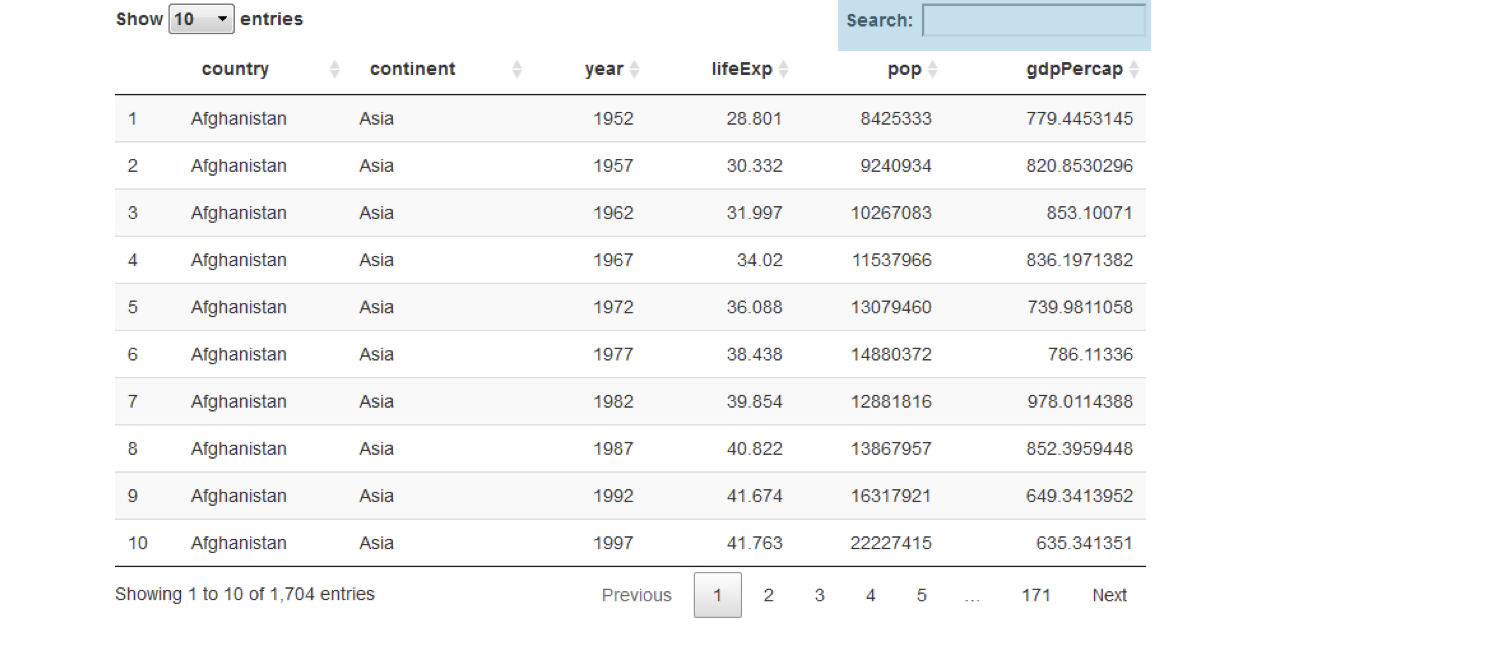
DT로 더 나은 테이블 만들기
DT::dataTableOutput("table")output$table <- DT::renderDataTable({ gapminder })
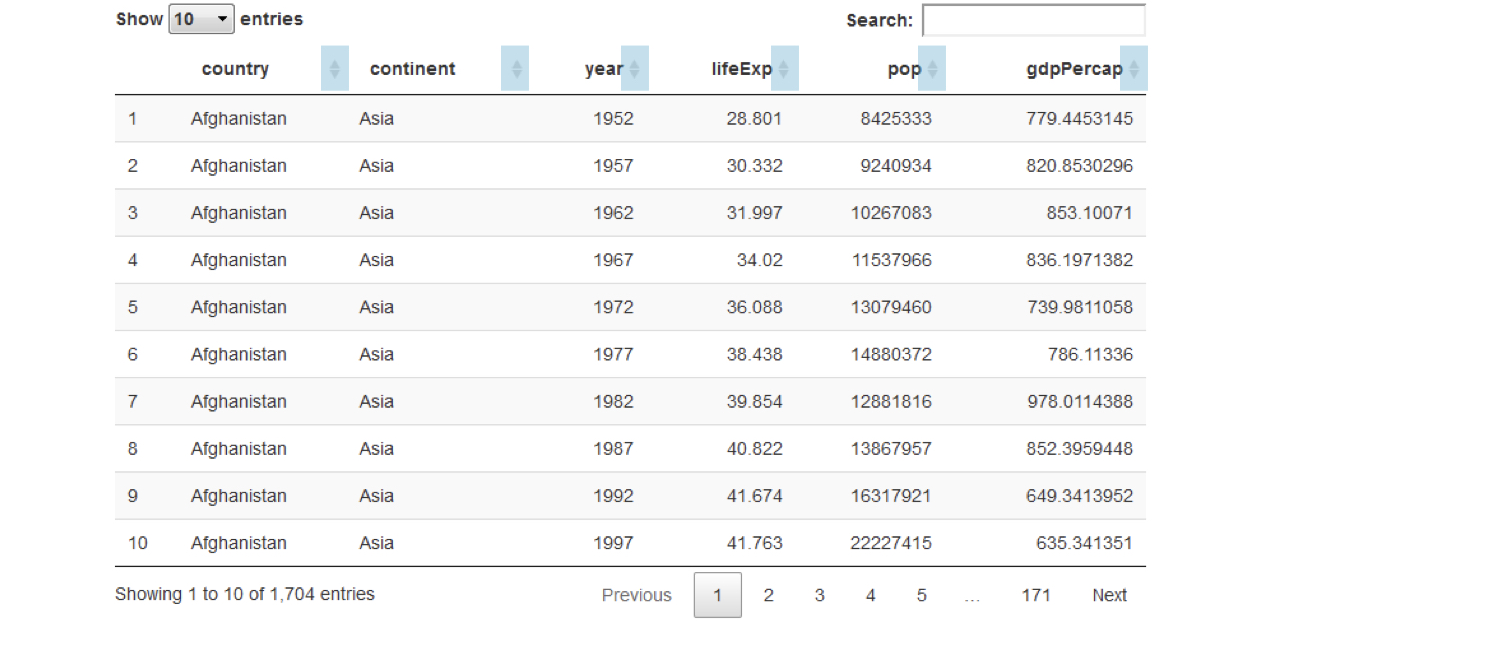
DT로 더 나은 테이블 만들기
DT::dataTableOutput("table")output$table <- DT::renderDataTable({ gapminder })
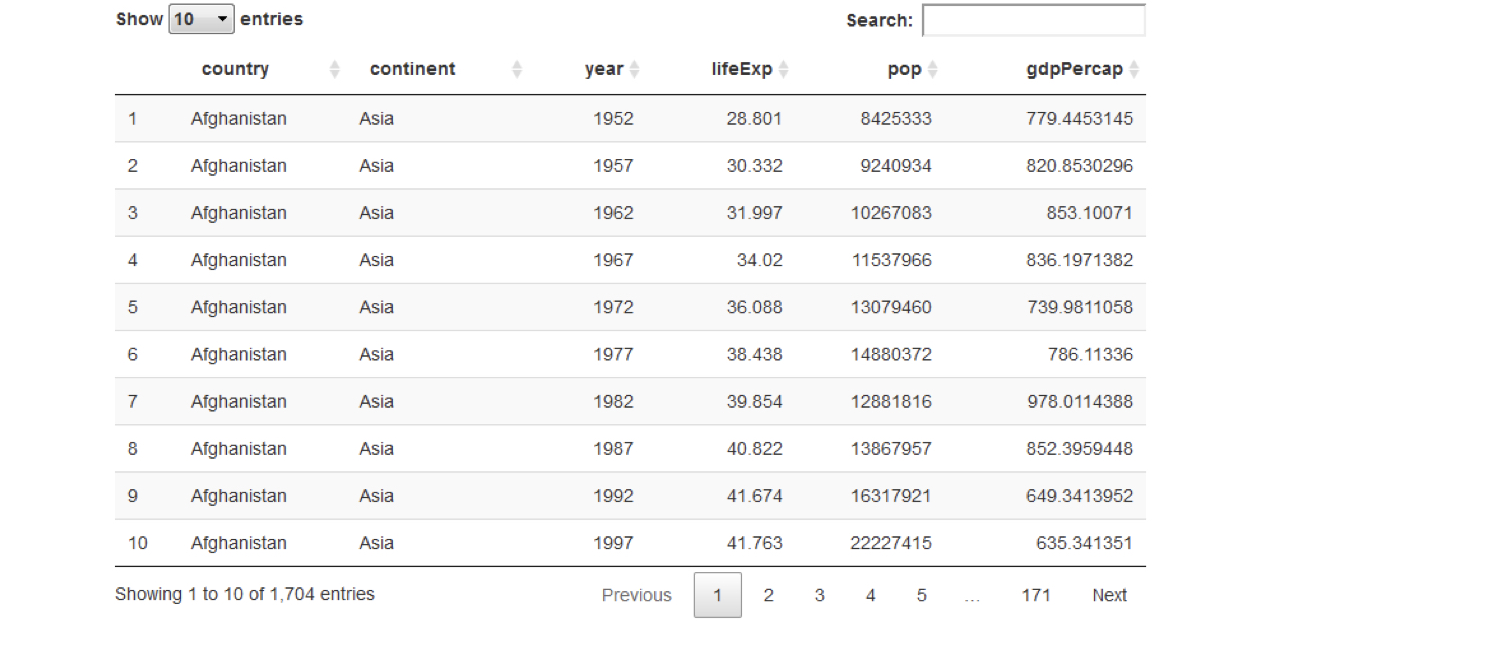
UI를 탭으로 나누기
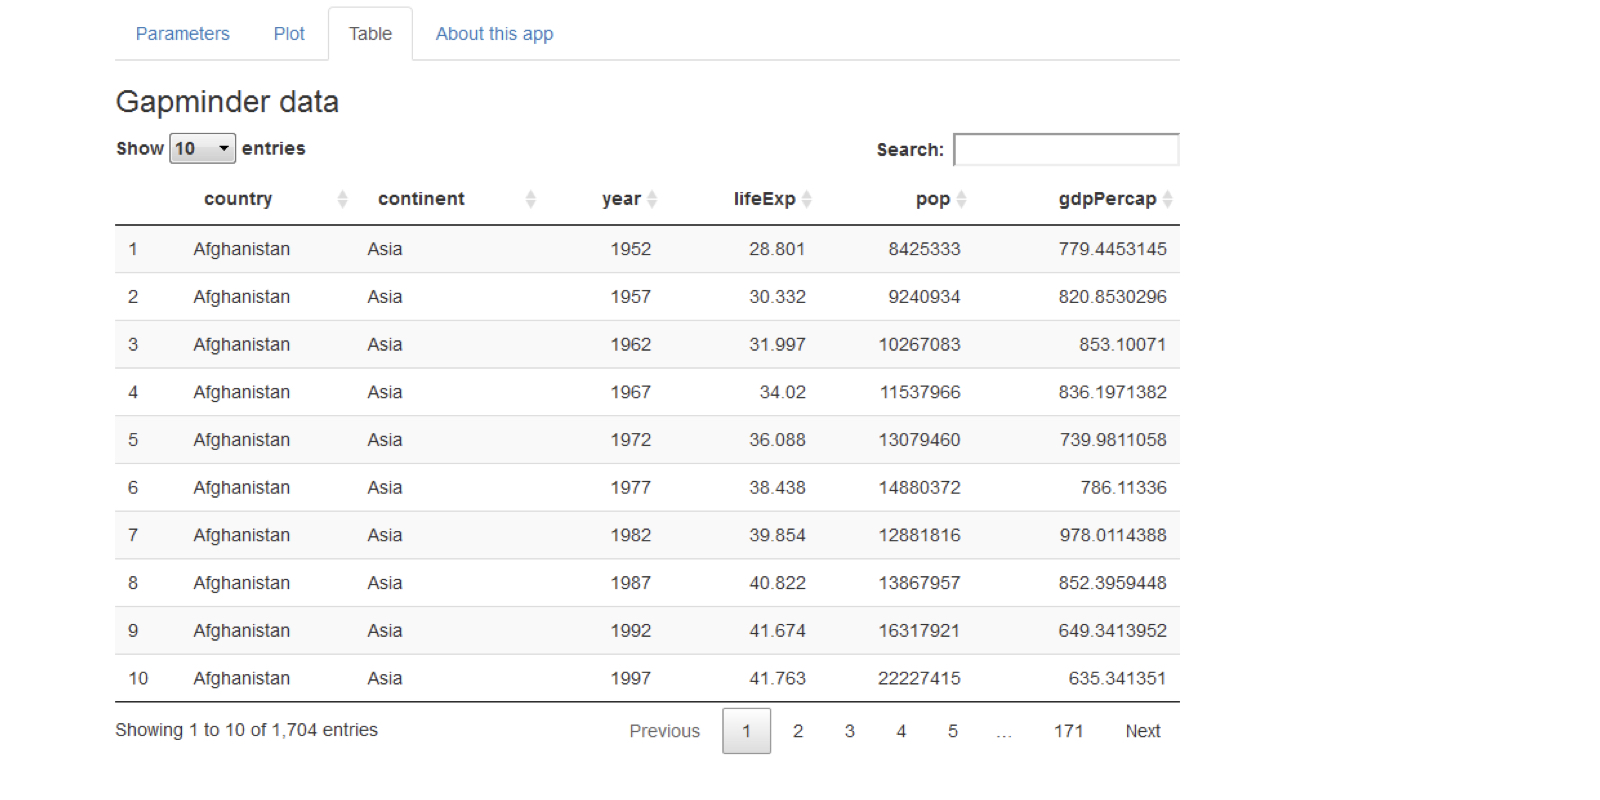
UI를 탭으로 나누기
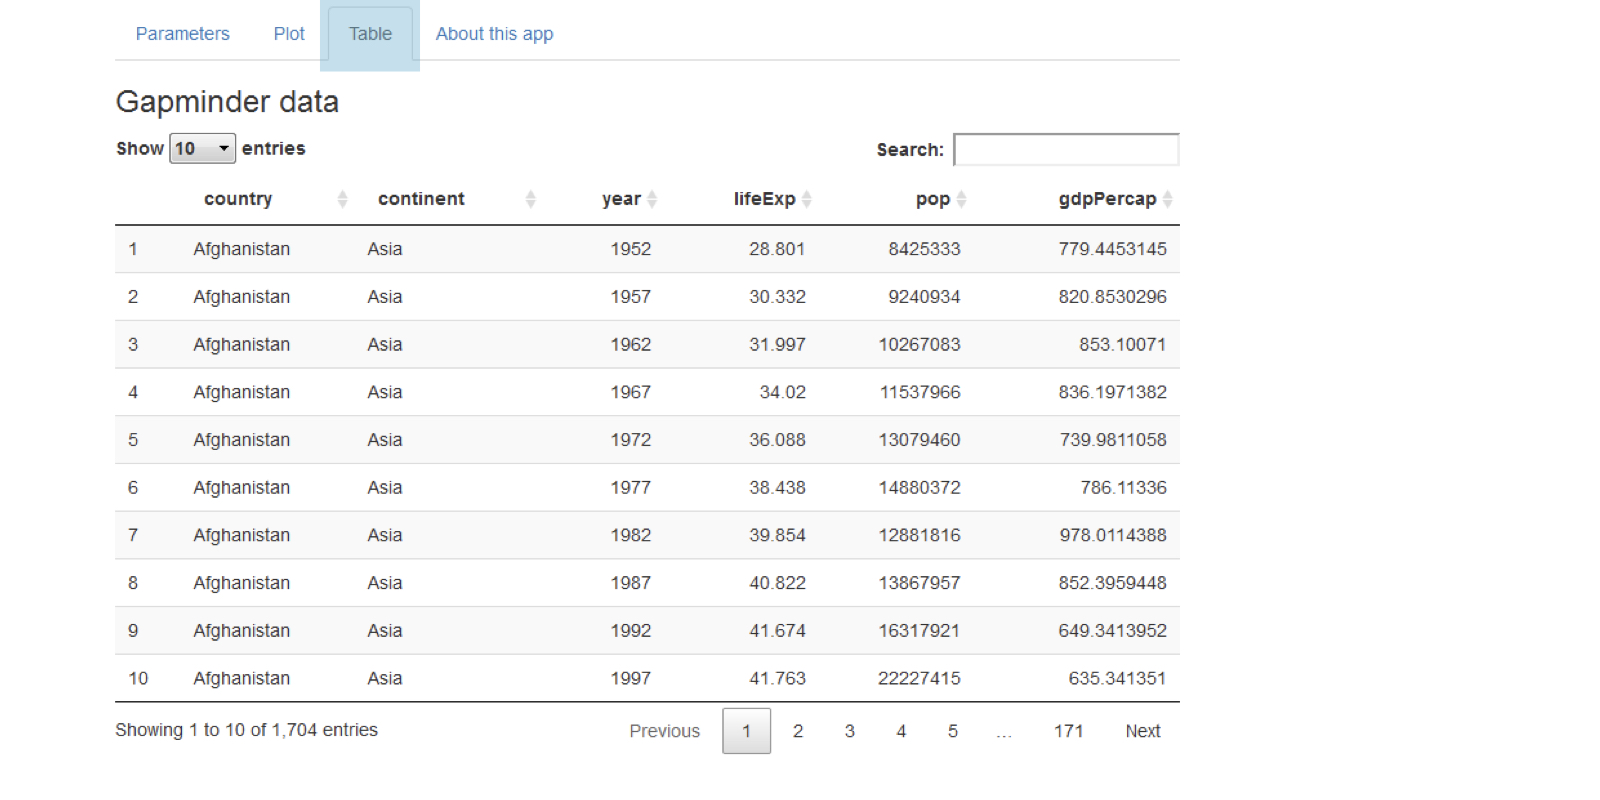
UI를 탭으로 나누기
tabPanel(title = "tab 1", "content goes here")tabPanel(title = "tab 2", "second tab", plotOutput("plot"))
fluidPage(tabsetPanel(tabPanel(title = "tab 1", "first tab content goes here"), tabPanel(title = "tab 2", "second tab", plotOutput("plot")), tabPanel(title = "tab 3", textInput("text", "Name", ""))))

CSS 예시
ui <- fluidPage(
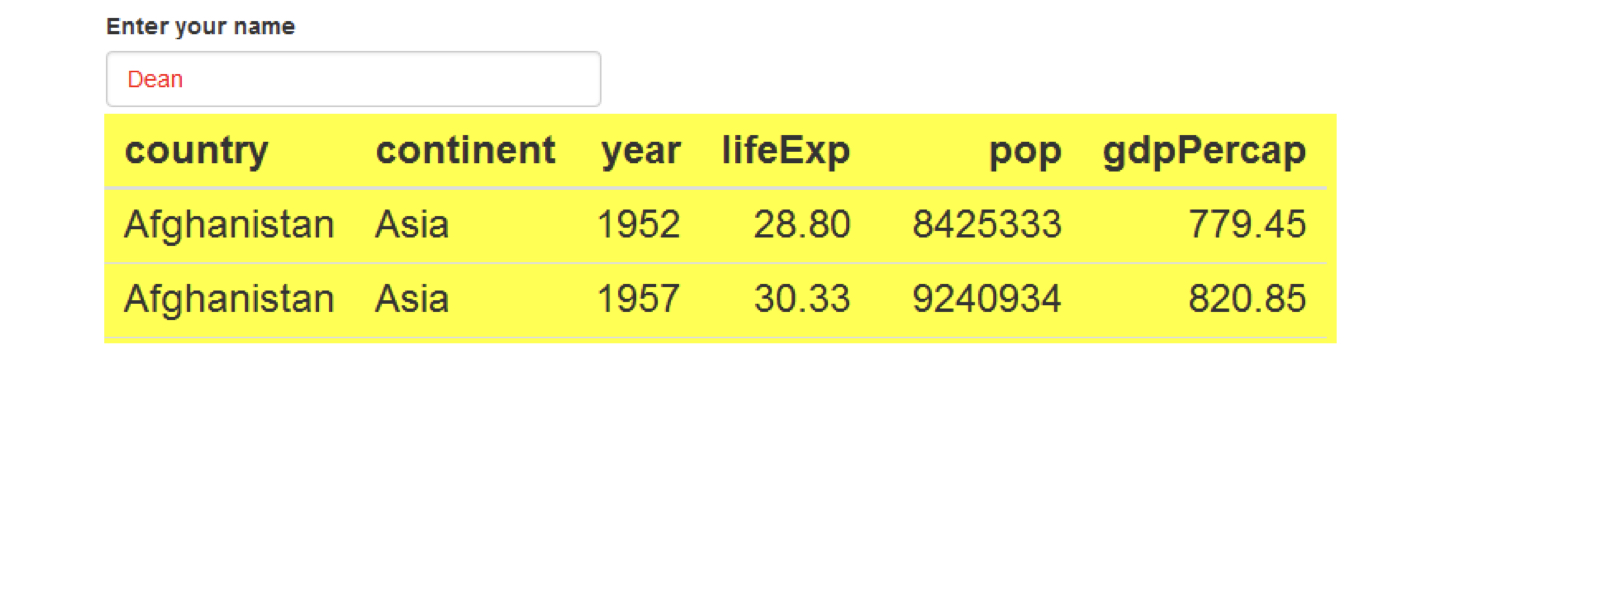
  textInput("name", "Enter your name", "Dean"),
  tableOutput("table")
)
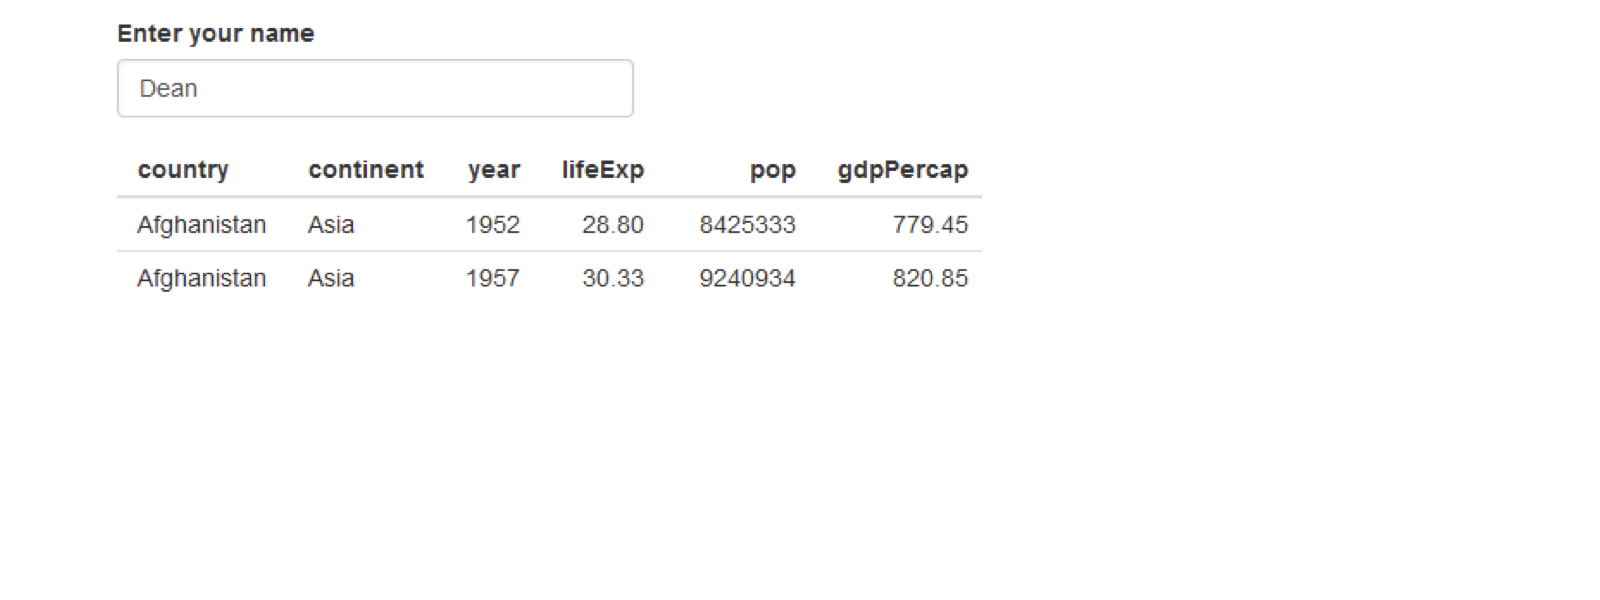
CSS 예시
ui <- fluidPage(
  textInput("name", "Enter your name", "Dean"),
  tableOutput("table")
)
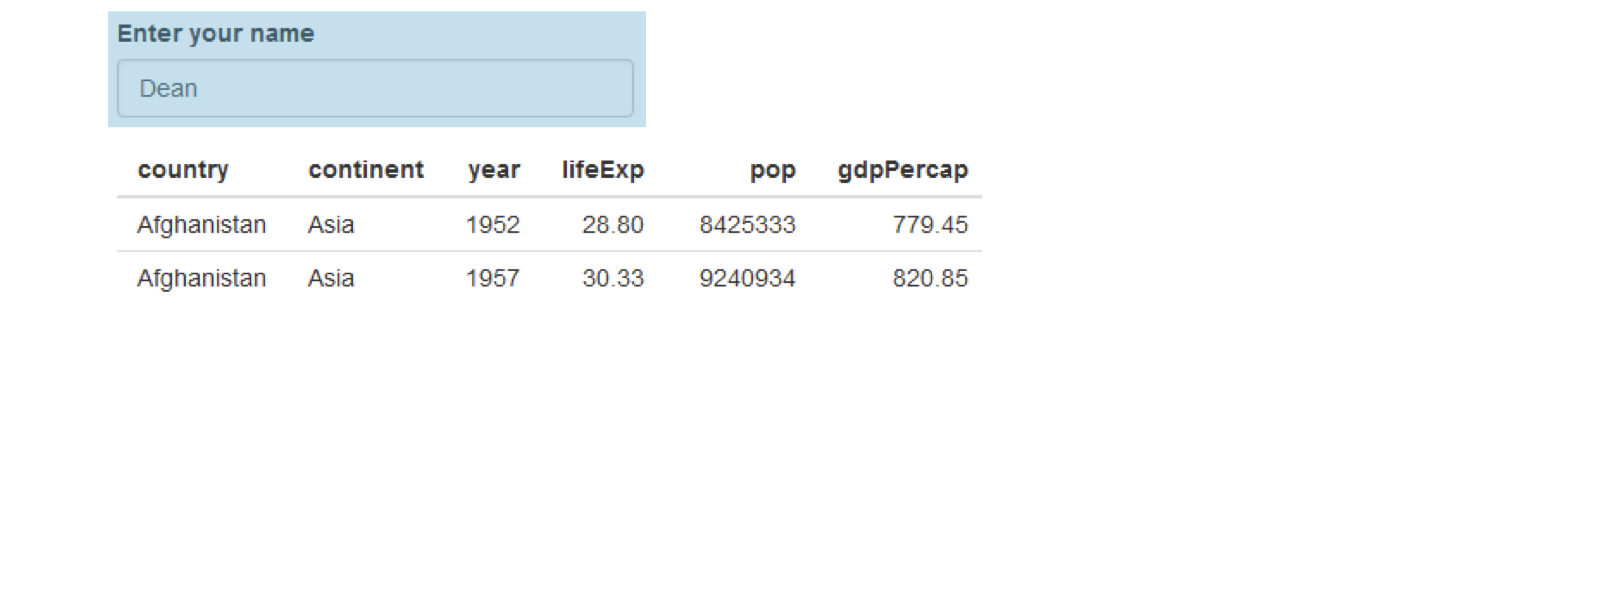
CSS 예시
ui <- fluidPage(
  textInput("name", "Enter your name", "Dean"),
  tableOutput("table")
)
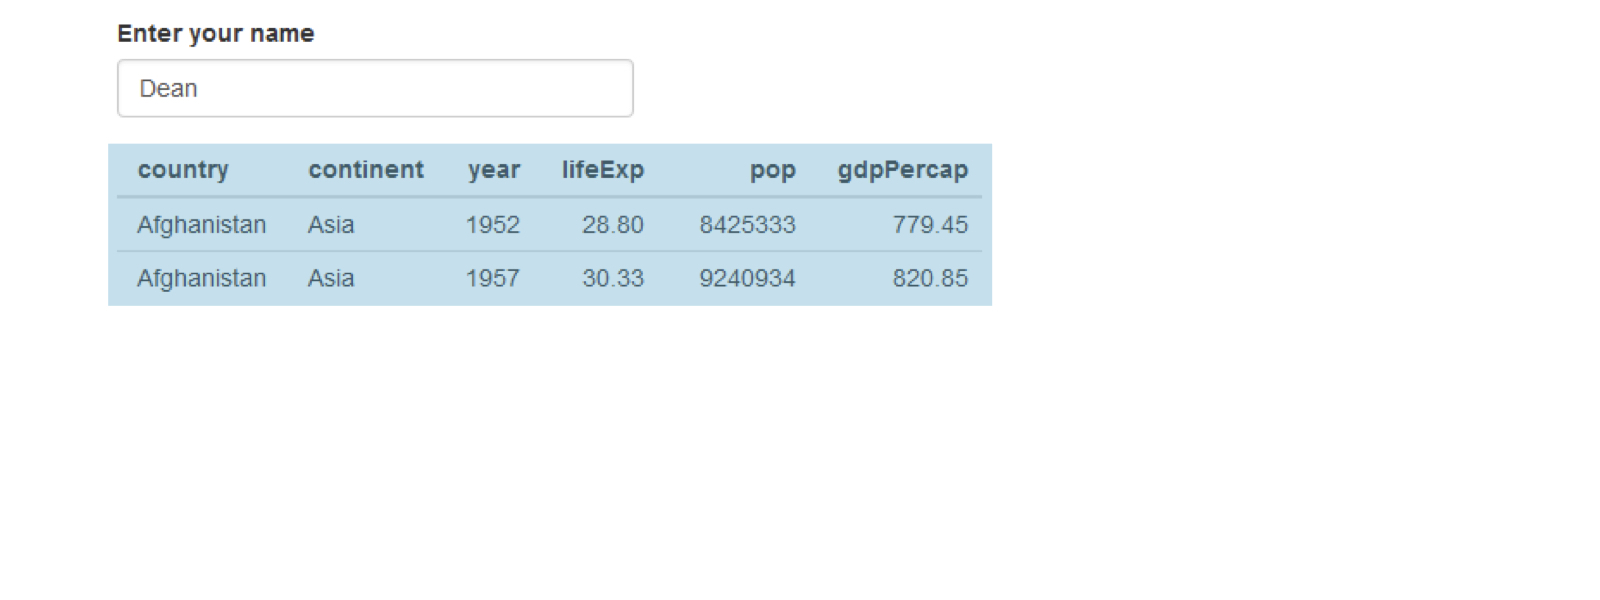
CSS 예시
ui <- fluidPage(
  textInput("name", "Enter your name", "Dean"),
  tableOutput("table")
)