PyTorchで画像を扱う

PyTorchによる中級ディープラーニング

Michal Oleszak

Machine Learning Engineer

雲データセット
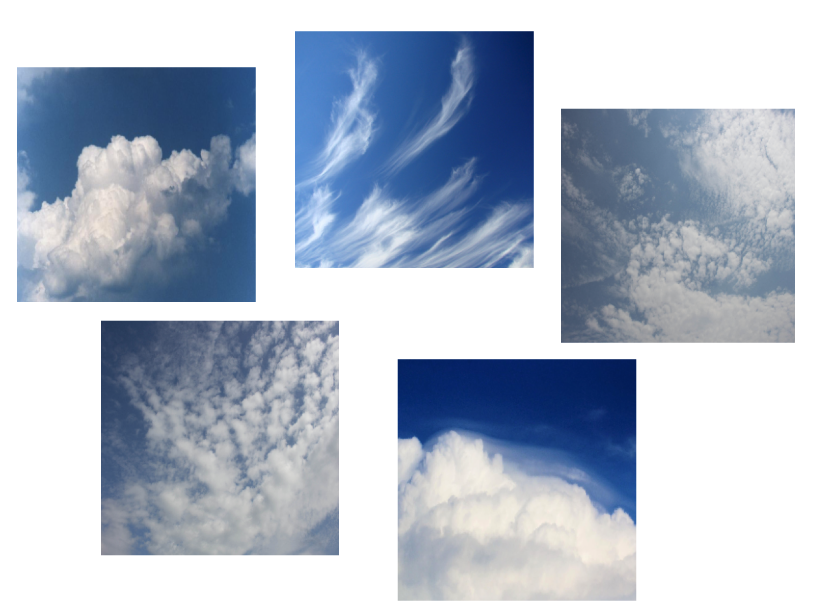
雲データセットのサンプル: 5種類の雲画像。

1 https://www.kaggle.com/competitions/cloud-type-classification2/data
PyTorchによる中級ディープラーニング

画像とは

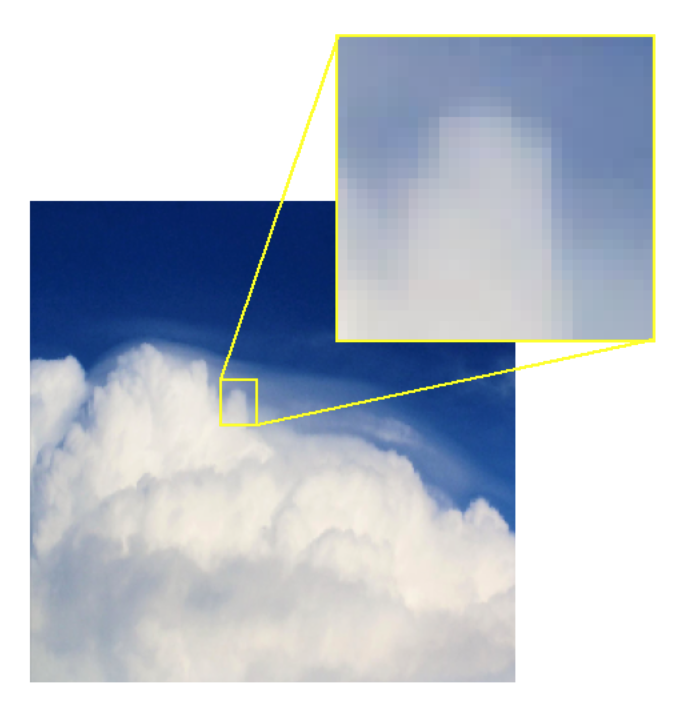
雲画像の一部を拡大し、ピクセルが見える図。

  • 画像はピクセル(picture elements)で構成
  • 各ピクセルは色情報を持つ

  • グレースケール: 0〜255 の整数

    • 30:

灰色のボックス

  • カラー: 各色チャネル(Red, Green, Blue)に対する3つの整数
    • RGB = (52, 171, 235):

青色のボックス

PyTorchによる中級ディープラーニング

PyTorchへの画像読み込み

望ましいディレクトリ構成:

clouds_train

- cumulus
- 75cbf18.jpg - ...
- cumulonimbus - ...
clouds_test
- cumulus - cumulonimbus - ...


  • ルートフォルダ: clouds_trainclouds_test
  • 各ルート内: クラスごとに1フォルダ
  • 各クラス内: 画像ファイル
PyTorchによる中級ディープラーニング

PyTorchへの画像読み込み

from torchvision.datasets import ImageFolder
from torchvision import transforms


train_transforms = transforms.Compose([ transforms.ToTensor(), transforms.Resize((128, 128)), ])
dataset_train = ImageFolder( "data/clouds_train", transform=train_transforms, )
  • 変換を定義:

    • Tensorに変換
    • 128×128にリサイズ
  • データセットを作成:

    • データのパス
    • 定義済みの変換
PyTorchによる中級ディープラーニング

画像の表示

dataloader_train = DataLoader(
    dataset_train, 
    shuffle=True, 
    batch_size=1,
)

image, label = next(iter(dataloader_train))
print(image.shape)
torch.Size([1, 3, 128, 128])
image = image.squeeze().permute(1, 2, 0)
print(image.shape)
torch.Size([128, 128, 3])
import matplotlib.pyplot as plt
plt.imshow(image)
plt.show()

plt.showの出力(雲の画像)

PyTorchによる中級ディープラーニング

データ拡張

train_transforms = transforms.Compose([

transforms.RandomHorizontalFlip(), transforms.RandomRotation(45),
transforms.ToTensor(), transforms.Resize((128, 128)), ])
dataset_train = ImageFolder( "data/clouds/train", transform=train_transforms, )

データ拡張: 元画像にランダム変換を適用してデータを増やす

  • 訓練データの規模と多様性を拡大
  • モデルのロバスト性を向上
  • 過学習を軽減

回転変換を示す3枚の雲画像

PyTorchによる中級ディープラーニング

Passons à la pratique !

PyTorchによる中級ディープラーニング

Preparing Video For Download...