Congratulations!
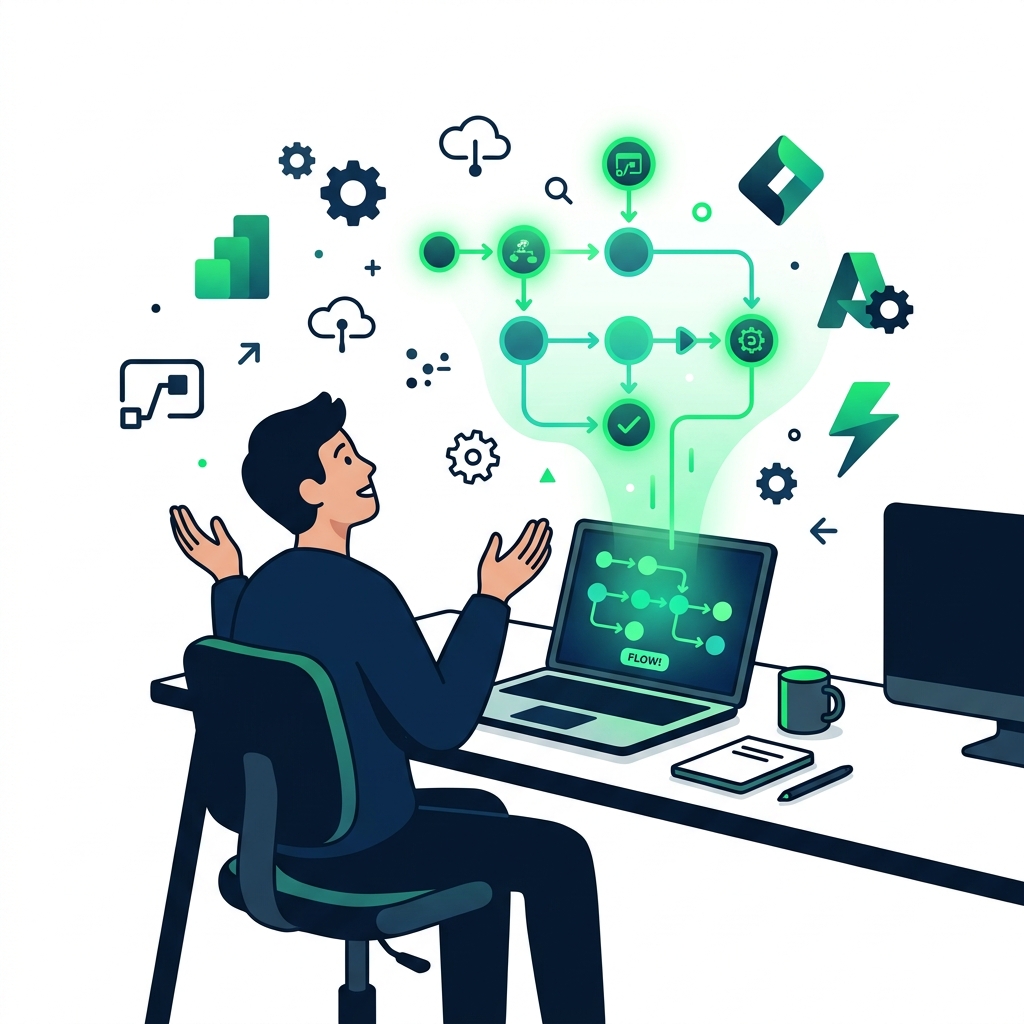
Introduction to Power Automate

Anushika Agarwal
Cloud Data Engineer
Chapter 1: Getting Started
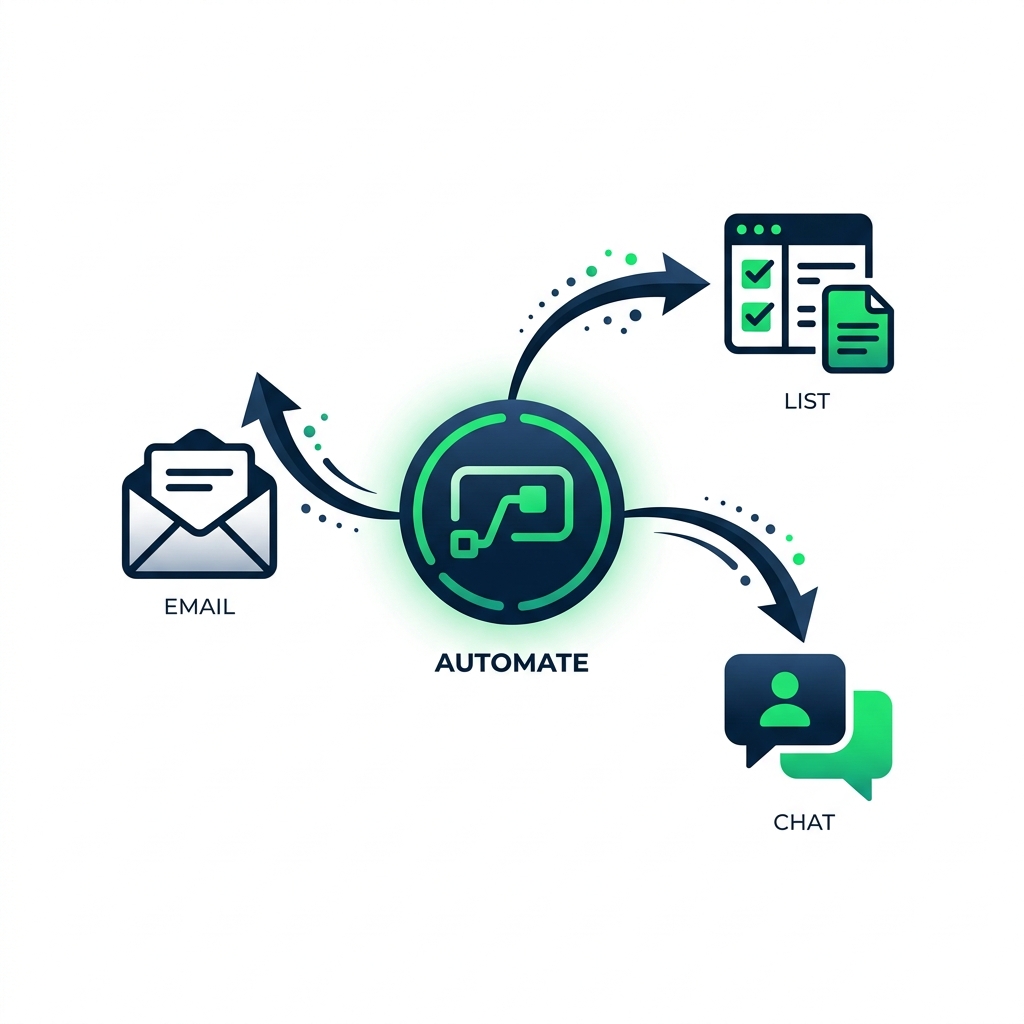
Chapter 2: Connecting to the World
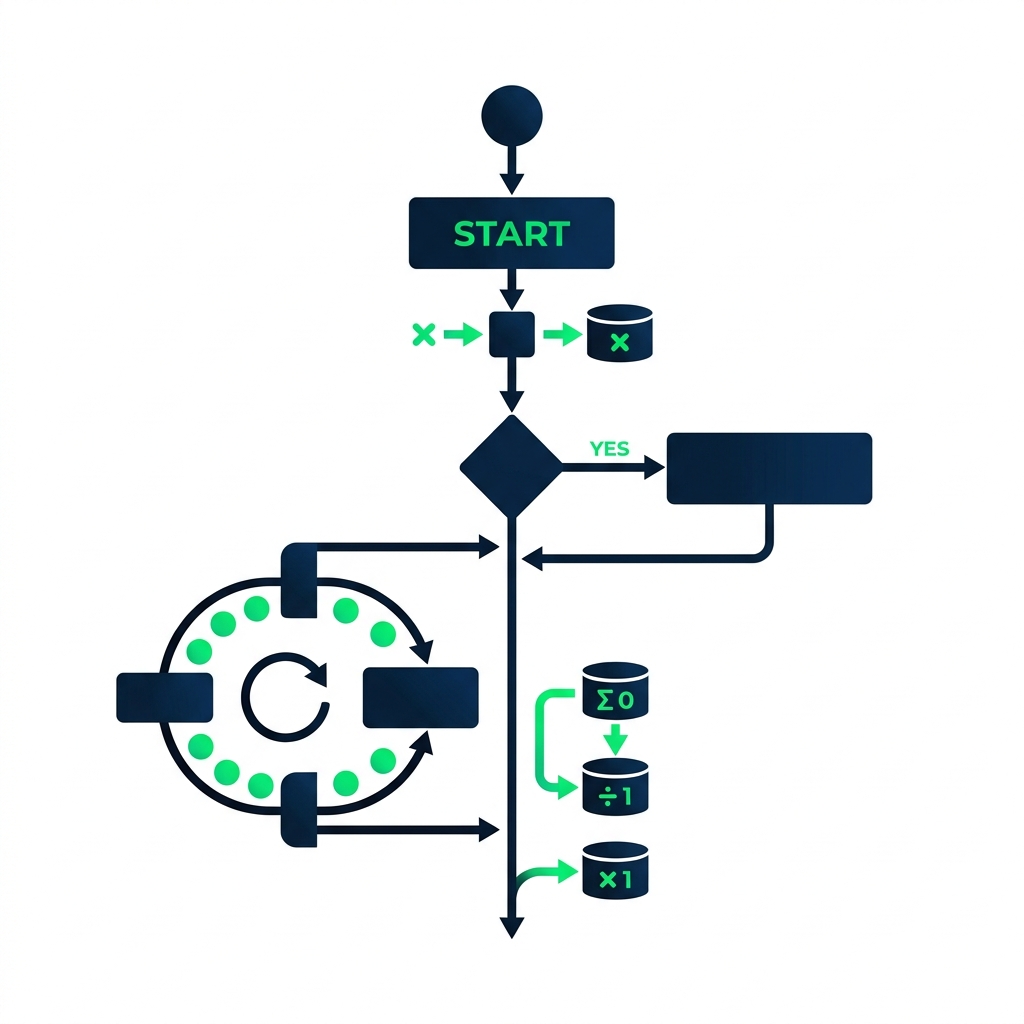
Chapter 3: Adding Logic and Intelligence
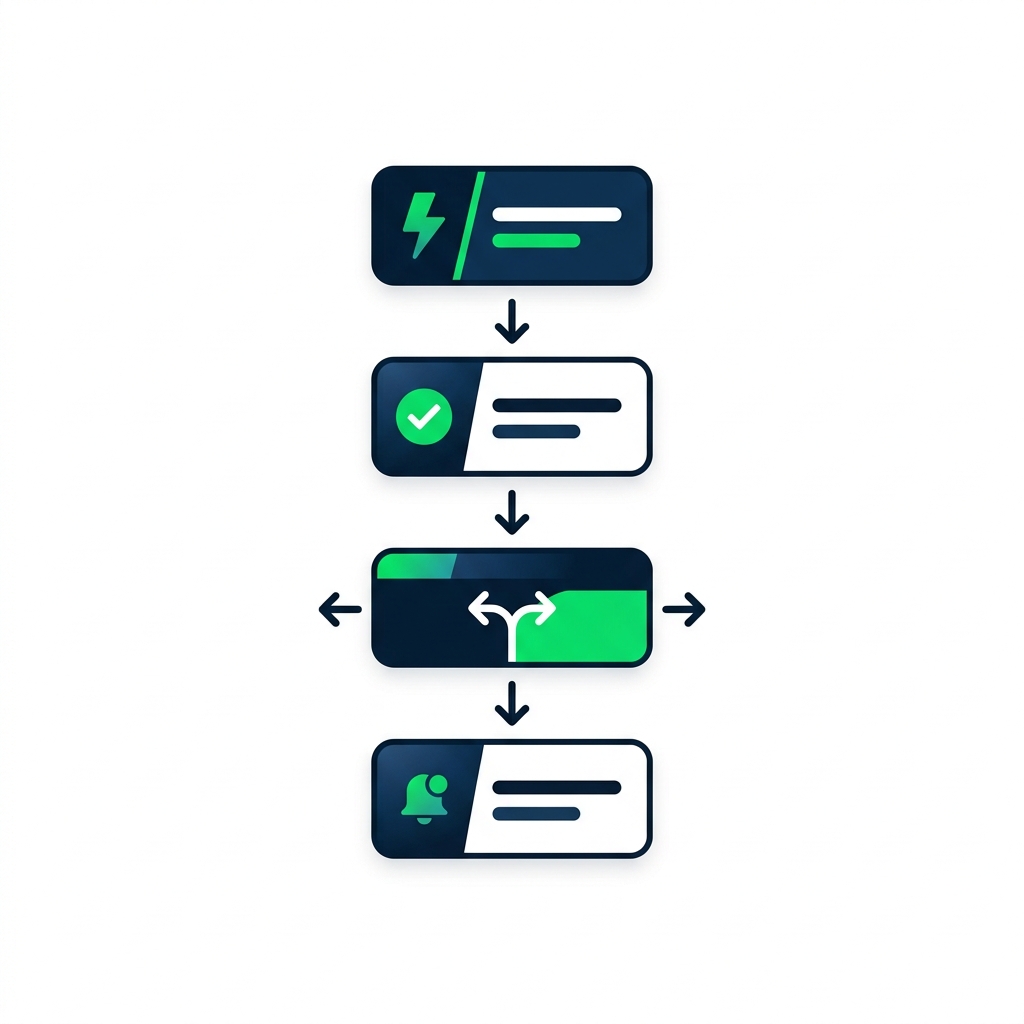
Chapter 4: Putting It All Together
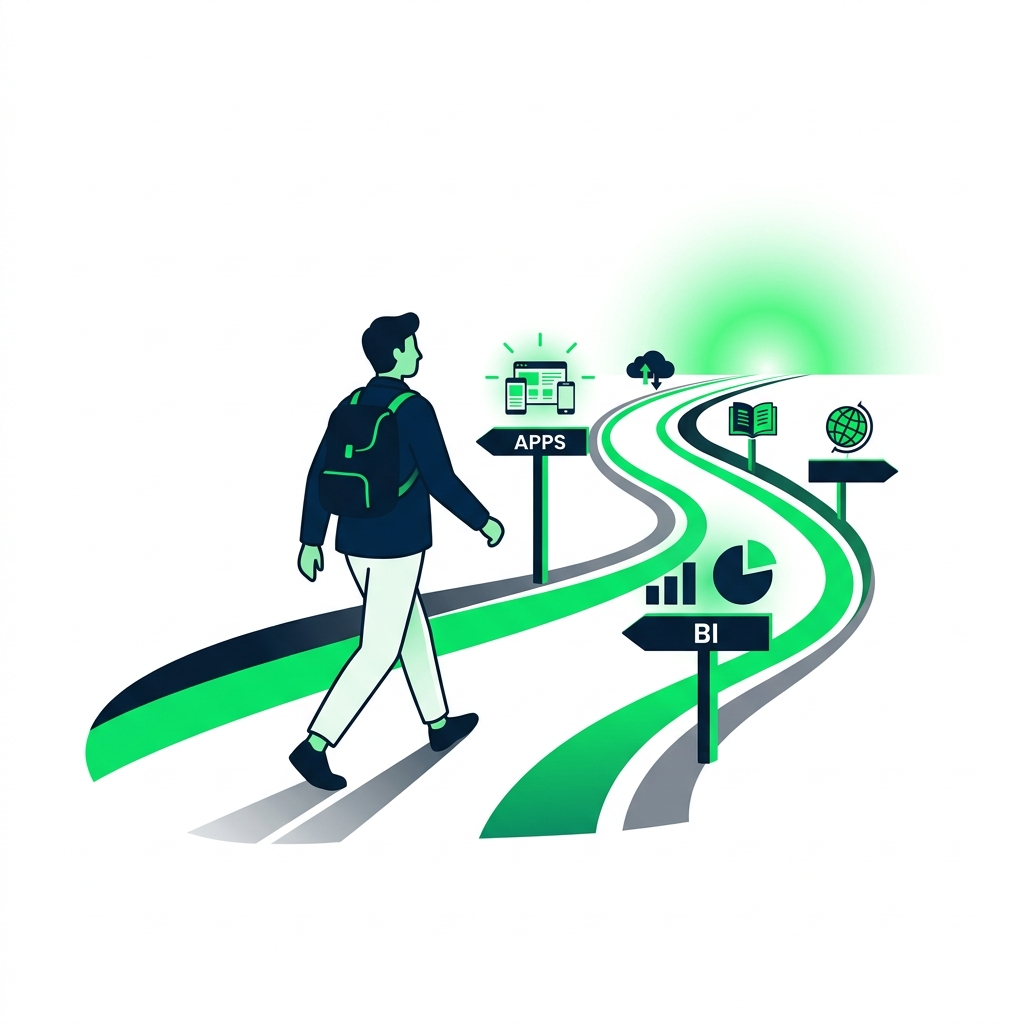
Continue your journey
Introduction to Power Automate
Anushika Agarwal
Cloud Data Engineer

