Úvod do testování v Javě
Maria Milusheva
Senior Software Engineer

Napišme test pro metodu addTwoNumbers():
public int addTwoNumbers(int a, int b) {
return a + b;
}
JUnit nainstalujte pomocí IDE nebo nástrojů pro sestavení (příklad viz citace)
Každý test musí mít anotaci @Test:
import org.junit.jupiter.api.Test;
@Test
// Zde bude testovací metoda
Anotace – speciální metadata určující, jak má být metoda zpracována kompilátory a frameworky. Anotace začínají znakem @
import org.junit.jupiter.api.Test; @Testvoid testAddTwoNumbers() {// Arrange - Given int num1 = 2; int num2 = 2;// Act - When int actual = addTwoNumbers(num1, num2);// Assert - Then assertEquals(4, actual); }

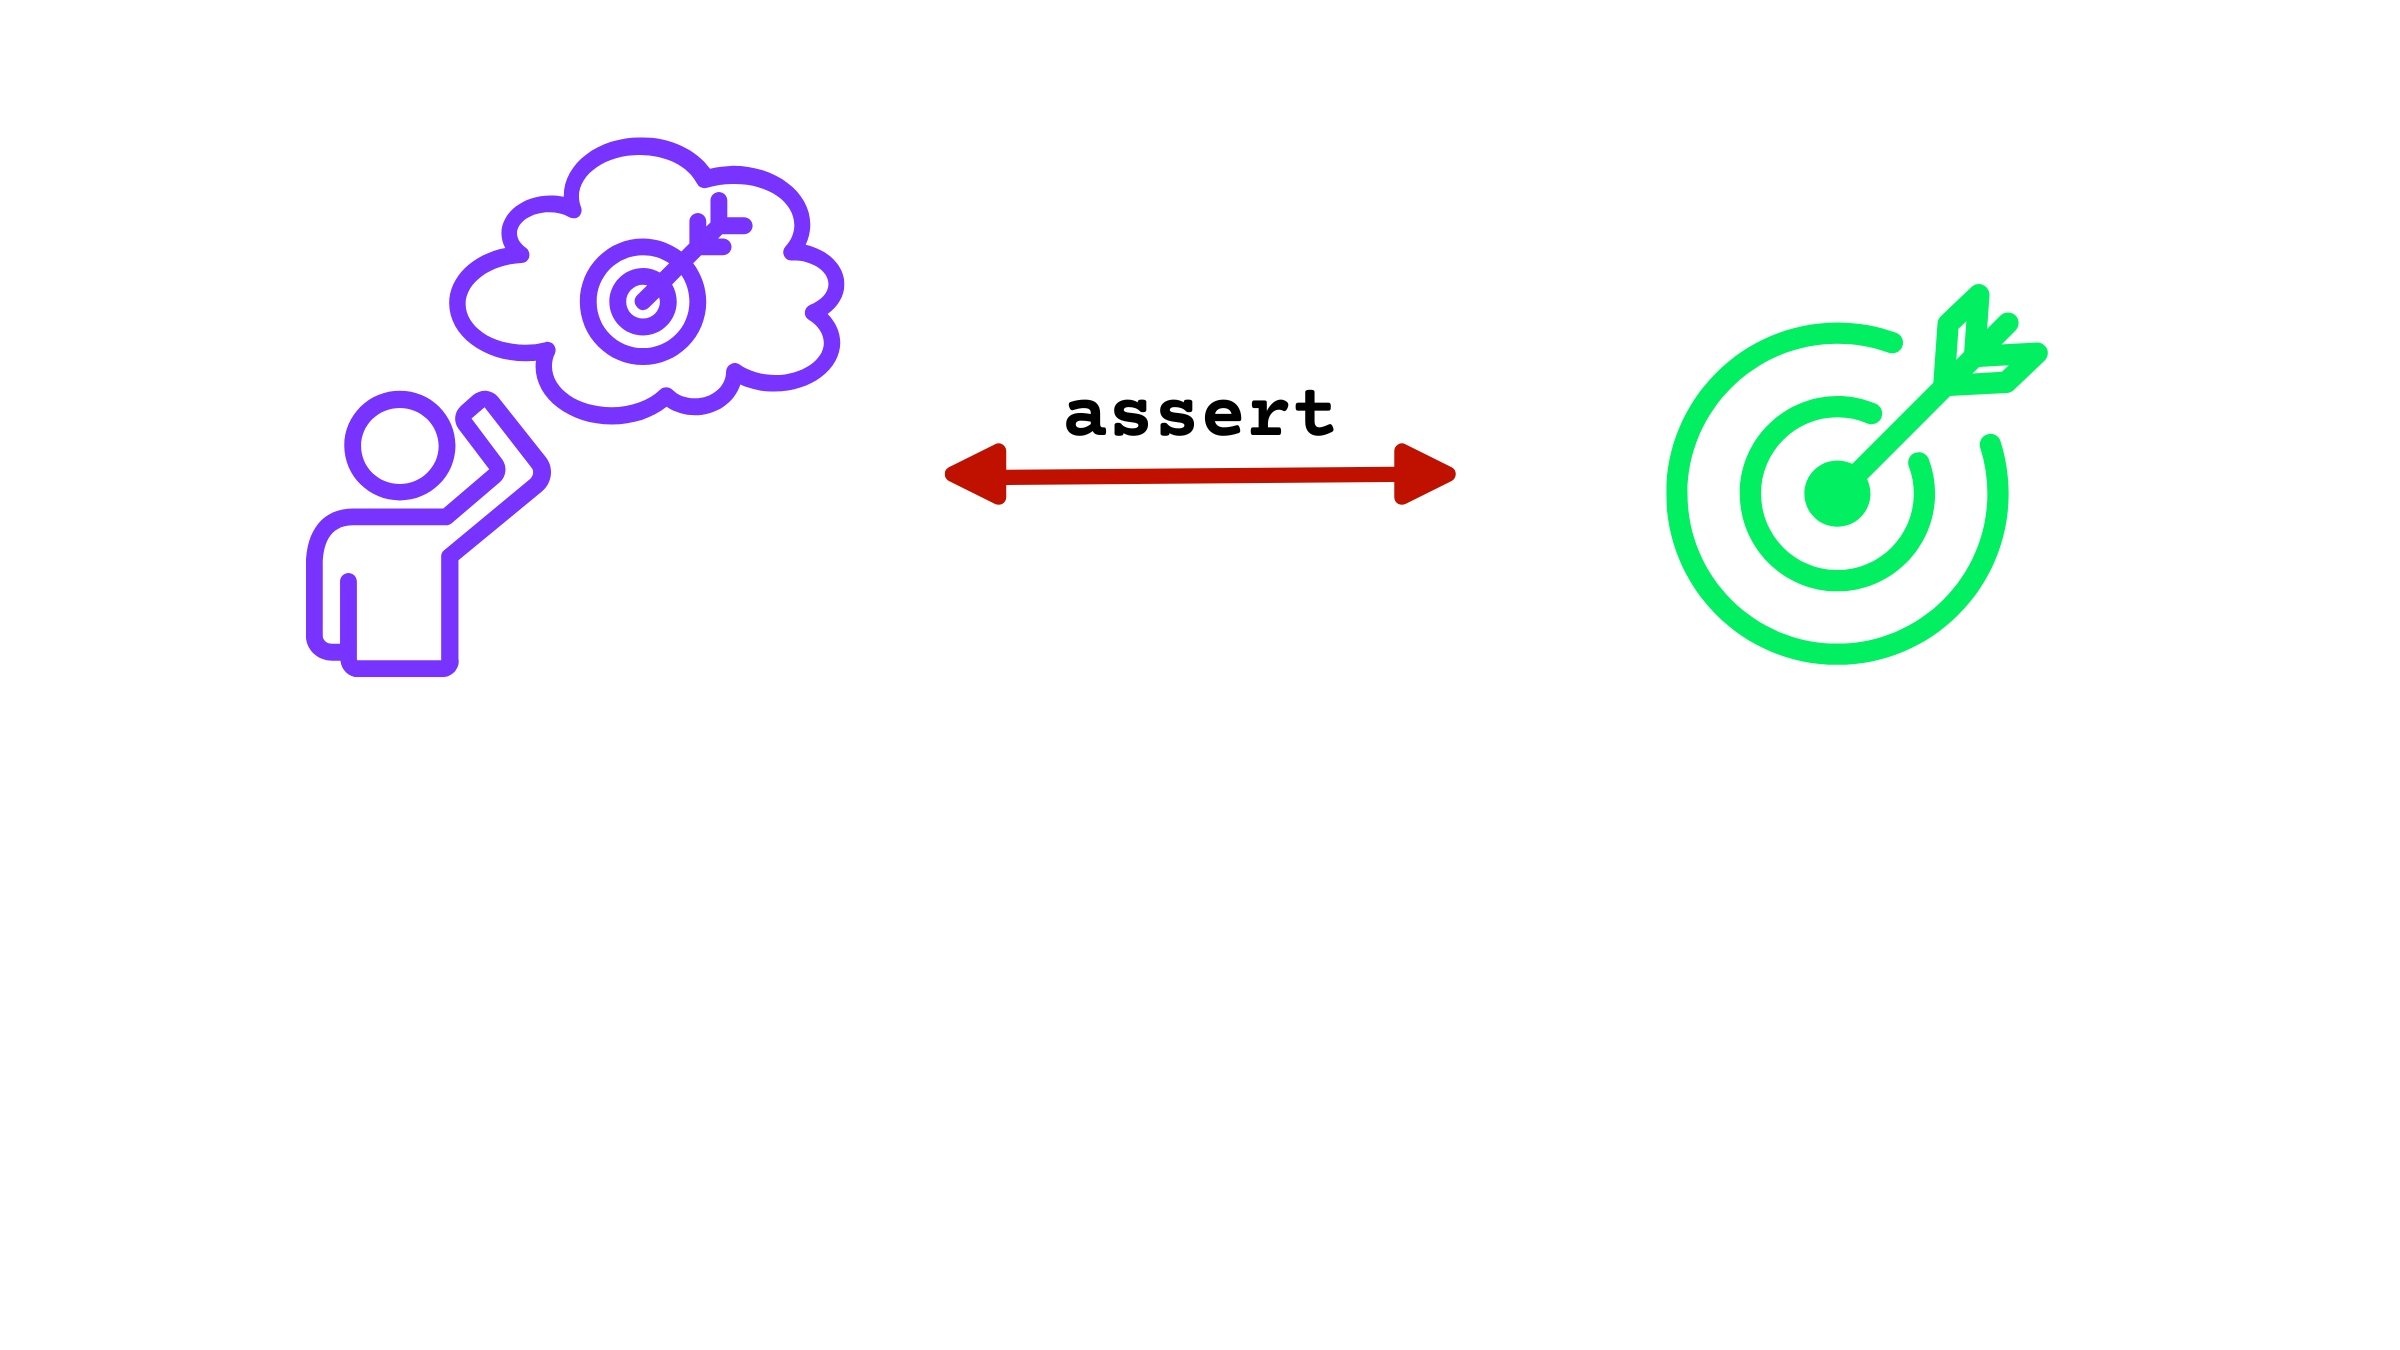
Uvažujme toto tvrzení:
assertEquals(4, actual); // Uspěje, pokud actual == 4
Při úspěchu se zobrazí zpráva Test passed
Pokud si hodnoty nejsou rovny, např. actual = 5:
org.opentest4j.AssertionFailedError: expected: <4> but was: <5>
Pozor na pořadí argumentů! V JUnit je první argument ten očekávaný.
@Testvoid testAddTwoNumbers() { // Given int num1 = 2147483647; int num2 = 1; // When int actual = addTwoNumbers(num1, num2); // Then assertEquals(-2147483648, actual); }
import org.junit.jupiter.api.Assertions.*;
import static com.datacamp.util.testing.CustomJUnitTestLauncher.launchTestsAndPrint;
import static package.Class.method umožňuje používat method přímo jako method, bez uvádění package.Class.methodimport static java.lang.Math.max;
...
max(3,5); // Místo Math.max(3, 5)
Úvod do testování v Javě