使用 FastAPI 在生产环境中部署 AI
Matt Eckerle
Software and Data Engineering Leader
from pydantic import BaseModel
class PredictionRequest(BaseModel):
    text: str
class PredictionResponse(BaseModel):

    text: str

    sentiment: str

    confidence: float
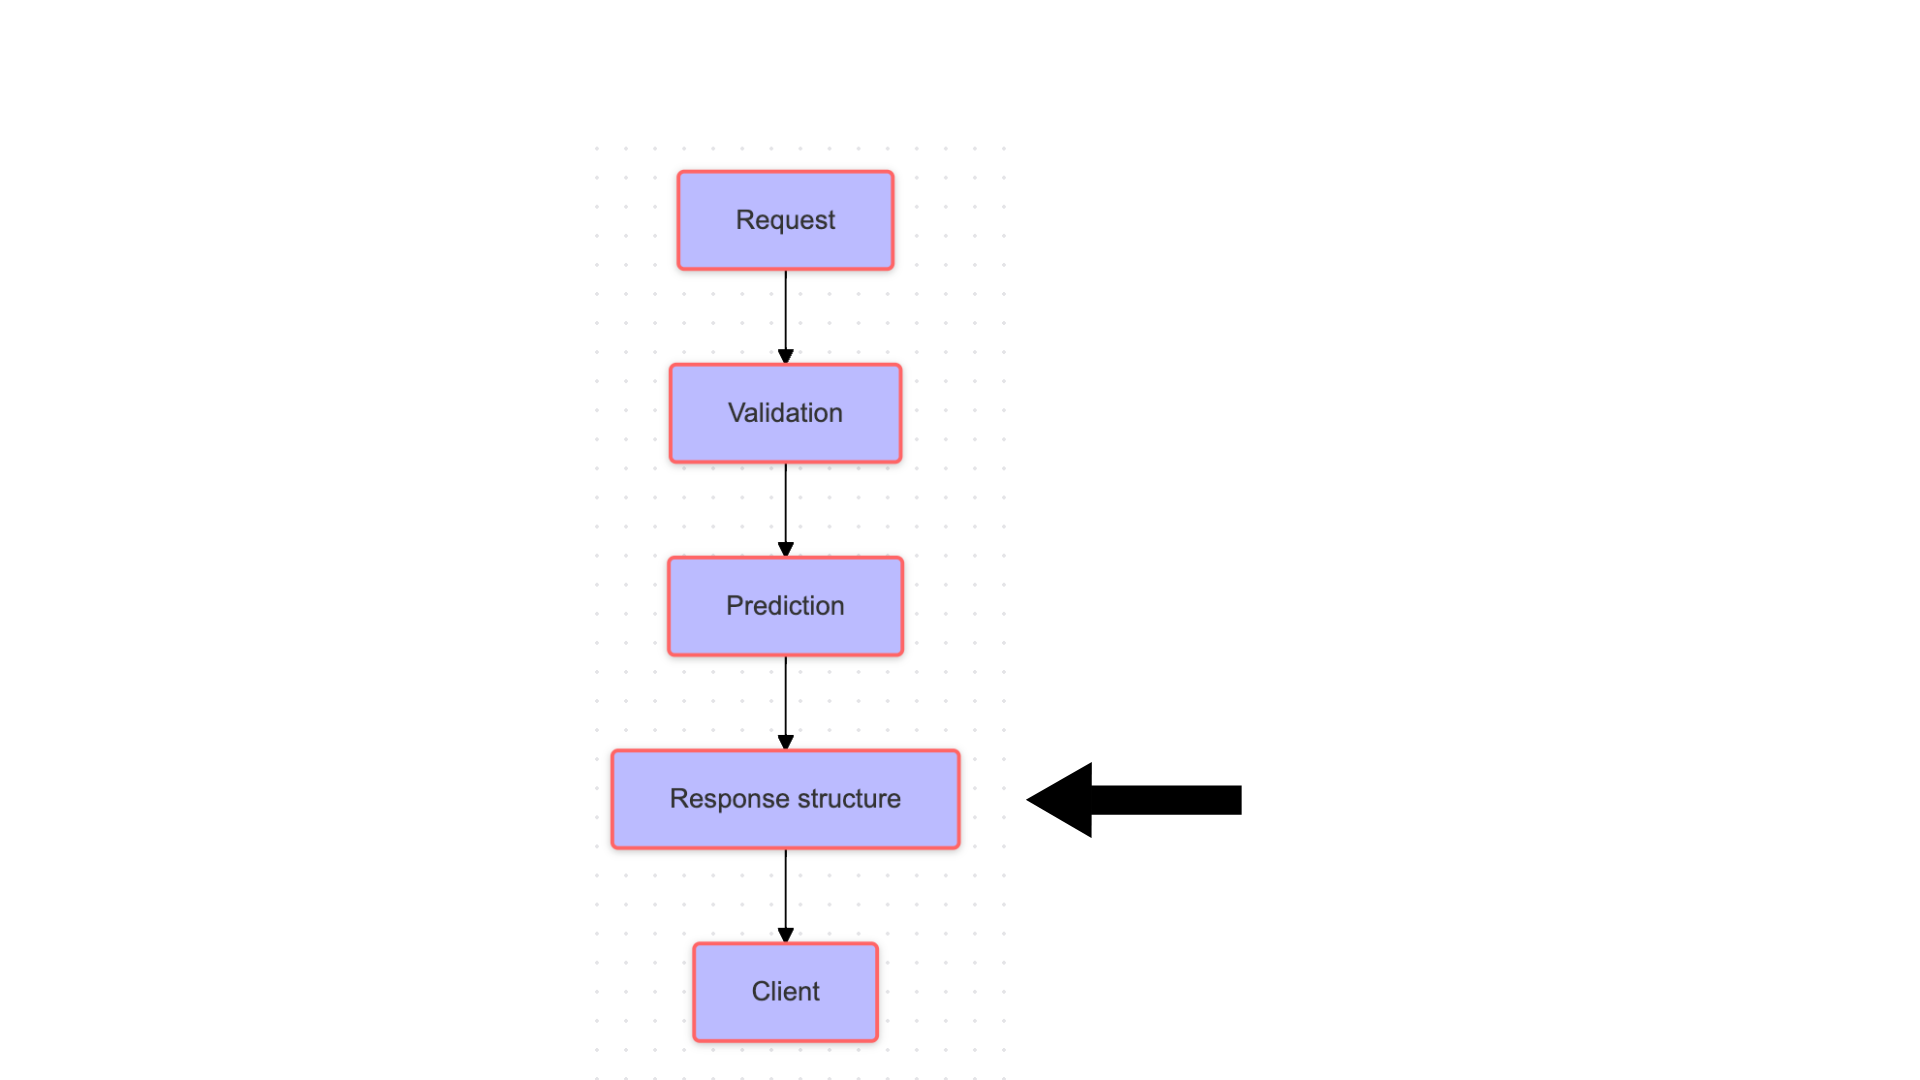
class PredictionResponse(BaseModel):
text: str
sentiment: str
confidence: float
@app.post("/predict")
def predict_sentiment(request: PredictionRequest):
    if sentiment_model is None:
        raise HTTPException(
            status_code=503,
            detail="Model not loaded"
        )

    result = sentiment_model(request.text)

    return PredictionResponse(
            text=request.text,
            sentiment=result[0]["label"],
            confidence=result[0]["score"]
        )
@app.post("/predict") def predict_sentiment(request: PredictionRequest): if sentiment_model is None: raise HTTPException( status_code=503, detail="Model not loaded" )
result = sentiment_model(request.text)
return PredictionResponse( text=request.text, sentiment=result[0]["label"], confidence=result[0]["score"] )
输入 JSON:
{"text": "This movie was fantastic!"}
响应:
{
    "text": "This movie was fantastic!",
    "sentiment": "POSITIVE",
    "confidence": 0.95
}
try:
  result = sentiment_model(request.text)
  return PredictionResponse(
        text=request.text,
        sentiment=result[0]["label"],
        confidence=result[0]["score"]
    )
except Exception:
  raise HTTPException(
        status_code=500,
        detail="Prediction failed"
    )
模型预测失败时的响应
{
    "detail": "Prediction failed",
    "status_code": 500
}
# Example request
import requests

response = requests.post(
    "http://localhost:8000/predict",
    json={"text": "Great product!"}
)
print(response.json())
{
    "text": "Great product!",
    "sentiment": "POSITIVE",
    "confidence": 0.998
}