API 密钥认证

使用 FastAPI 在生产环境中部署 AI

Matt Eckerle

Software and Data Engineering Leader

为什么要保护 API?


  • 阻止未授权用户
  • 使用 API 密钥认证保护 API 端点

一个安全的保险库

使用 FastAPI 在生产环境中部署 AI

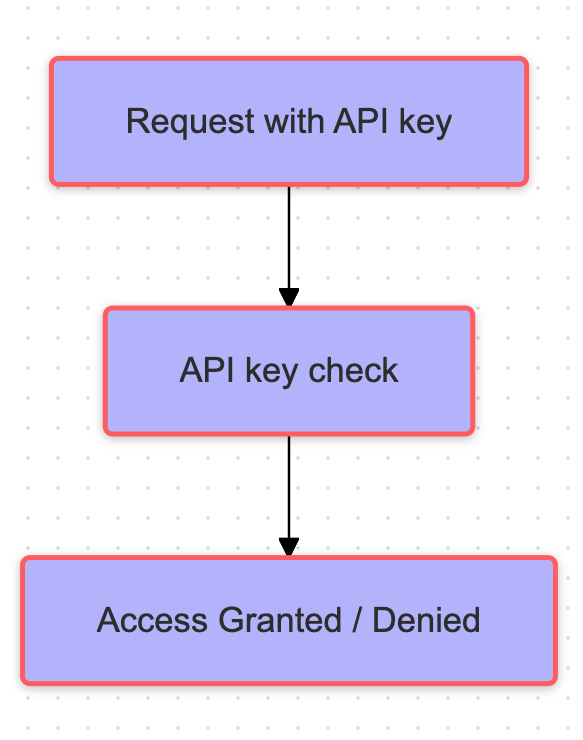
API 密钥如何工作


  • 就像我们 API 的数字口令
  • 放在请求头中发送
  • 访问端点前先校验

解释 API 密钥工作原理的流程图

使用 FastAPI 在生产环境中部署 AI

理解 APIKeyHeader

from fastapi import FastAPI
from fastapi.security import APIKeyHeader
header_scheme = APIKeyHeader(

name="X-API-Key",
auto_error=True
)
使用 FastAPI 在生产环境中部署 AI

端点认证

from fastapi.security import APIKeyHeader
from fastapi import Depends, HTTPException


header_scheme = APIKeyHeader(name="X-API-Key", auto_error=True) API_SECRET_KEY = "your-secret-key"
@app.get("/items/") def read_items( api_key: str = Depends(header_scheme) ):
if api_key != API_SECRET_KEY: raise HTTPException( status_code=403, detail="Invalid API key")
return {"api_key": api_key}
  • ApiKeyHeader
  • 使用 Depends 添加头部方案
  • HTTPException 抛出异常
  • 定义 API 密钥头与密钥
  • 使用 test_api_key 校验密钥
  • 不匹配 API_SECRET_KEY 时抛出 403
使用 FastAPI 在生产环境中部署 AI

应用认证

def verify_api_key(api_key: str = Depends(header_scheme)):
    if api_key != API_KEY:
        raise HTTPException(status_code=403,  detail="Invalid API key")
    return api_key

app = FastAPI( dependencies=[Depends(verify_api_key)] )
@app.post("/predict") def predict_sentiment(text: str):
return { "text": text, "sentiment": "positive", "status": "success" }
使用 FastAPI 在生产环境中部署 AI

测试端点

无效 API 密钥的命令:

curl -X POST \
  http://localhost:8000/predict \
  -H "X-API-Key: wrong-key" \
  -H "Content-Type: application/json" \
  -d '{"text": "This product is amazing!"}'

有效 API 密钥的命令:

curl -X POST \
  http://localhost:8000/predict \
  -H "X-API-Key: your-secret-key" \
  -H "Content-Type: application/json" \
  -d '{"text": "This product is amazing!"}'

无效密钥的输出:

{"detail":"Invalid API key"}


有效密钥的输出:

{"text":"This product is amazing!",
 "sentiment":"positive",
 "status":"success"}
使用 FastAPI 在生产环境中部署 AI

Passons à la pratique !

使用 FastAPI 在生产环境中部署 AI

Preparing Video For Download...