Crearea dashboardurilor cu shinydashboard
Png Kee Seng
Researcher
Lucrăm pentru o agenție de turism din Londra.
Turiștii au nevoie de cazare.
Cum îi putem ajuta?


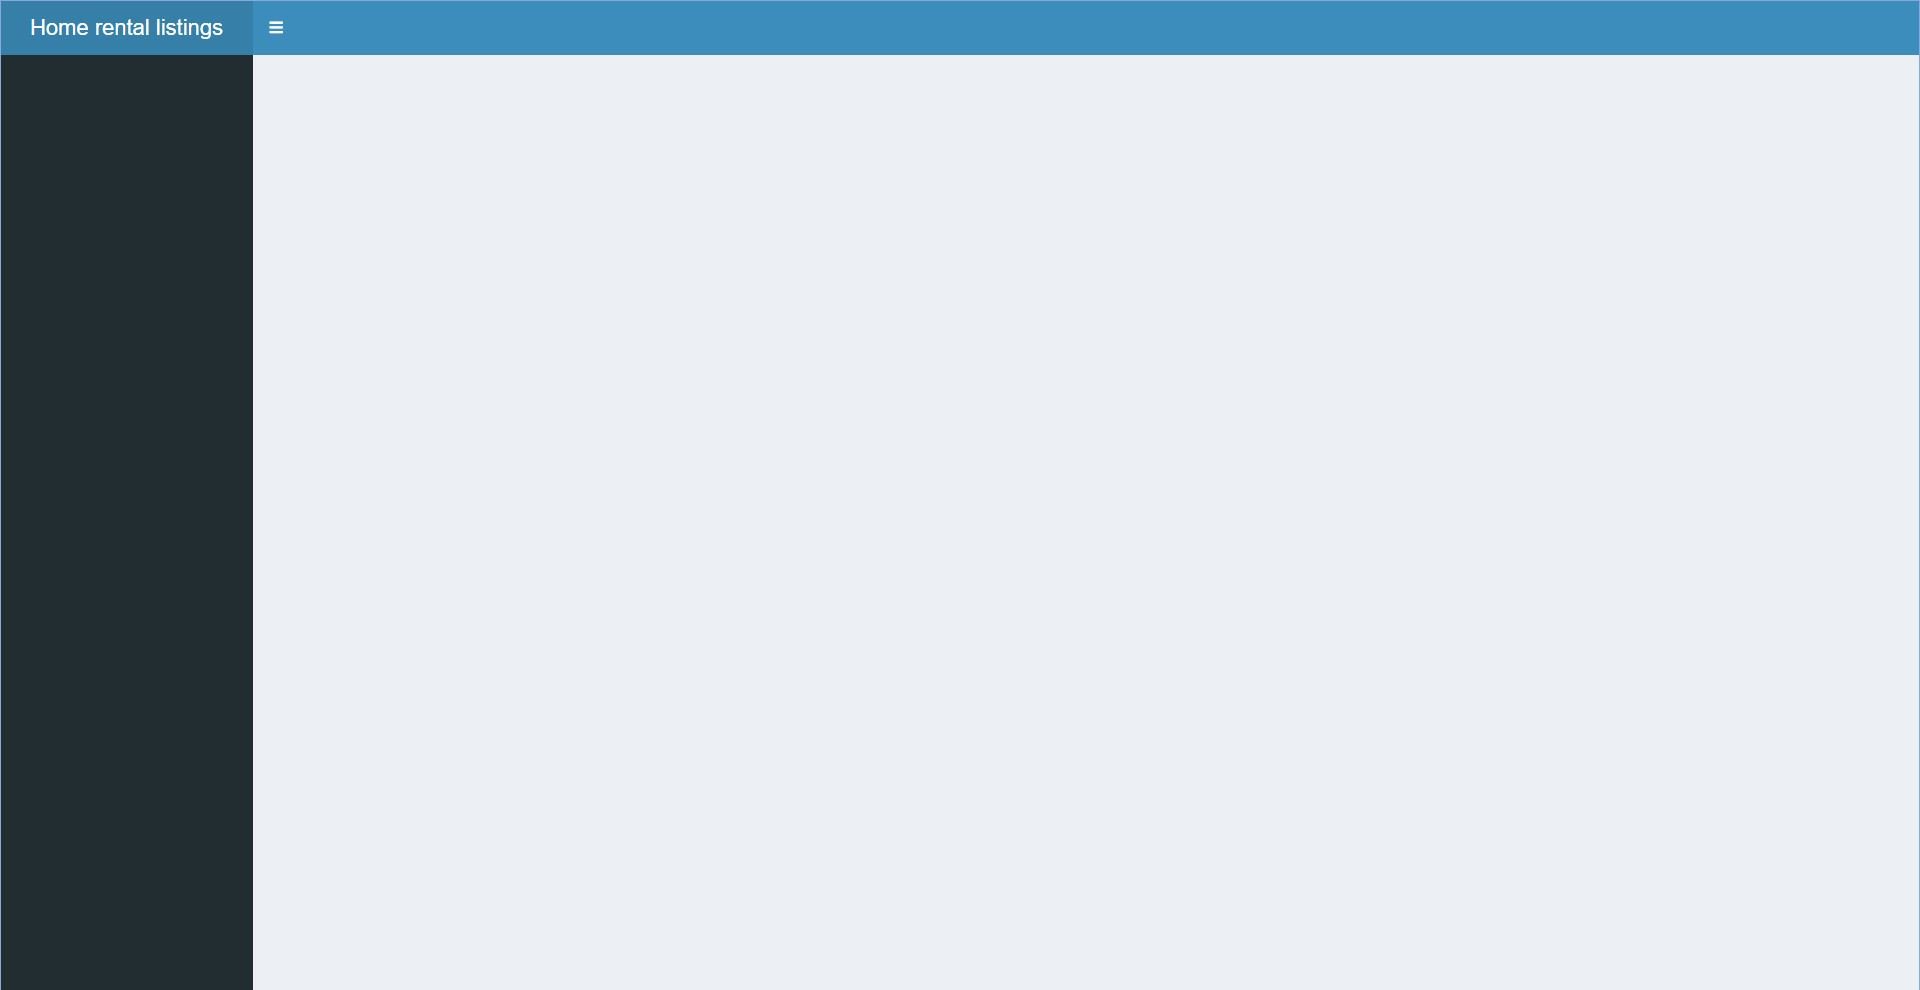
header <- dashboardHeader(
title = "Home rental listings")
sidebar <- dashboardSidebar()
body <- dashboardBody()
ui <- dashboardPage(header,
sidebar,
body)
server <- function(input, output) {}
shinyApp(ui, server)
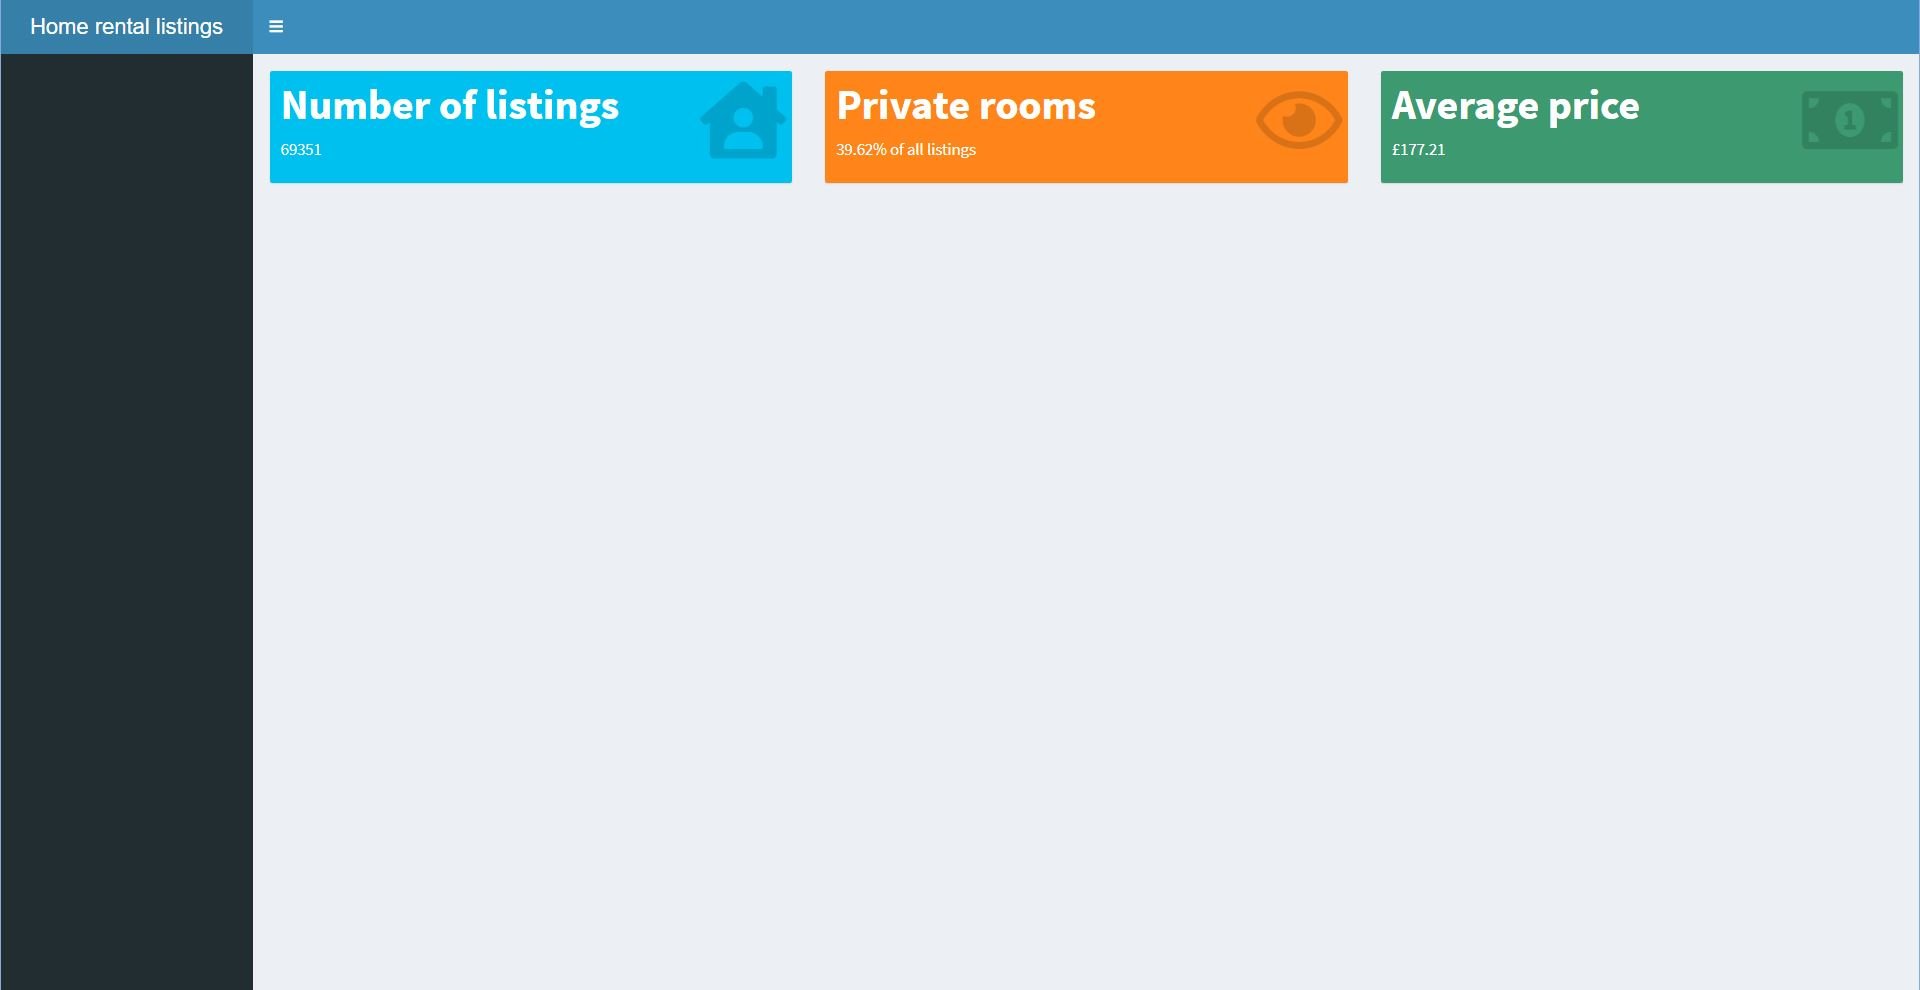
În body:
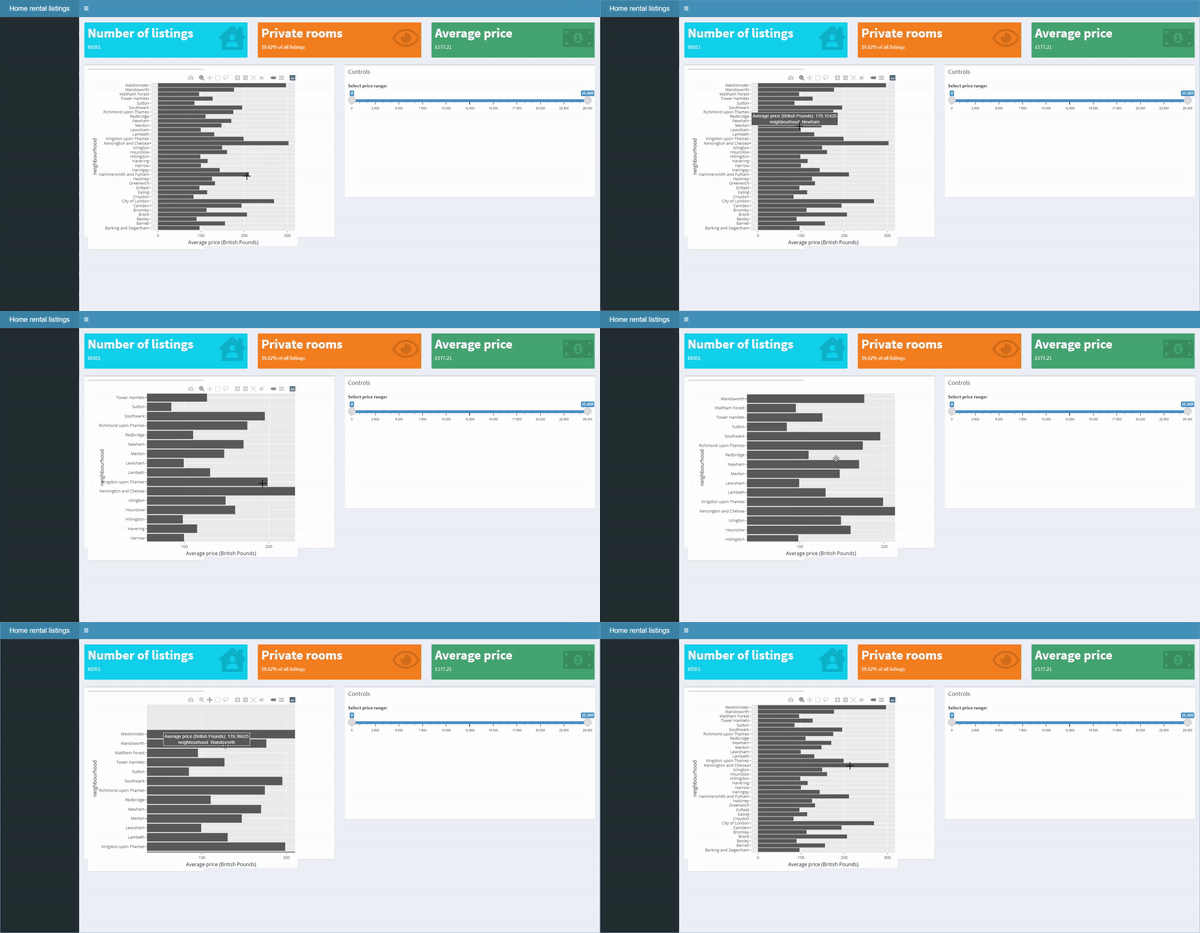
fluidRow(
valueBoxOutput(outputId = "count"),
valueBoxOutput(outputId = "prop"),
valueBoxOutput(outputId = "avg"))
În server:
output$count <- renderValueBox({
valueBox(..., icon = ...)})
output$prop <- renderValueBox(...)
...
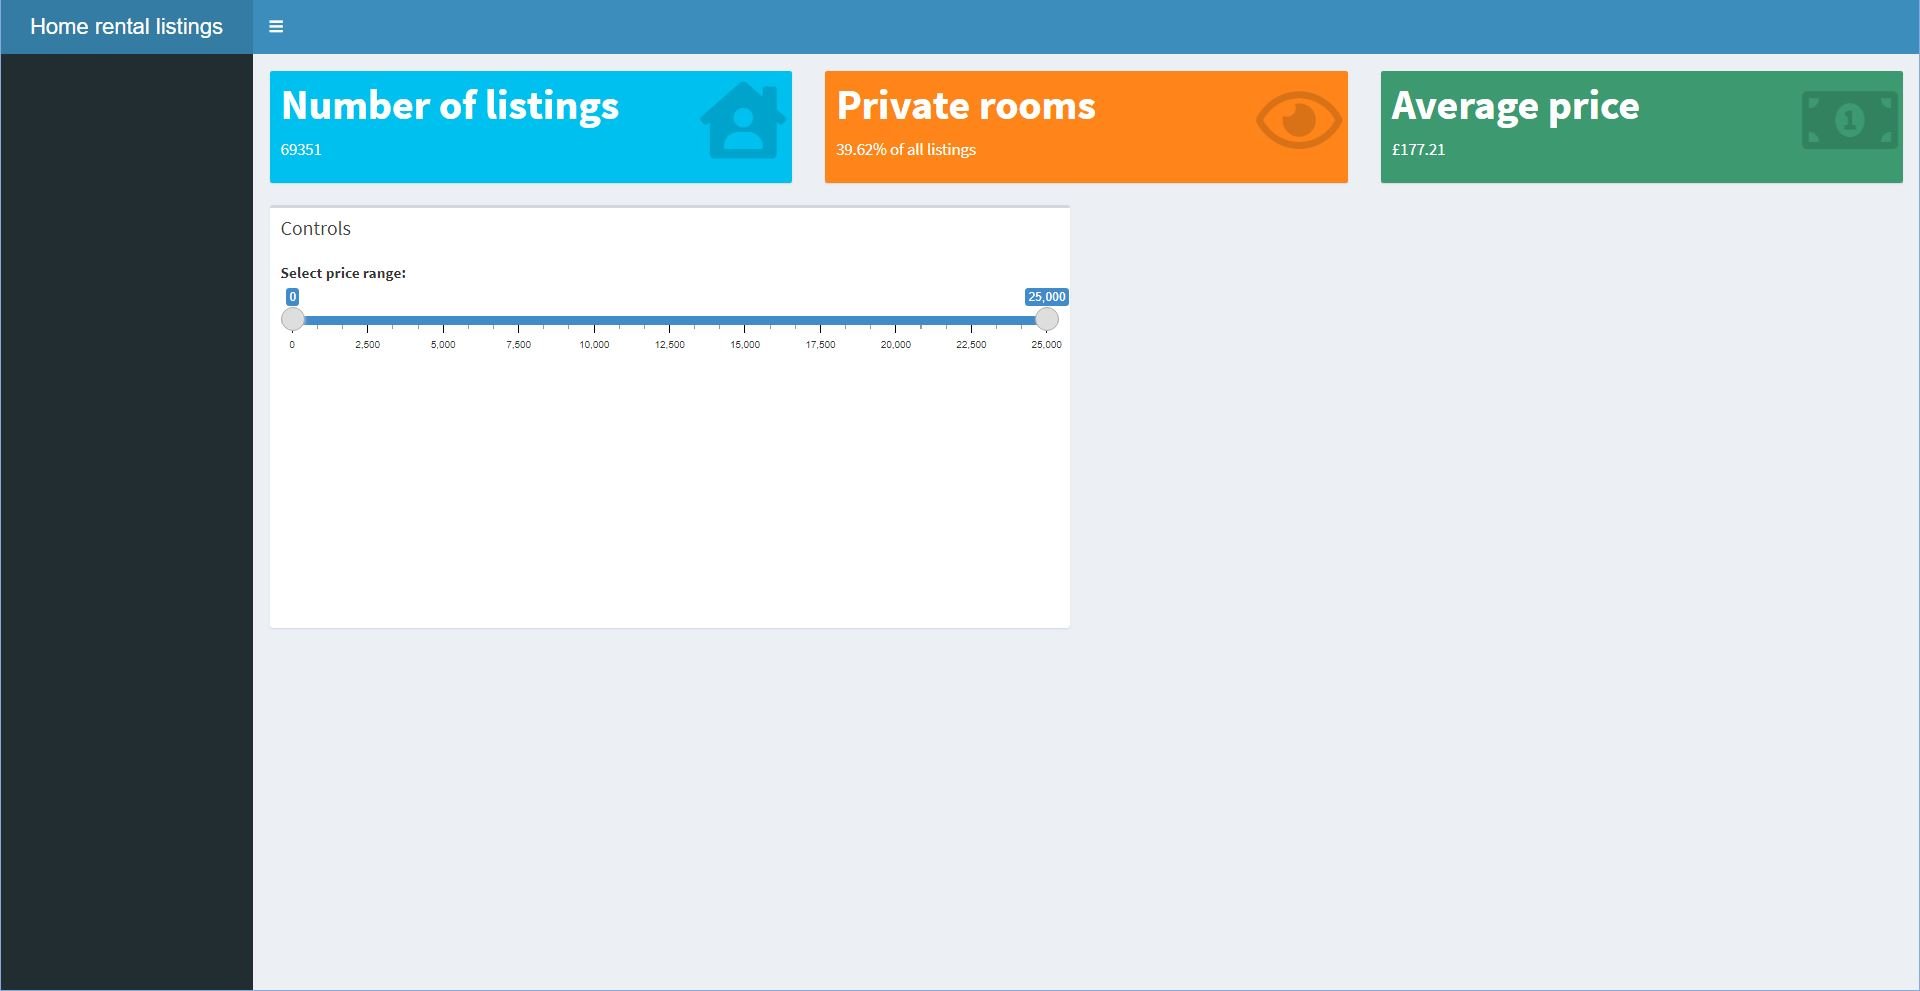
În body:
box(
side = "right", ...,
sliderInput(inputId = "range",
label = "Select price range:",
min = 0,
max = 25000,
value = c(0,25000))
))
Actualizați server, folosind input$range[1] și input$range[2]

În body:
plotlyOutput("plots",
height = 500,
width = 600)
În server:
output$plots <- renderPlotly({
...
})

În body:
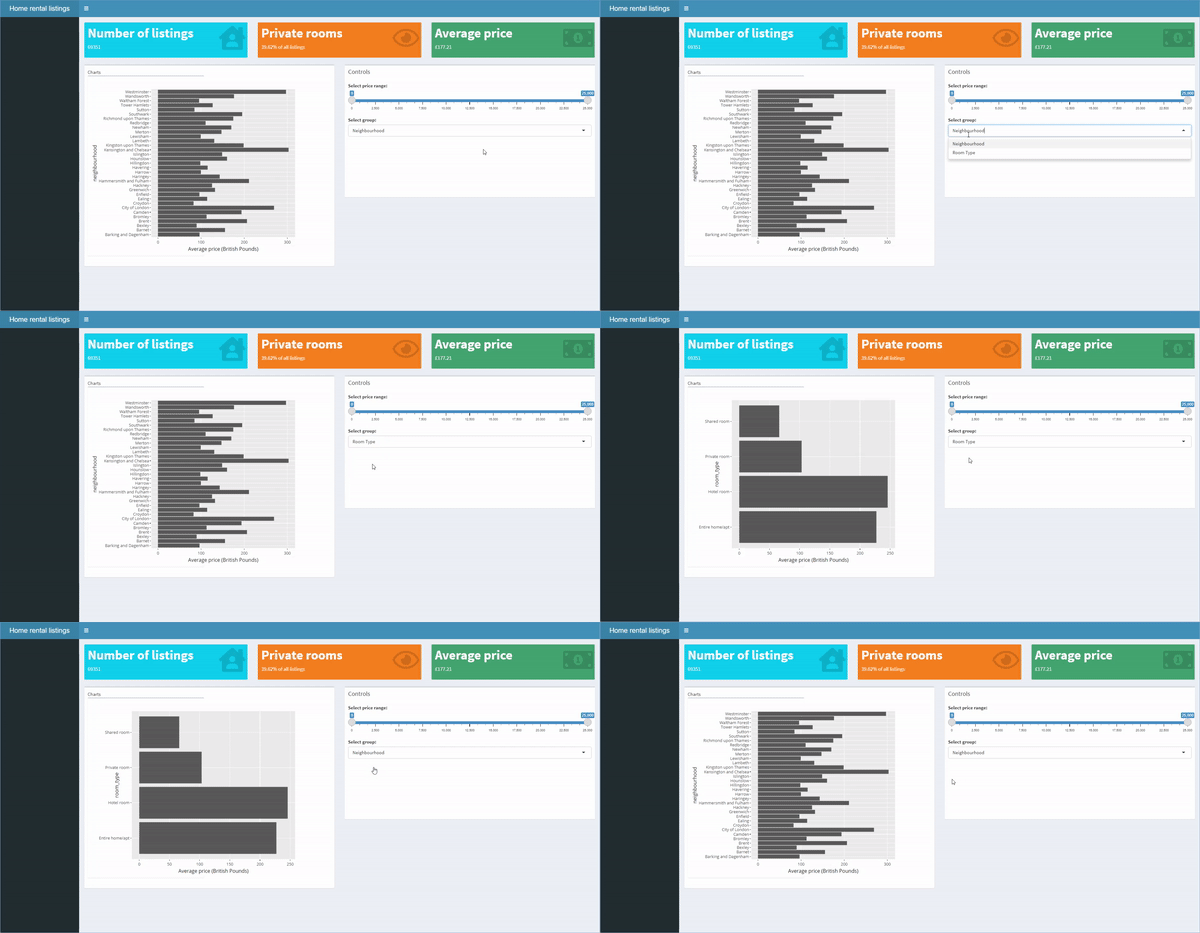
selectInput(inputId = "select",
label = "Select group:",
choices = c("Neighbourhood",
"Room Type"))
În server:
output$plots <- renderPlotly({
if (input$select == ...){plot1}
else if(input$select == ...){plot2}
})
În body:
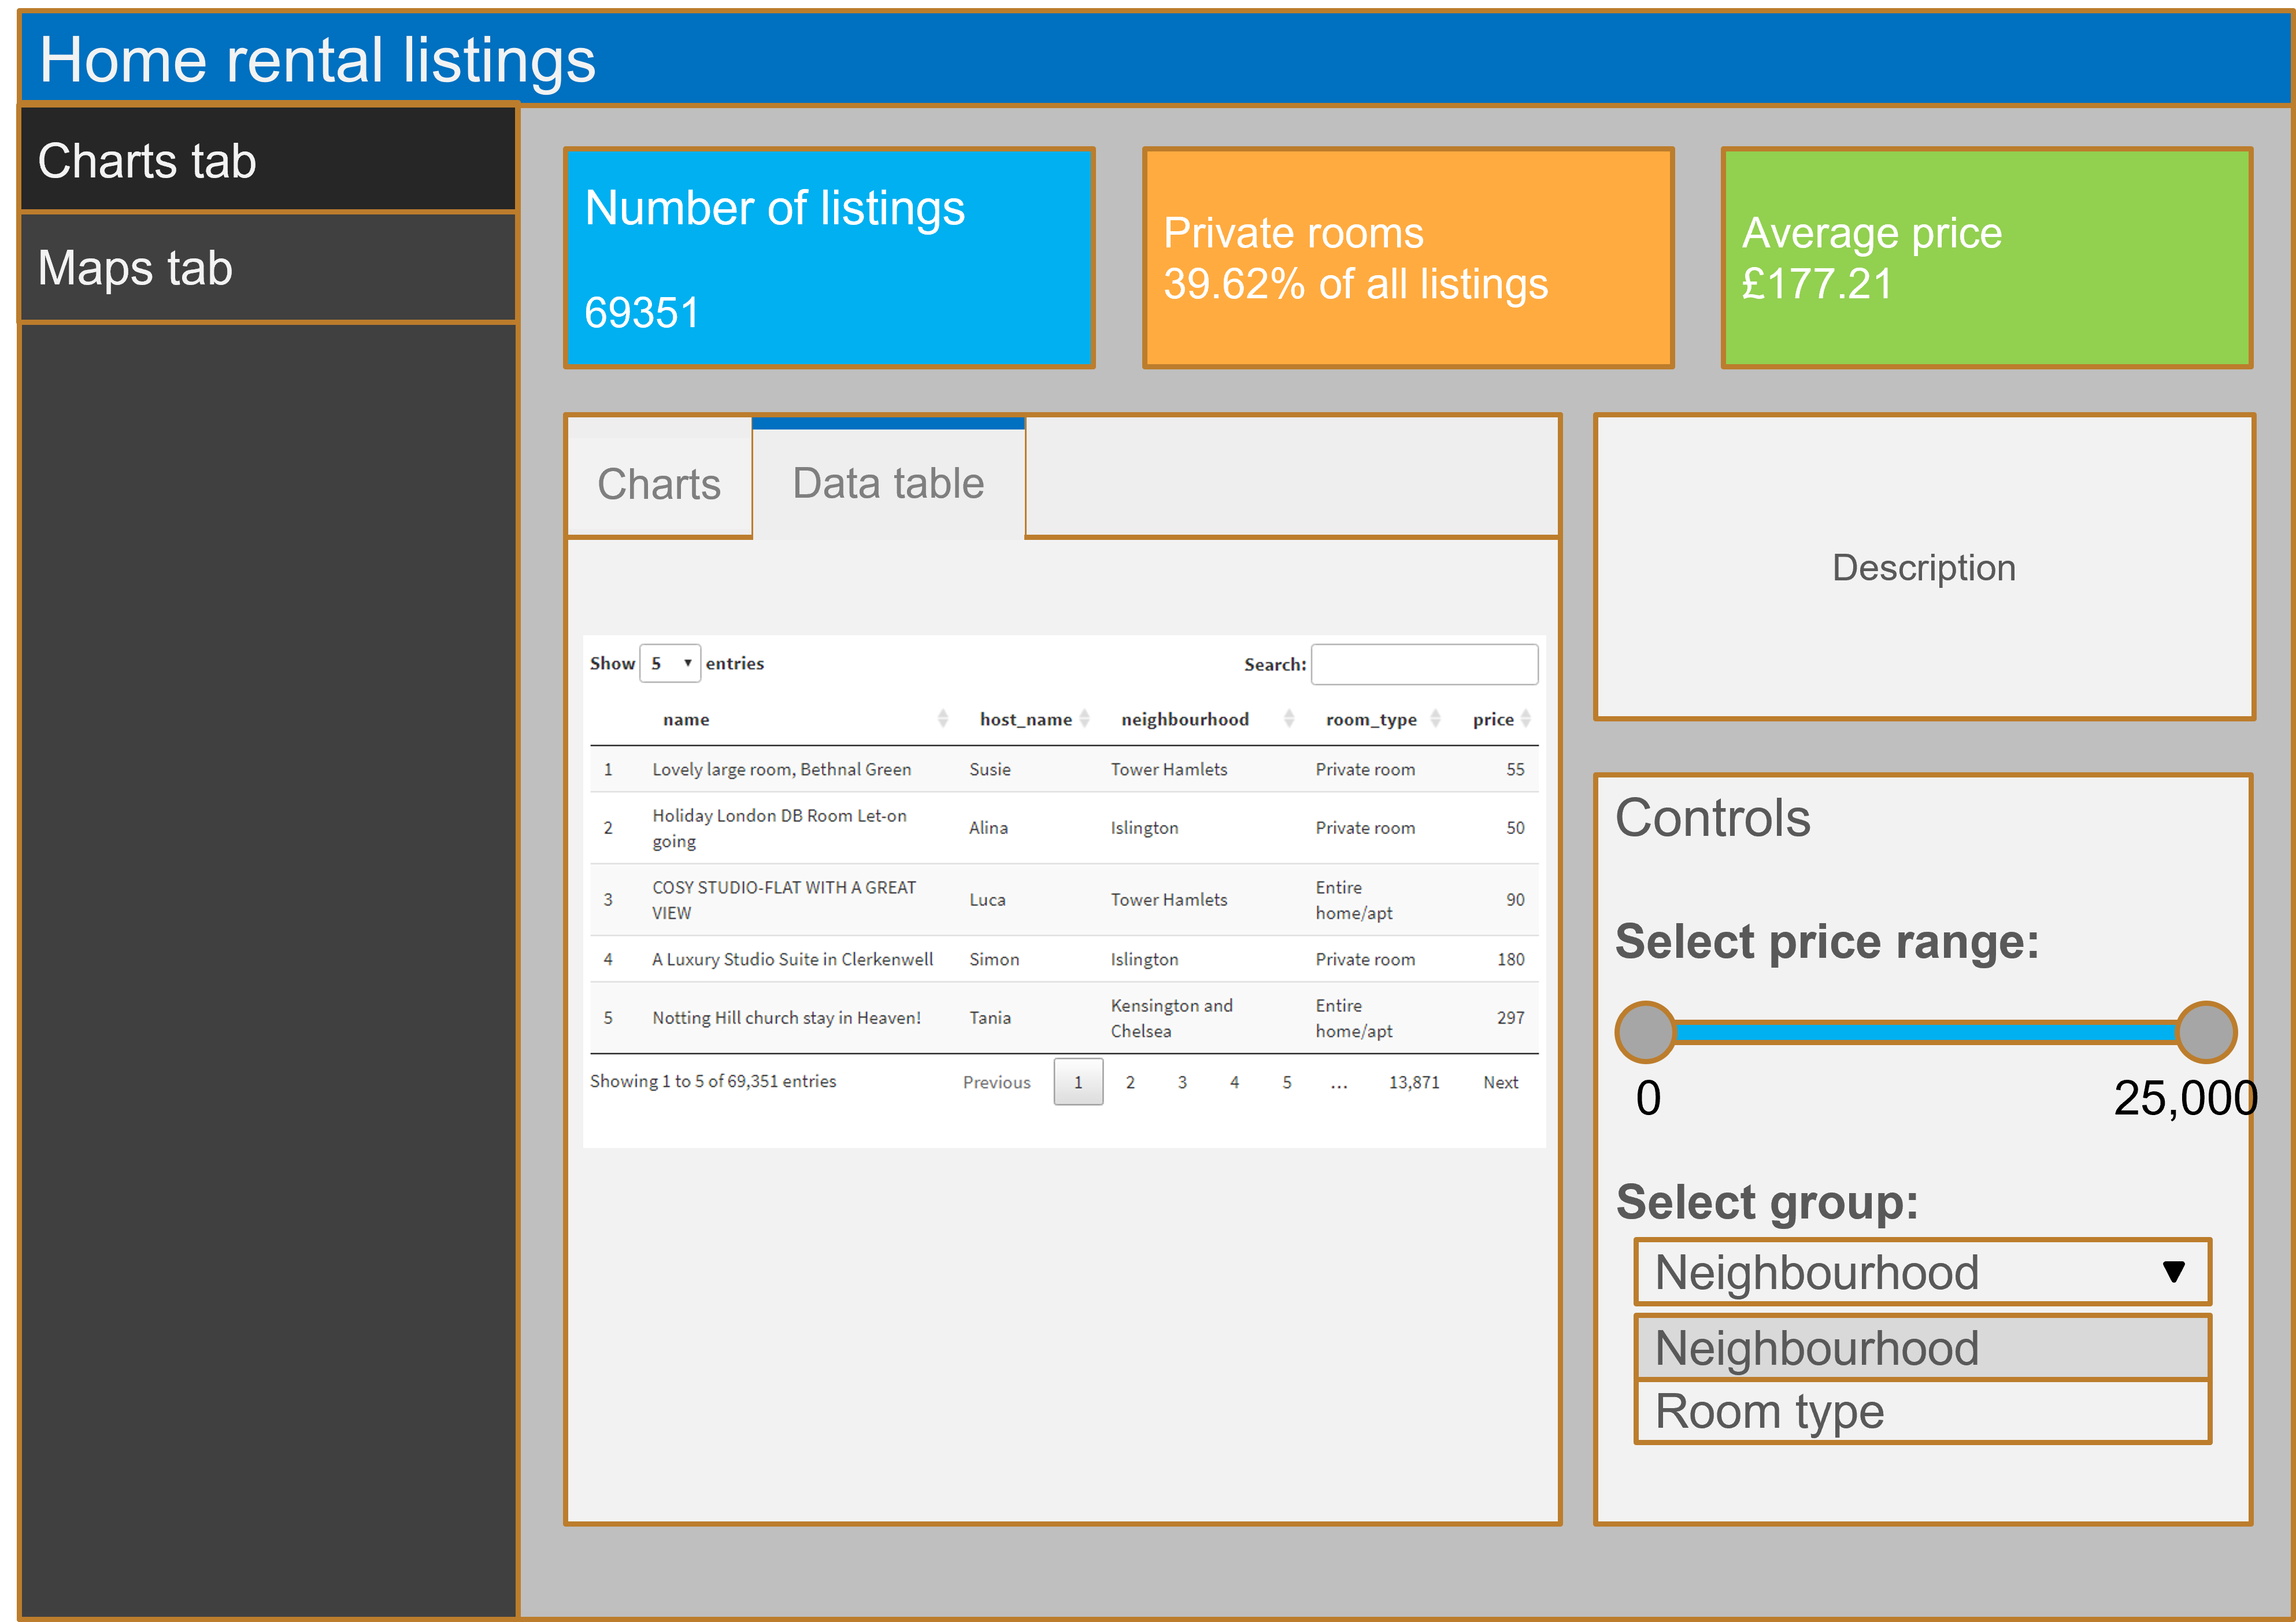
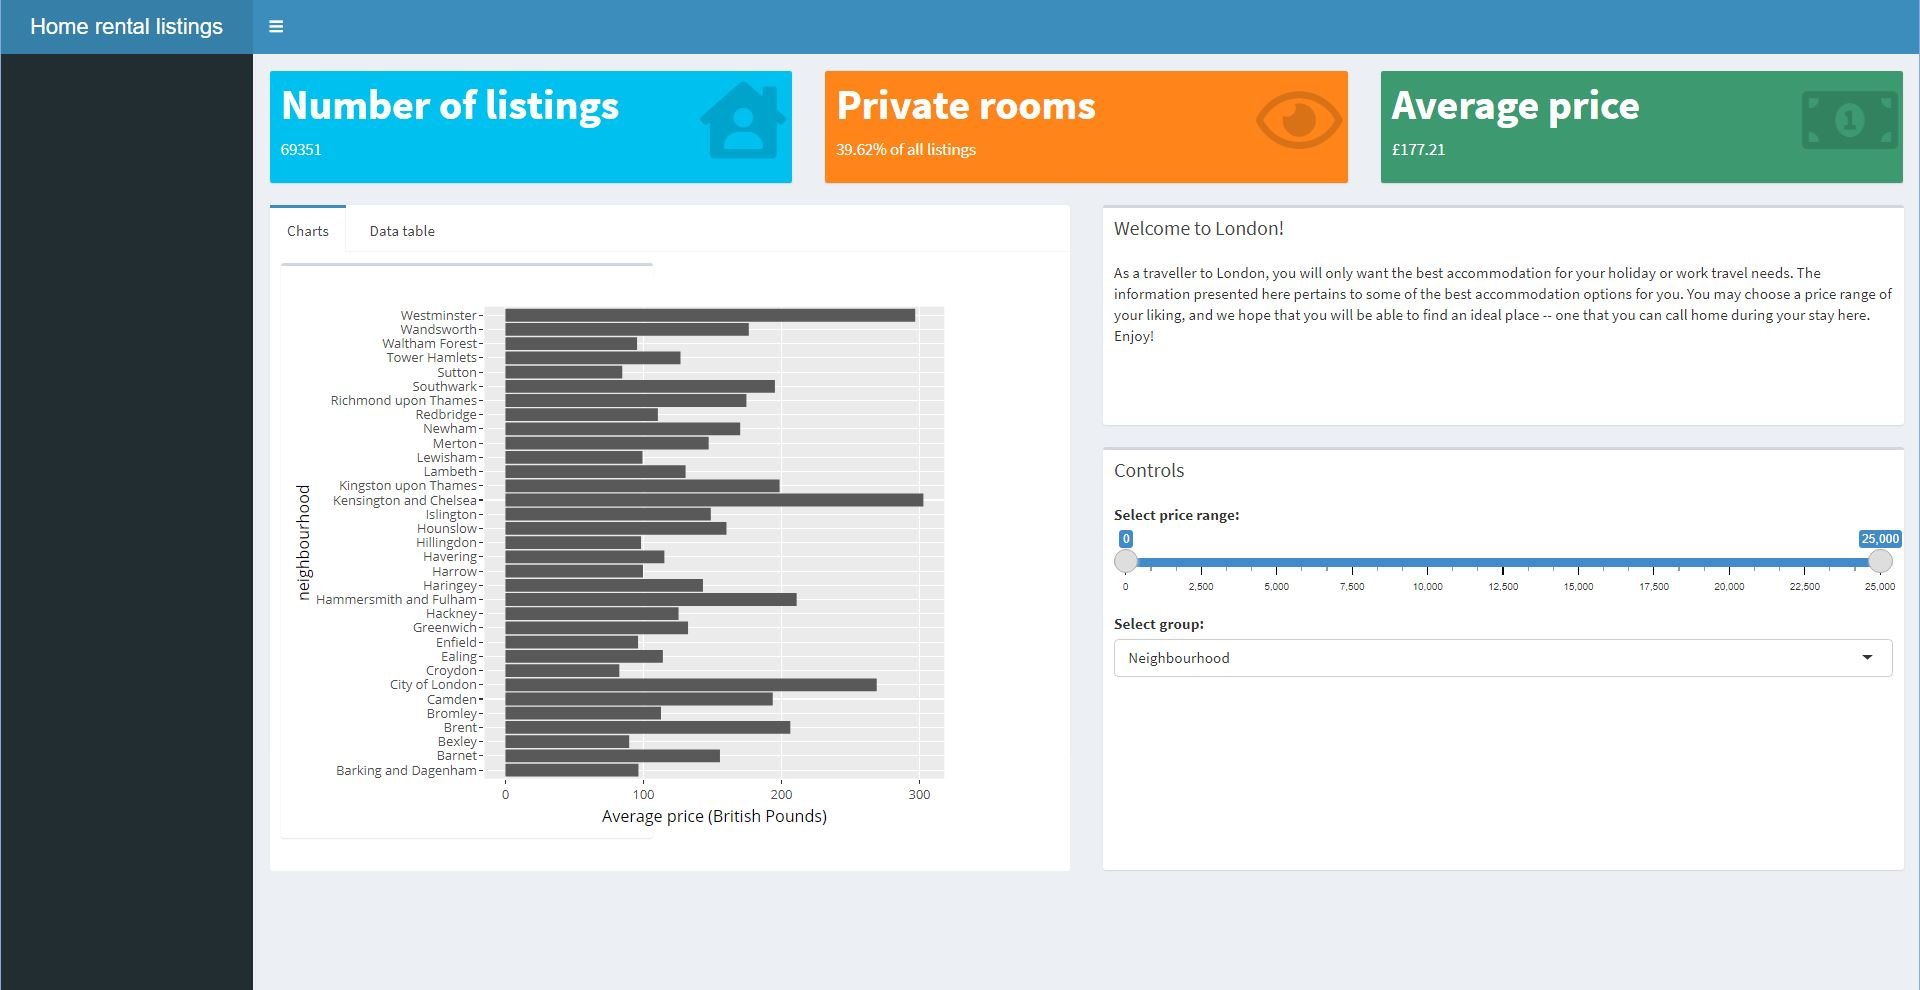
box(side = "right", ...,
title = "Welcome to London!",
"...")
Actualizare în body:
tabBox(id = "tabset", ...,
tabPanel("Charts", ...),
tabPanel("Data table", ...)

Putem folosi funcțiile shiny.
În body:
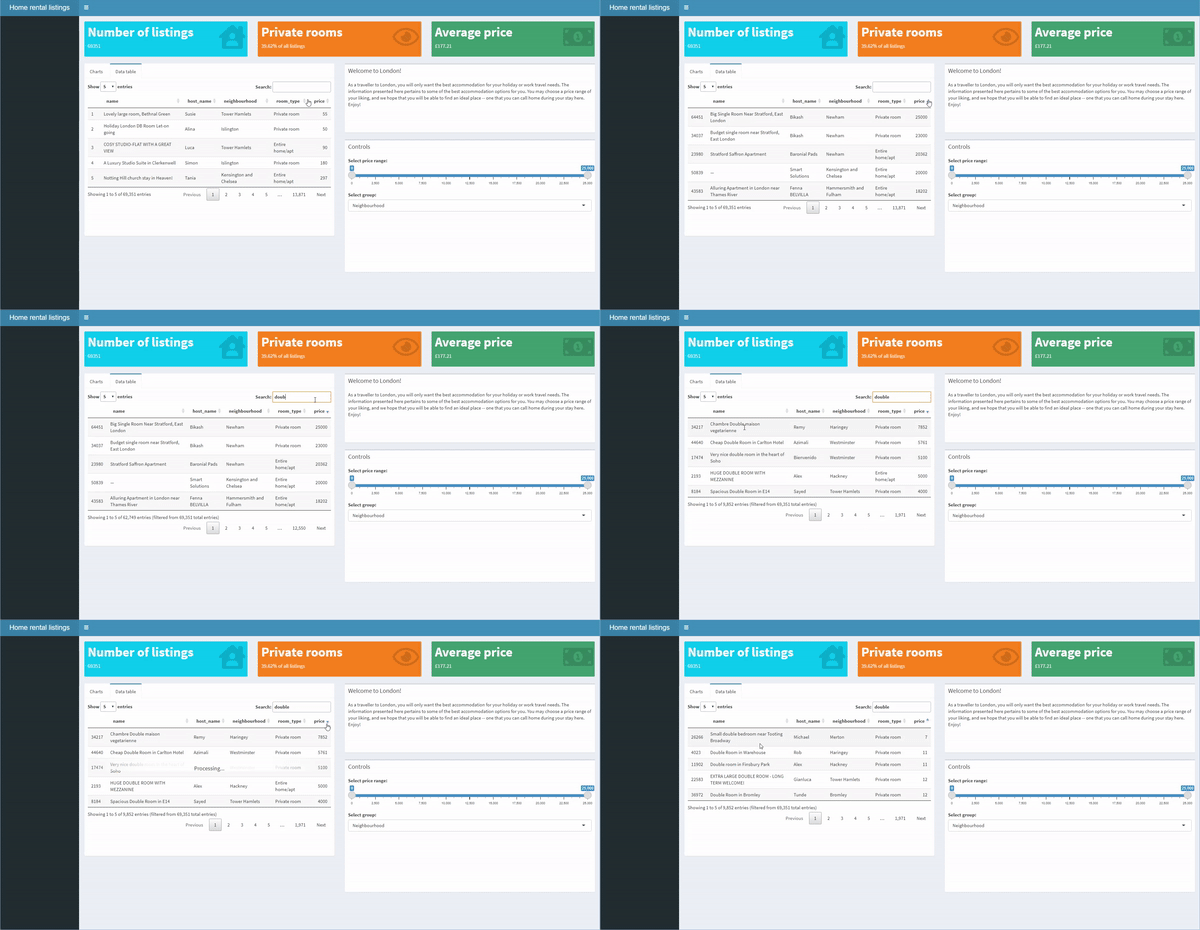
dataTableOutput("table")
În server:
output$table <-
renderDataTable(listings)

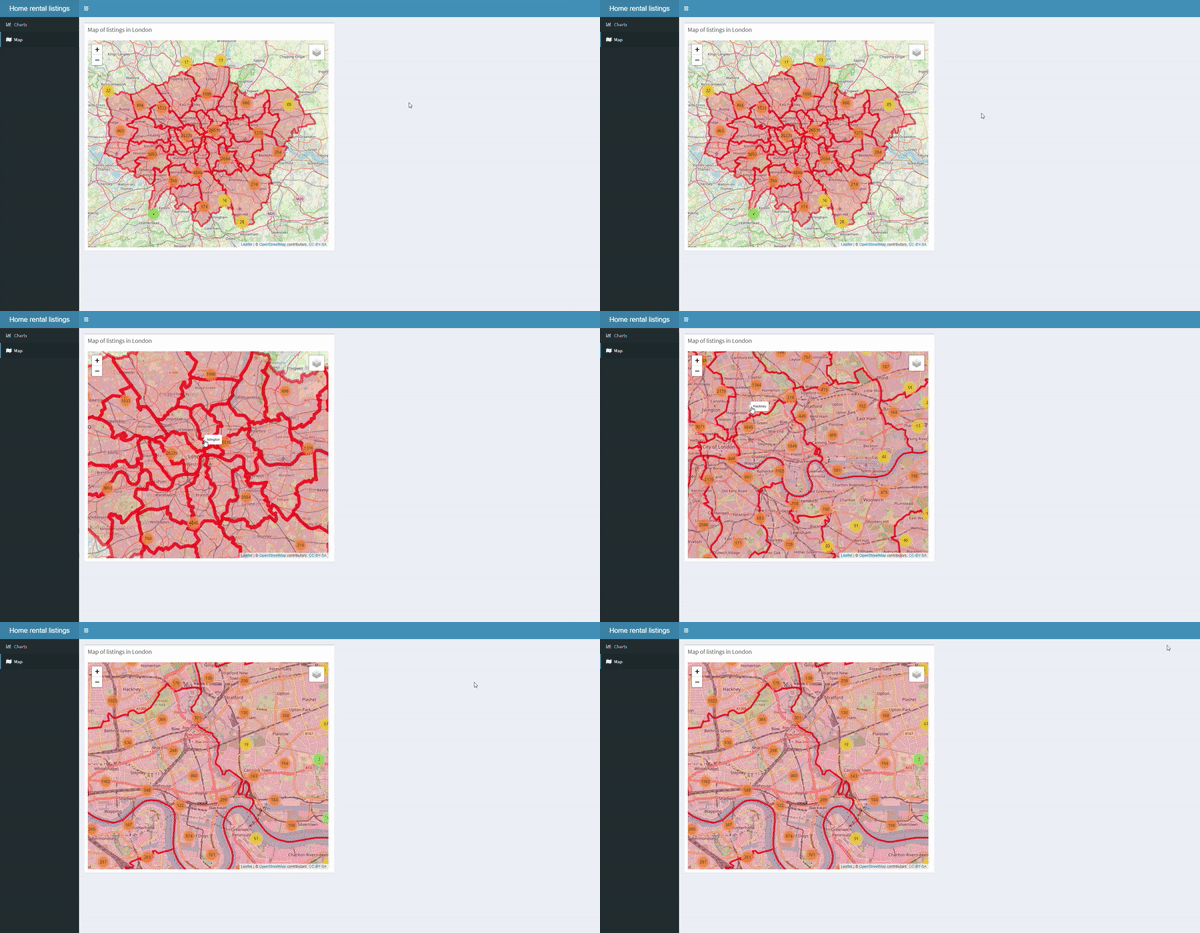
În sidebar:
sidebarMenu(
menuItem("Charts", ...),
menuItem("Map", ...))
În body:
leafletOutput("map",...)
În server:
output$map <- renderLeaflet(map)
Crearea dashboardurilor cu shinydashboard