การปรับแต่งด้วย CSS
การสร้างแดชบอร์ดด้วย shinydashboard

Png Kee Seng
Researcher
จะปรับแต่ง shinydashboard เพิ่มเติมได้อย่างไร?
- ธีมสีเข้มทำได้โดยเลือก skin
"black" - แล้วถ้าต้องการเปลี่ยนลักษณะของแต่ละอ็อบเจกต์ล่ะ?
- ทำได้โดยใช้โค้ด cascading style sheets (CSS)
- ต่อไปจะเรียน CSS แบบเร่งรัด
- ไม่ต้องกังวลกับรายละเอียดปลีกย่อยมากนัก
เริ่มต้นกับ CSS: การเพิ่ม comment
- CSS คือภาษาสำหรับจัดสไตล์
- ควบคุมลักษณะของแต่ละอ็อบเจกต์
- โค้ด CSS ประกอบด้วยกลุ่มของ selectors
- มี properties, subproperties และอื่น ๆ
- ทำหน้าที่เป็น dictionary ที่เก็บข้อมูลลักษณะของแต่ละ feature
- บันทึกโค้ด CSS ในรูปแบบ string
- ใช้เครื่องหมายคำพูดเดี่ยว
'...'
- ใช้เครื่องหมายคำพูดเดี่ยว
- สามารถแทรก comment ลงในโค้ด CSS ได้
css_code <- '
/* This is a comment */
'
เริ่มต้นกับ CSS: selectors
- ในแต่ละกลุ่มจะมี selector
- ซึ่งสอดคล้องกับ feature ที่ต้องการ
.selectorหมายถึง CSS class
css_code <- ' /* This is a selector */ selector {property1: value1; property2: value2;} `
css_code <- '
/* This is a selector class */
.selector {
  property1: value1;
  property2: value2;
}
`
เริ่มต้นกับ CSS: การรวม selectors
- รวม selector สองตัว
.class1และ.class2เป็น.class1 .class2ได้- ภายใน
.class1ให้เลือก subclass ชื่อ.class2
- ภายใน
- ช่องว่างมีความสำคัญ
- ถ้าไม่มี โค้ดจะทำงานไม่ถูกต้อง
css_code <- '
.class1 .class2 {
  property1: value1;
  property2: value2;
  property3: value3;
}
`
ตัวอย่างที่เป็นรูปธรรม
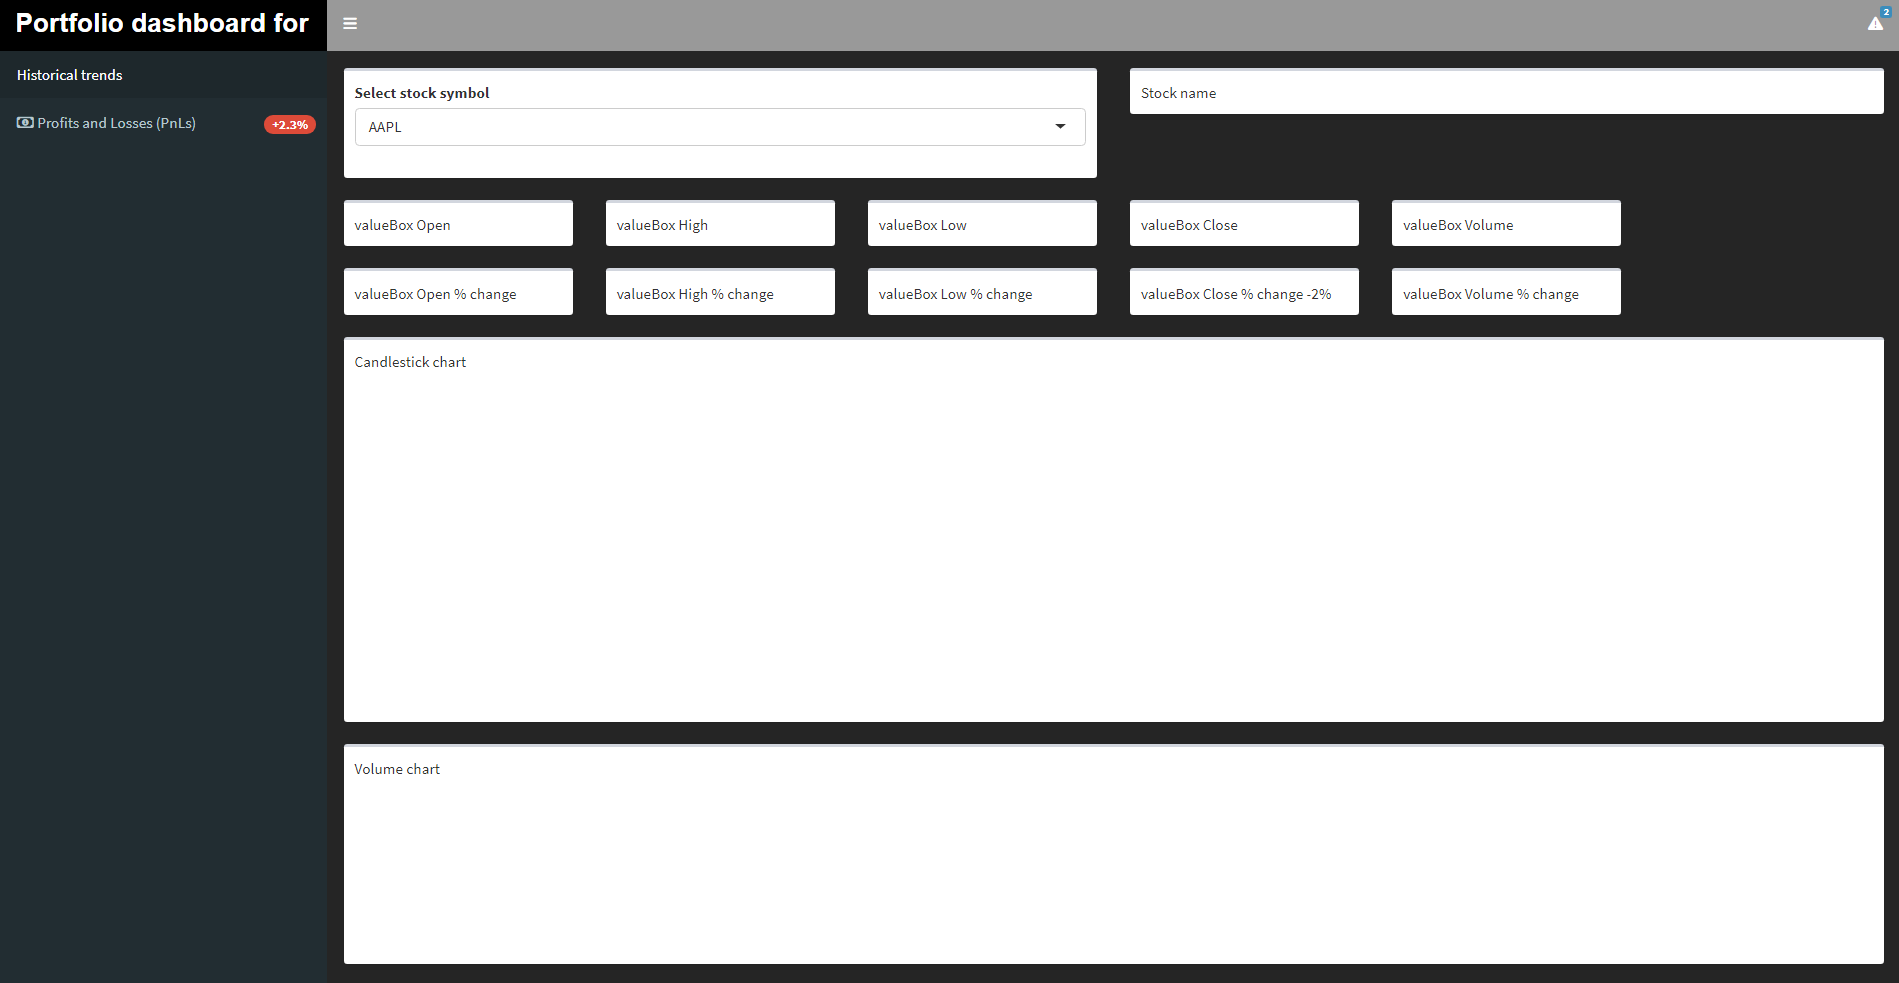
- หากต้องการเปลี่ยนการตั้งค่าฟอนต์ใน header ของ shinydashboard
- ใช้
.main-header .logo - เลือก class
.main-headerแล้วค้นหา subclass.logo
- ใช้
- หากต้องการเปลี่ยนสีพื้นหลังเป็นสีดำ
- ใช้
.skin-blue .main-header .logo
- ใช้
css_code <- ' /* Format the text in the main header */ .main-header .logo {font-family: "Times New Roman";font-weight: bold;font-size: 24px;} '
css_code <- ' /* Change the background-color to black */ .skin-blue .main-header .logo {background-color: #000000; } '
ตัวอย่างแบบครบถ้วน
.main-header .logo,.skin-blue .main-header .logo.skin-blue .main-header .logo:hover.skin-blue .main-header .navbar
- ยังมีการรวม selector อีกมากมาย
css_code <- ' .main-header .logo { font-family: "helvetica", serif, Times, "Times New Roman"; font-weight: bold; font-size: 24px; } .skin-blue .main-header .logo { background-color: #000000; }.skin-blue .main-header .logo:hover { background-color: blue; }.skin-blue .main-header .navbar { background-color: #999999; } '
นำ CSS มาใช้กับ shinydashboard
- ควรแทรกโค้ด CSS ไว้ใน
dashboardBody()
body <- dashboardBody(tags$head(tags$style(HTML(css_code))),...)
มาฝึกกันเถอะ!
การสร้างแดชบอร์ดด้วย shinydashboard

