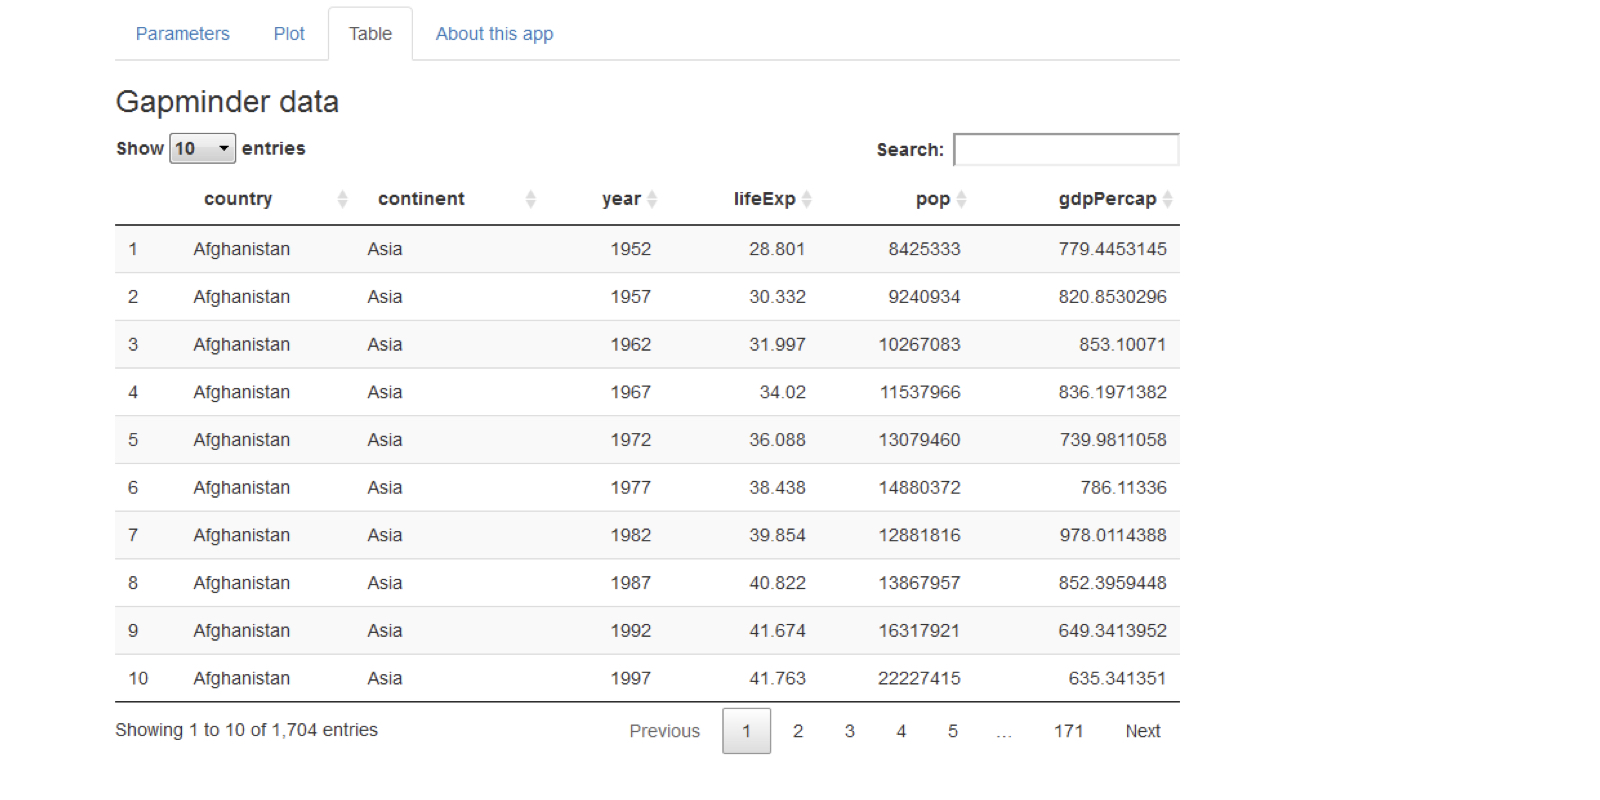
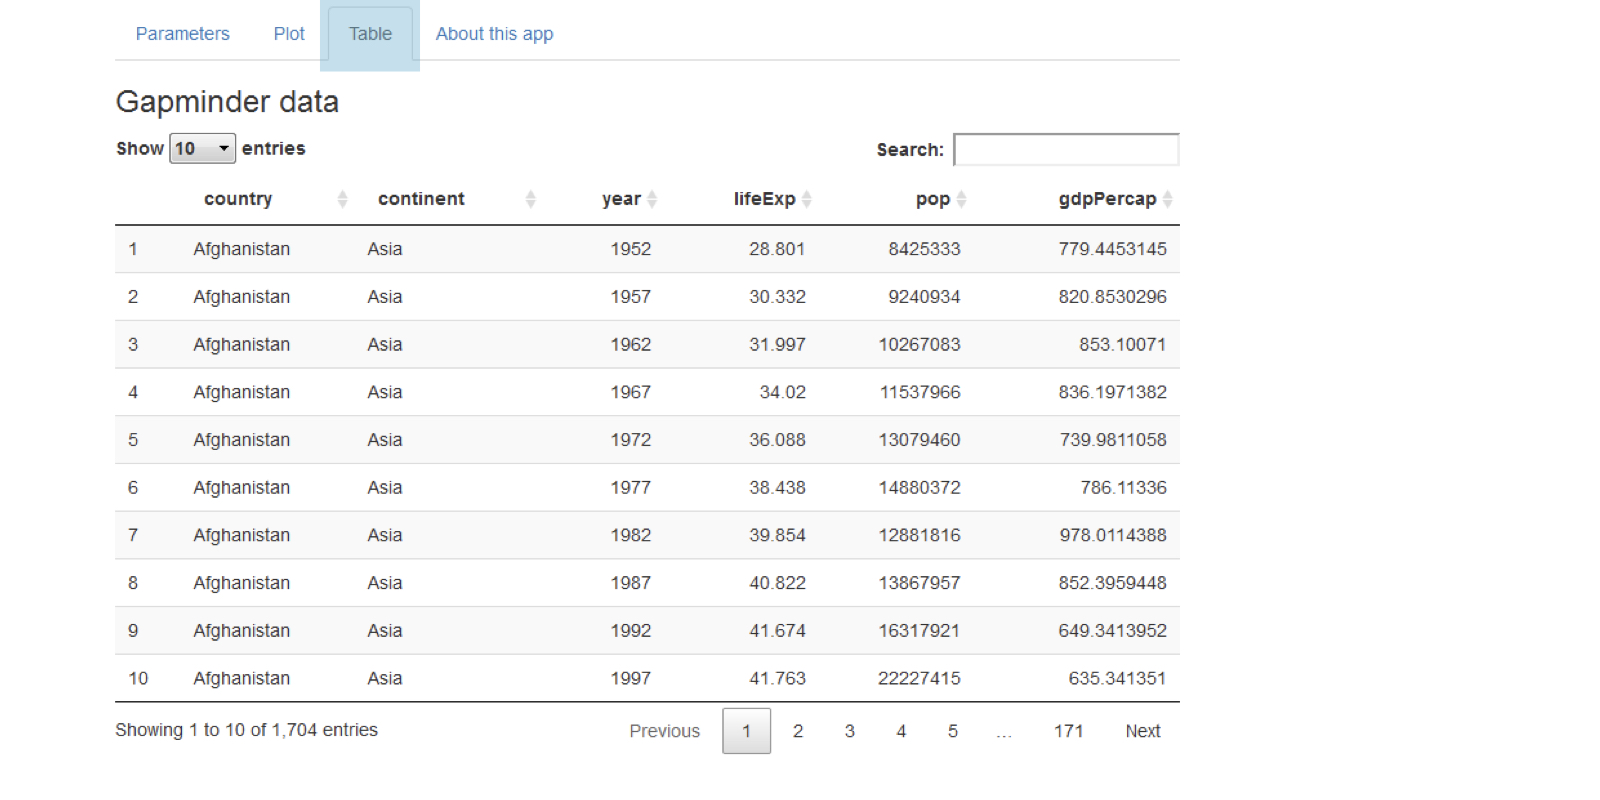
การปรับปรุงรูปลักษณ์

กรณีศึกษา: การสร้างเว็บแอปพลิเคชันด้วย Shiny ใน R

Dean Attali

Shiny Consultant

ตารางใน Shiny

tableOutput("table")

output$table <- renderTable({ gapminder })
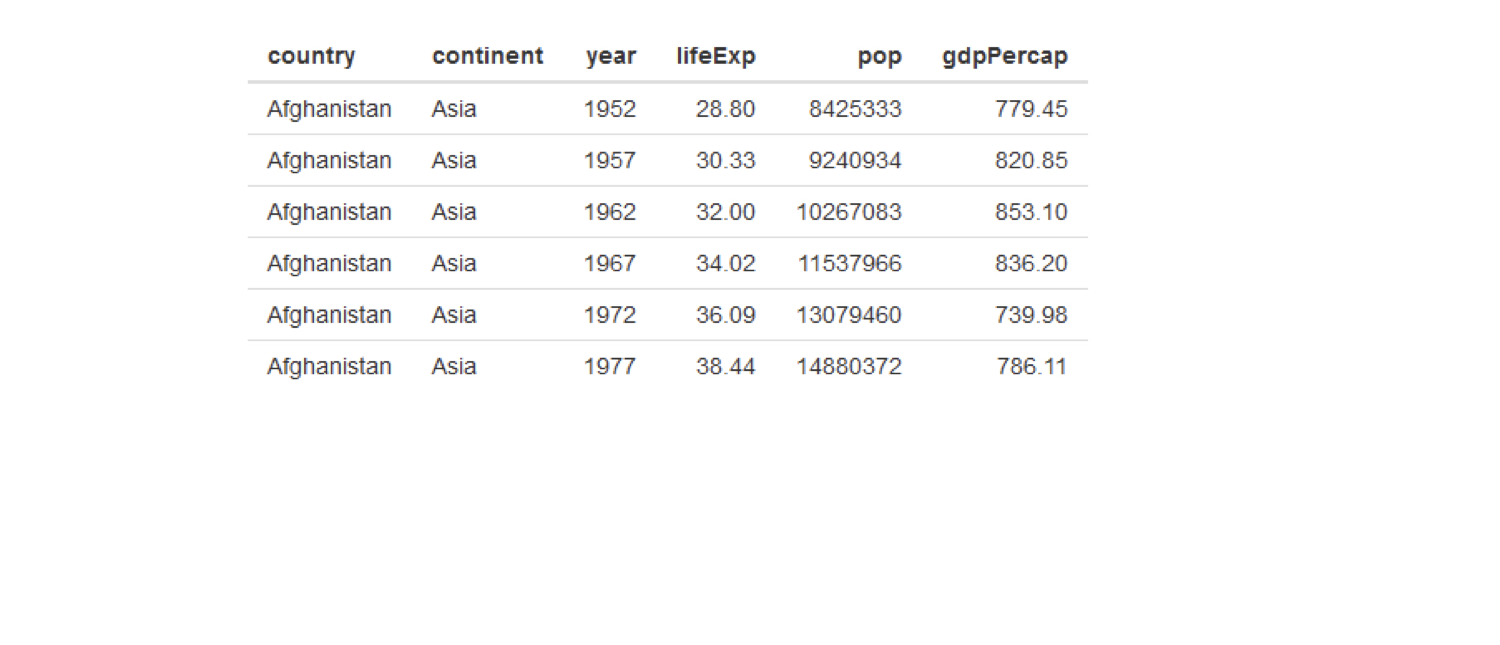
chapter3_4_visual_enhancements.003.png

กรณีศึกษา: การสร้างเว็บแอปพลิเคชันด้วย Shiny ใน R

สร้างตารางที่ดีกว่าด้วย DT

DT::dataTableOutput("table")

output$table <- DT::renderDataTable({ gapminder })
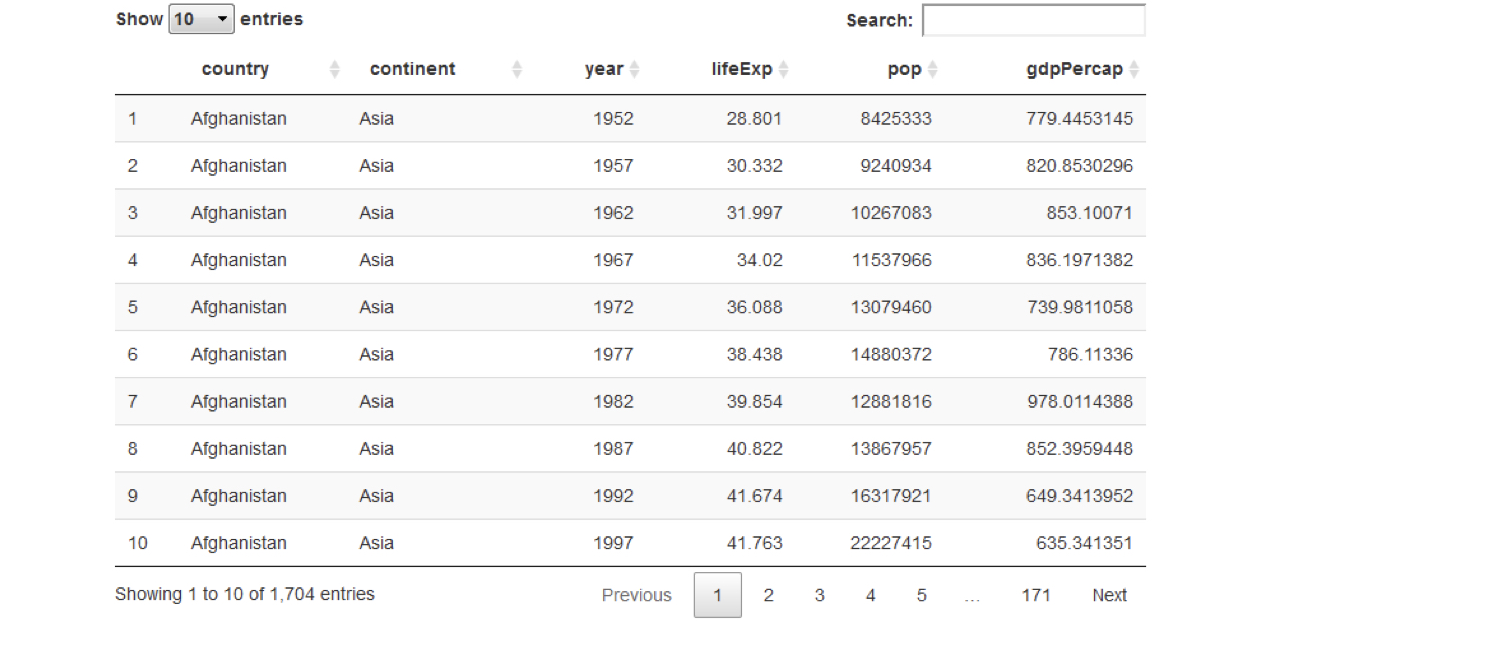
chapter3_4_visual_enhancements.004.png

กรณีศึกษา: การสร้างเว็บแอปพลิเคชันด้วย Shiny ใน R

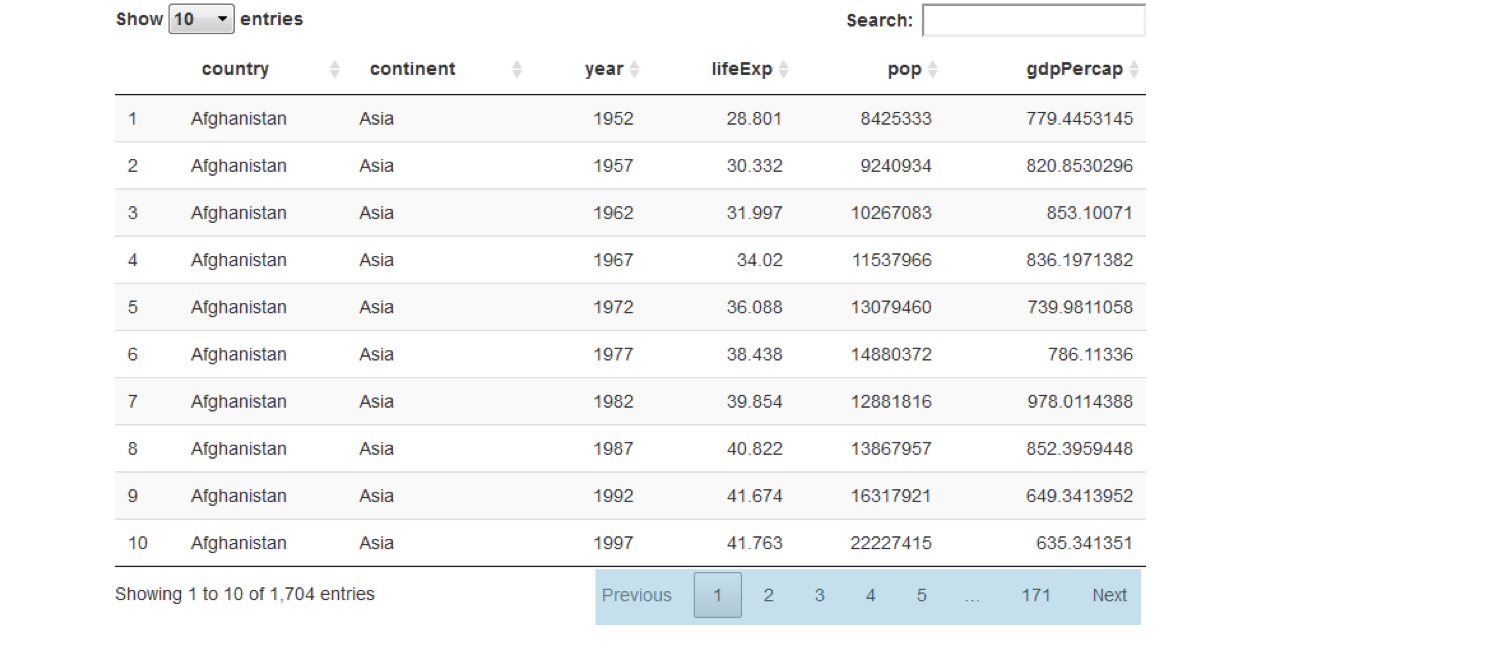
สร้างตารางที่ดีกว่าด้วย DT

DT::dataTableOutput("table")

output$table <- DT::renderDataTable({ gapminder })
chapter3_4_visual_enhancements.005.png

กรณีศึกษา: การสร้างเว็บแอปพลิเคชันด้วย Shiny ใน R

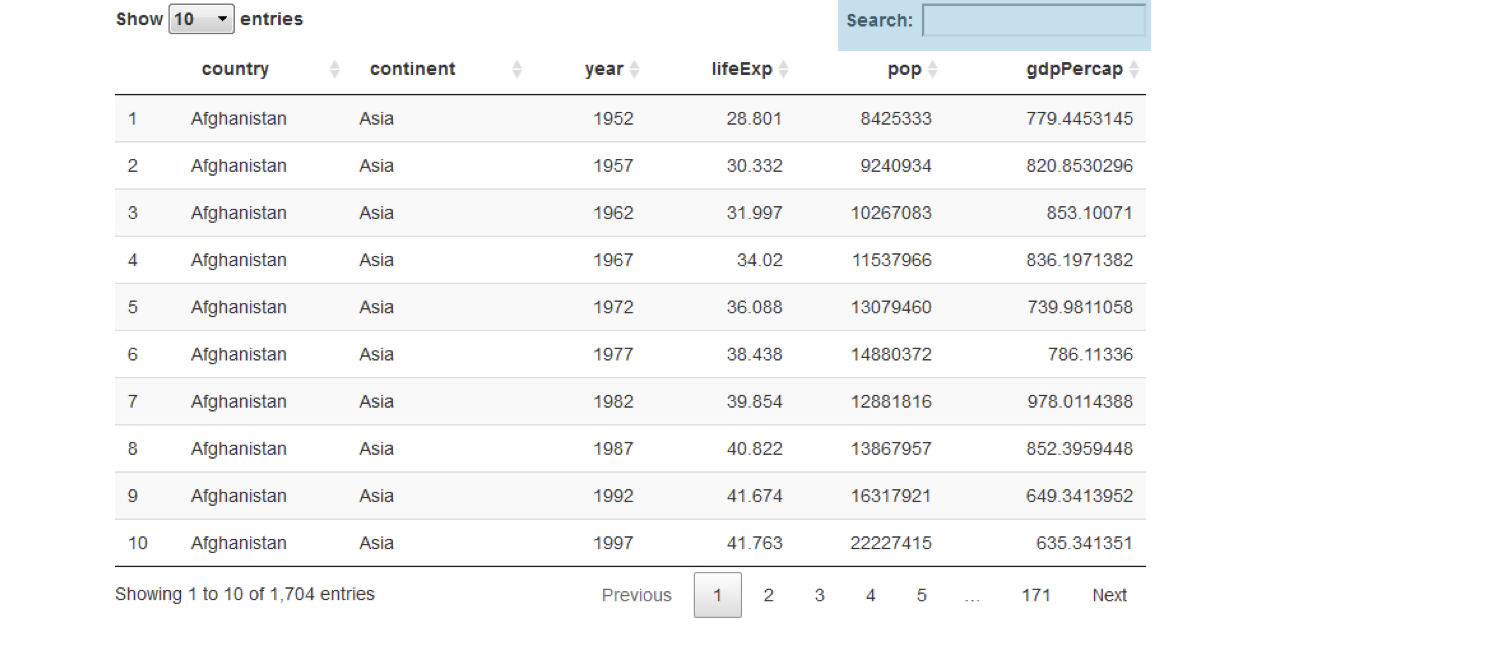
สร้างตารางที่ดีกว่าด้วย DT

DT::dataTableOutput("table")

output$table <- DT::renderDataTable({ gapminder })
chapter3_4_visual_enhancements.006.png

กรณีศึกษา: การสร้างเว็บแอปพลิเคชันด้วย Shiny ใน R

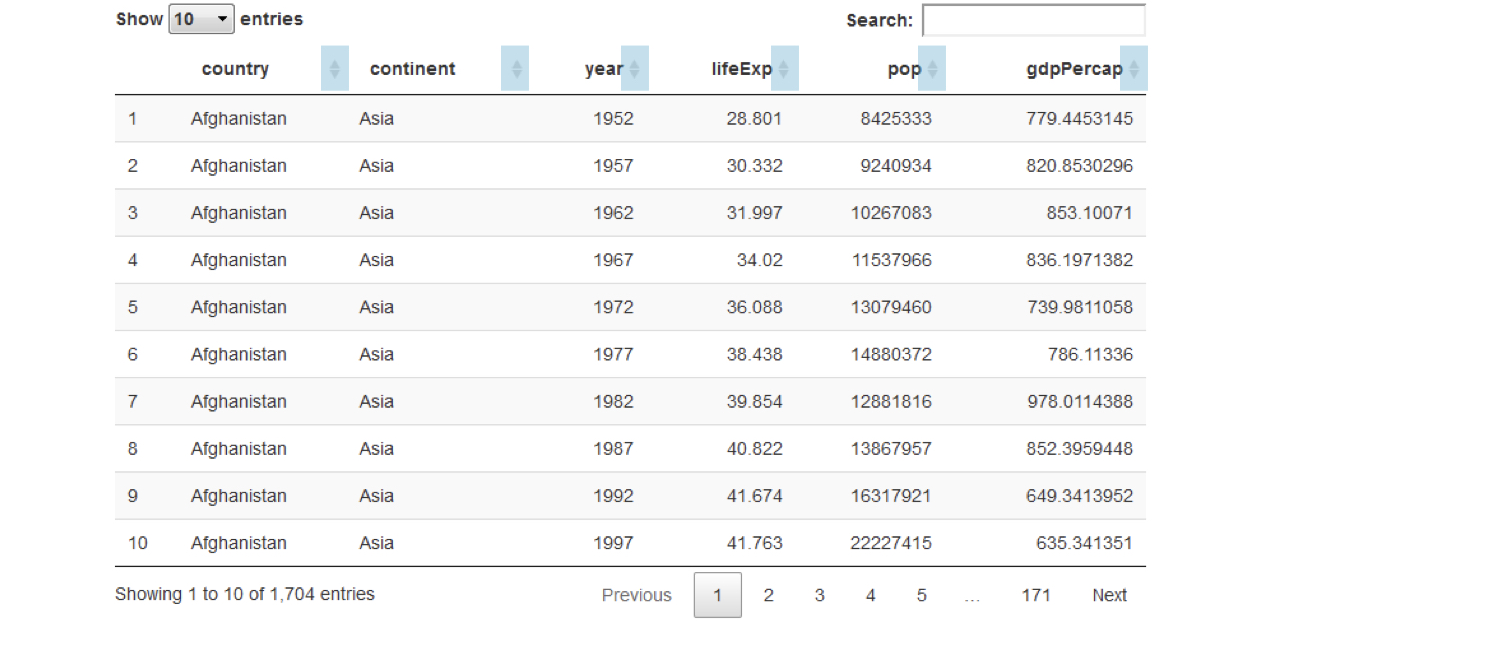
สร้างตารางที่ดีกว่าด้วย DT

DT::dataTableOutput("table")

output$table <- DT::renderDataTable({ gapminder })
chapter3_4_visual_enhancements.007.png

กรณีศึกษา: การสร้างเว็บแอปพลิเคชันด้วย Shiny ใน R

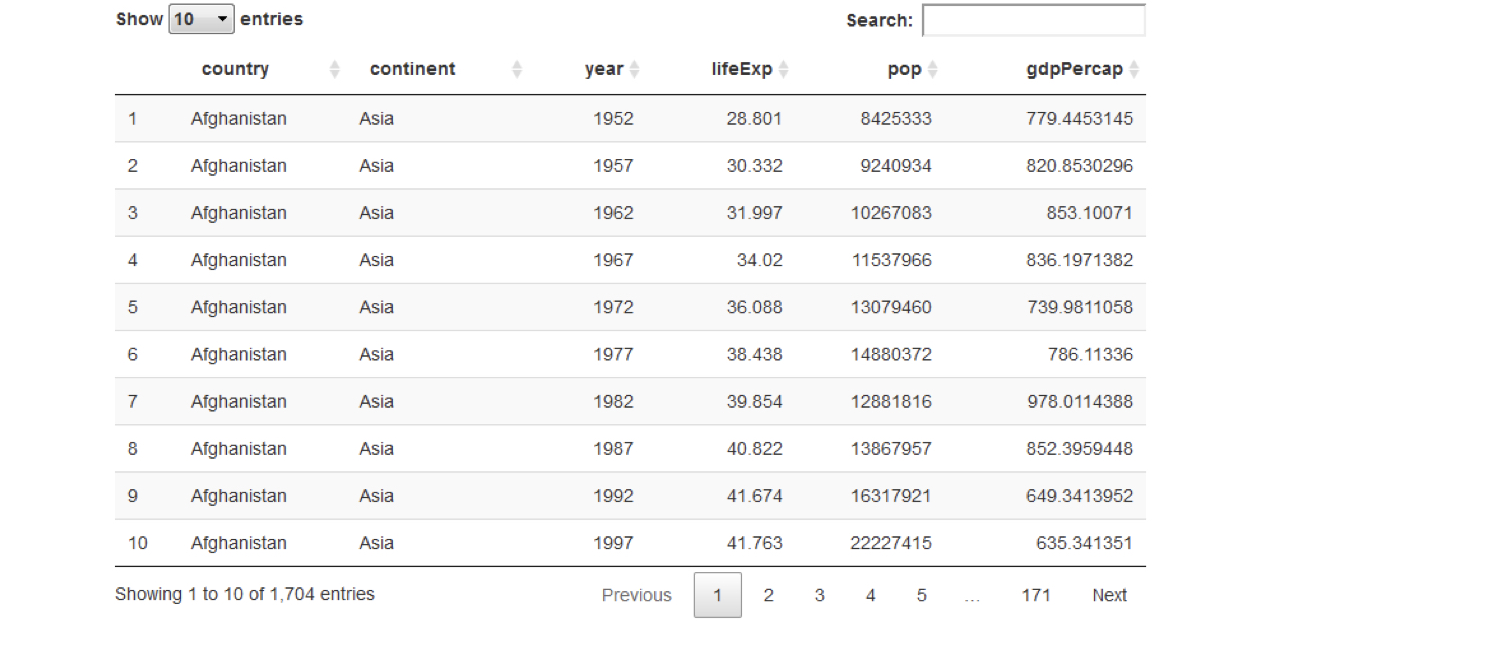
สร้างตารางที่ดีกว่าด้วย DT

DT::dataTableOutput("table")

output$table <- DT::renderDataTable({ gapminder })
chapter3_4_visual_enhancements.008.png

กรณีศึกษา: การสร้างเว็บแอปพลิเคชันด้วย Shiny ใน R

แบ่ง UI ออกเป็นแท็บ

chapter3_4_visual_enhancements.009.png

กรณีศึกษา: การสร้างเว็บแอปพลิเคชันด้วย Shiny ใน R

แบ่ง UI ออกเป็นแท็บ

chapter3_4_visual_enhancements.010.png

กรณีศึกษา: การสร้างเว็บแอปพลิเคชันด้วย Shiny ใน R

แบ่ง UI ออกเป็นแท็บ

tabPanel(title = "tab 1", "content goes here")

tabPanel(title = "tab 2", "second tab", plotOutput("plot"))
fluidPage(

tabsetPanel(
tabPanel(title = "tab 1", "first tab content goes here"), tabPanel(title = "tab 2", "second tab", plotOutput("plot")), tabPanel(title = "tab 3", textInput("text", "Name", ""))
)
)

chapter3_4_visual_enhancements.016.png

กรณีศึกษา: การสร้างเว็บแอปพลิเคชันด้วย Shiny ใน R

CSS: ปรับแต่งรูปลักษณ์แอป

  • Cascading Style Sheets
  • ภาษา Markup สำหรับปรับแต่งรูปลักษณ์ของ element ในหน้าเว็บ
    • Shiny UI คือหน้าเว็บ
  • สีพื้นหลัง, สีตัวอักษร, ขนาดตัวอักษร, ระยะห่าง, ฟอนต์, ...
กรณีศึกษา: การสร้างเว็บแอปพลิเคชันด้วย Shiny ใน R

ไวยากรณ์ CSS

  • ไวยากรณ์ของ CSS rules

    #ID {
      property: value;
      property: value;
      ...
    }
    
  • ID คือ ID ของ element ที่ต้องการใช้สไตล์

  • ในการเพิ่ม CSS ใน Shiny ให้ใช้ tags$style()

    ui <- fluidPage(
      tags$style("
        #ID {
          property: value;
        }
      ")
    )
    
กรณีศึกษา: การสร้างเว็บแอปพลิเคชันด้วย Shiny ใน R

ตัวอย่าง CSS

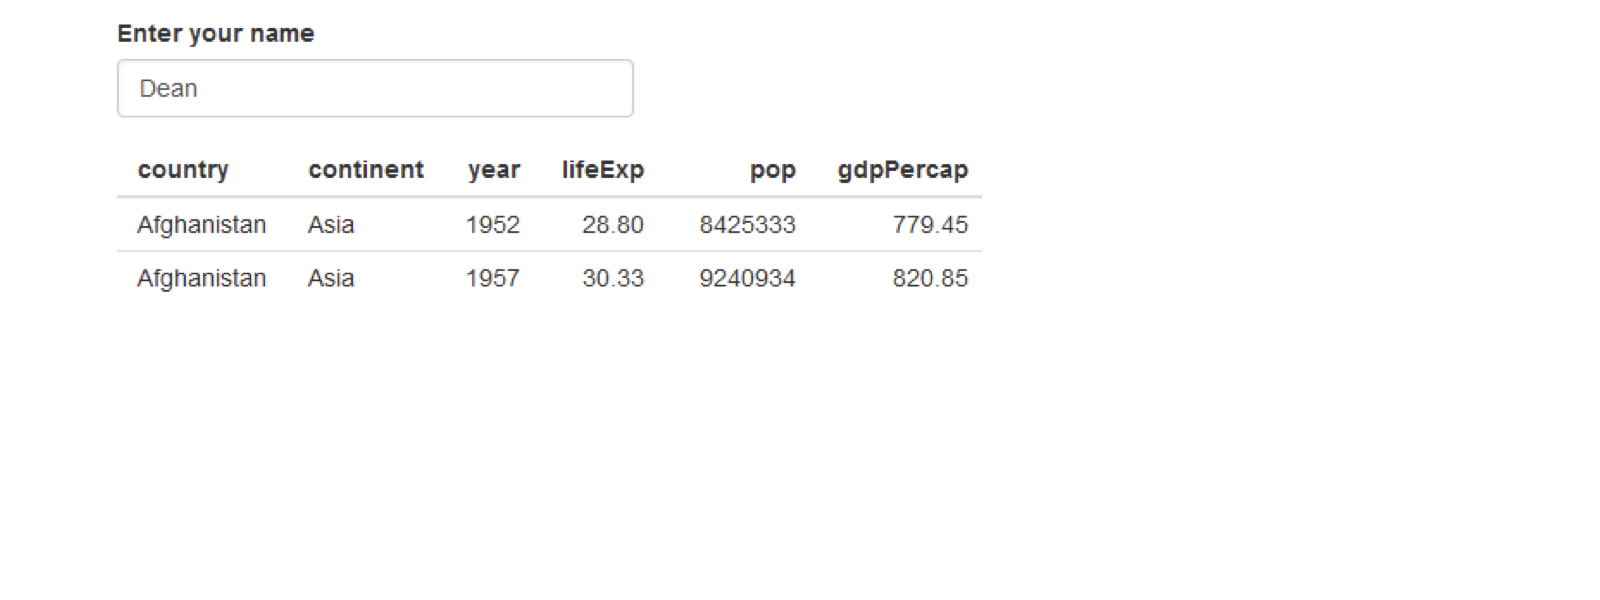
ui <- fluidPage(
  textInput("name", "Enter your name", "Dean"),
  tableOutput("table")
)
chapter3_4_visual_enhancements.029.png

กรณีศึกษา: การสร้างเว็บแอปพลิเคชันด้วย Shiny ใน R

ตัวอย่าง CSS

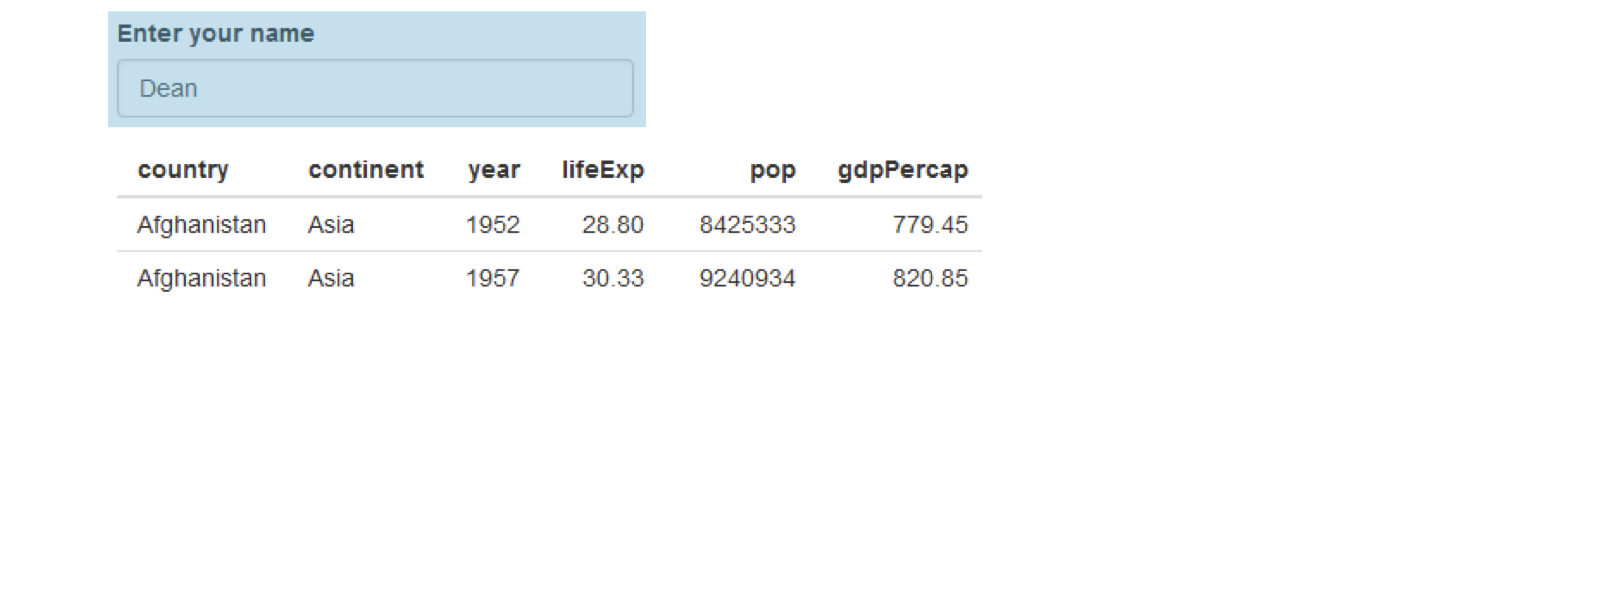
ui <- fluidPage(
  textInput("name", "Enter your name", "Dean"),
  tableOutput("table")
)
chapter3_4_visual_enhancements.030.png

กรณีศึกษา: การสร้างเว็บแอปพลิเคชันด้วย Shiny ใน R

ตัวอย่าง CSS

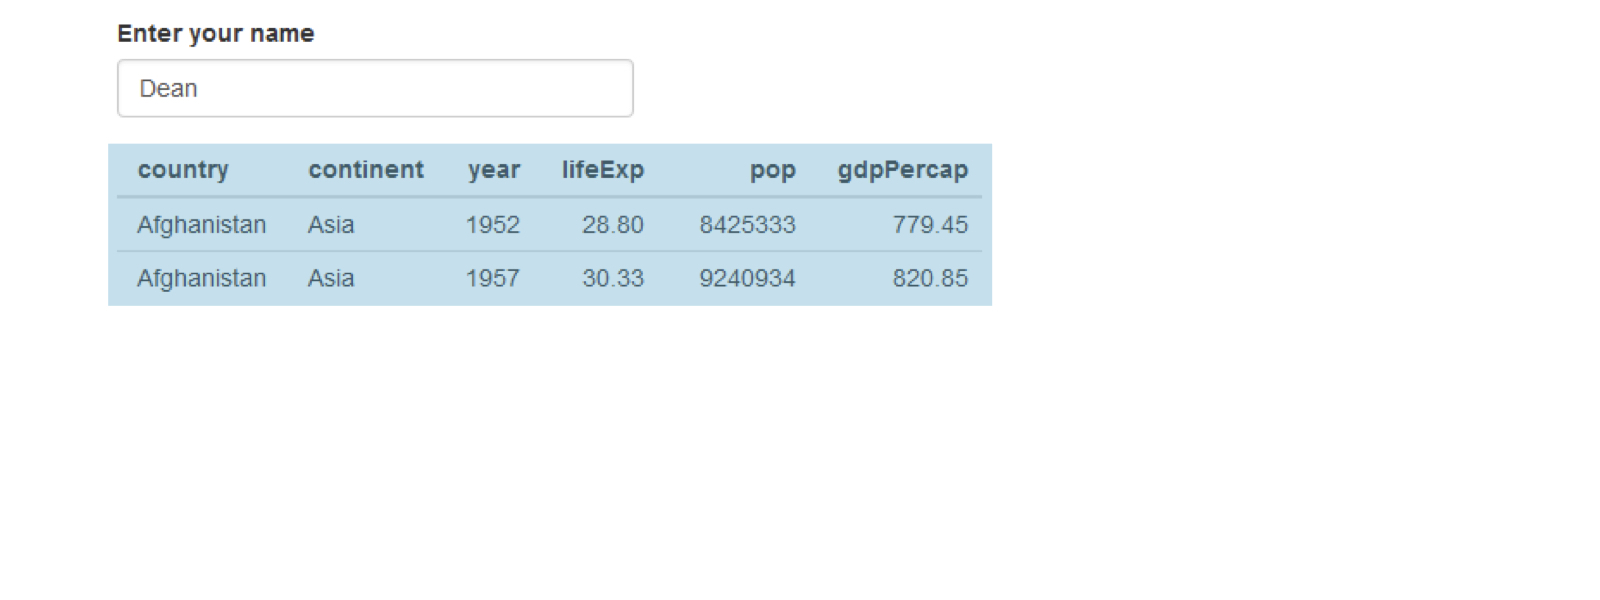
ui <- fluidPage(
  textInput("name", "Enter your name", "Dean"),
  tableOutput("table")
)
chapter3_4_visual_enhancements.031.png

กรณีศึกษา: การสร้างเว็บแอปพลิเคชันด้วย Shiny ใน R

ตัวอย่าง CSS

ui <- fluidPage(
  textInput("name", "Enter your name", "Dean"),
  tableOutput("table")
)
chapter3_4_visual_enhancements.032.png

กรณีศึกษา: การสร้างเว็บแอปพลิเคชันด้วย Shiny ใน R

ตัวอย่าง CSS

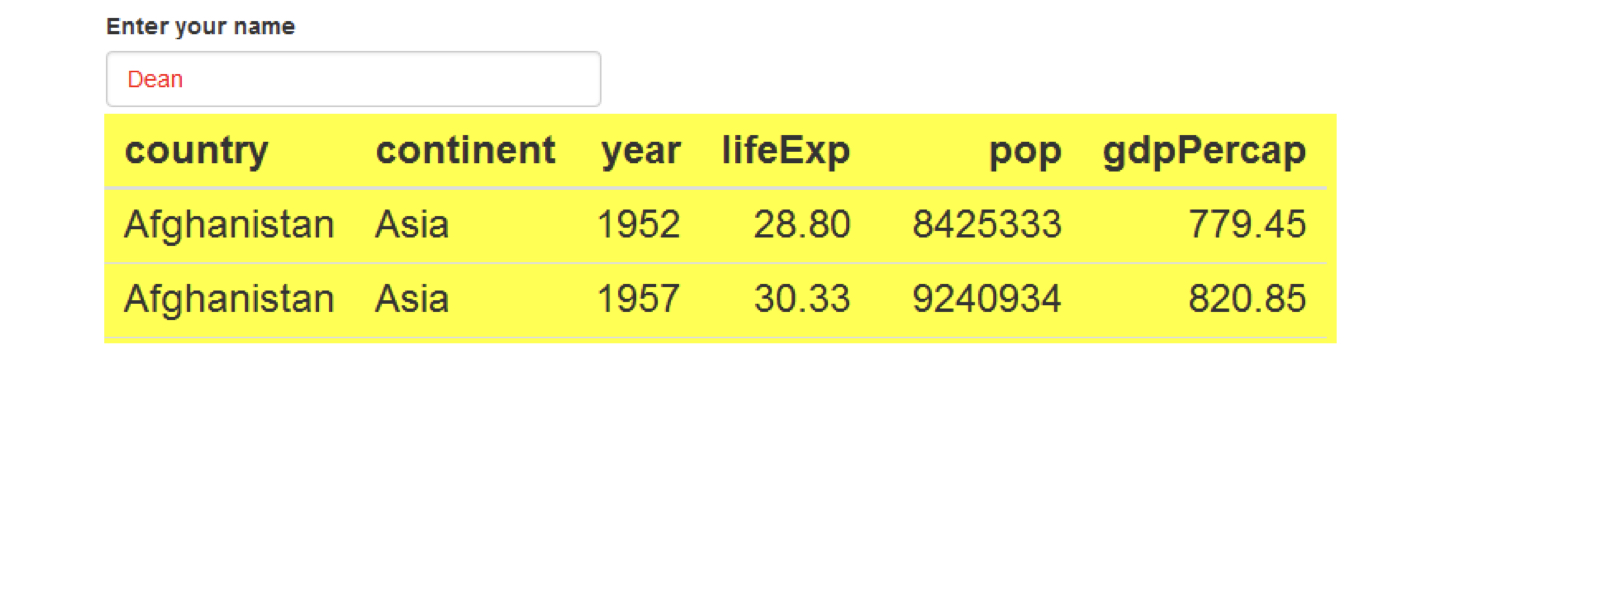
css <- "

#name { color: red; }
#table { background: yellow; font-size: 24px; }
"
ui <- fluidPage(

tags$style(css),
textInput("name", "Enter your name", "Dean"), tableOutput("table") )
กรณีศึกษา: การสร้างเว็บแอปพลิเคชันด้วย Shiny ใน R

มาฝึกกันเถอะ!

กรณีศึกษา: การสร้างเว็บแอปพลิเคชันด้วย Shiny ใน R

Preparing Video For Download...