使用 PyTorch 處理影像

Intermediate Deep Learning with PyTorch

Michal Oleszak

Machine Learning Engineer

雲朵資料集
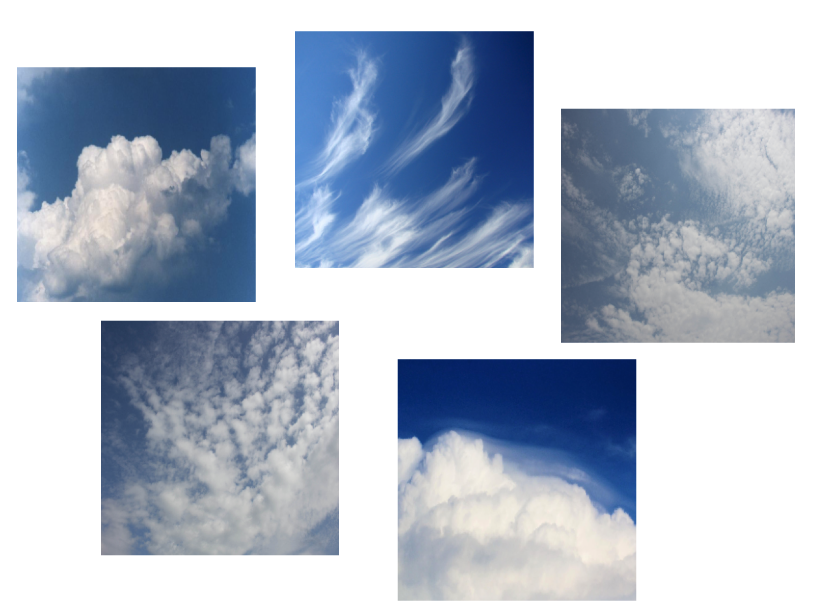
雲朵資料集範例:五張不同雲種的影像。

1 https://www.kaggle.com/competitions/cloud-type-classification2/data
Intermediate Deep Learning with PyTorch

什麼是影像?

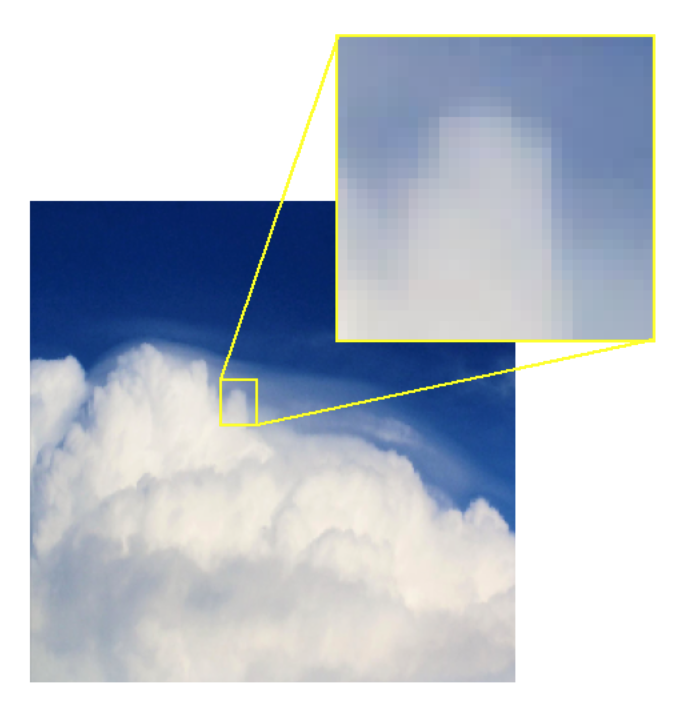
一張雲的影像,局部放大以顯示像素。

  • 影像由像素(「畫素」)組成
  • 每個像素包含顏色資訊

  • 灰階影像:0 - 255 的整數

    • 30:

灰色方塊

  • 彩色影像:三個整數,各對應一個色彩通道(紅、綠、藍)
    • RGB = (52, 171, 235):

藍色方塊

Intermediate Deep Learning with PyTorch

將影像載入 PyTorch

理想的目錄結構:

clouds_train

- cumulus
- 75cbf18.jpg - ...
- cumulonimbus - ...
clouds_test
- cumulus - cumulonimbus - ...


  • 主資料夾:clouds_trainclouds_test
  • 各主資料夾內:每個類別一個子資料夾
  • 各類別資料夾內:影像檔
Intermediate Deep Learning with PyTorch

將影像載入 PyTorch

from torchvision.datasets import ImageFolder
from torchvision import transforms


train_transforms = transforms.Compose([ transforms.ToTensor(), transforms.Resize((128, 128)), ])
dataset_train = ImageFolder( "data/clouds_train", transform=train_transforms, )
  • 定義轉換:

    • 轉成 tensor
    • 調整為 128x128
  • 建立資料集並傳入:

    • 資料路徑
    • 預先定義的轉換
Intermediate Deep Learning with PyTorch

顯示影像

dataloader_train = DataLoader(
    dataset_train, 
    shuffle=True, 
    batch_size=1,
)

image, label = next(iter(dataloader_train))
print(image.shape)
torch.Size([1, 3, 128, 128])
image = image.squeeze().permute(1, 2, 0)
print(image.shape)
torch.Size([128, 128, 3])
import matplotlib.pyplot as plt
plt.imshow(image)
plt.show()

plt.show 的雲朵影像輸出

Intermediate Deep Learning with PyTorch

資料增強

train_transforms = transforms.Compose([

transforms.RandomHorizontalFlip(), transforms.RandomRotation(45),
transforms.ToTensor(), transforms.Resize((128, 128)), ])
dataset_train = ImageFolder( "data/clouds/train", transform=train_transforms, )

資料增強:對原始影像隨機套用轉換以產生更多資料

  • 擴增訓練集規模與多樣性
  • 提升模型穩健性
  • 降低過擬合

三張雲朵影像展示旋轉轉換

Intermediate Deep Learning with PyTorch

一起來練習吧!

Intermediate Deep Learning with PyTorch

Preparing Video For Download...