FastAPI 的輸入驗證

使用 FastAPI 將 AI 佈署到生產環境

Matt Eckerle

Software and Data Engineering Leader

驗證輸入資料
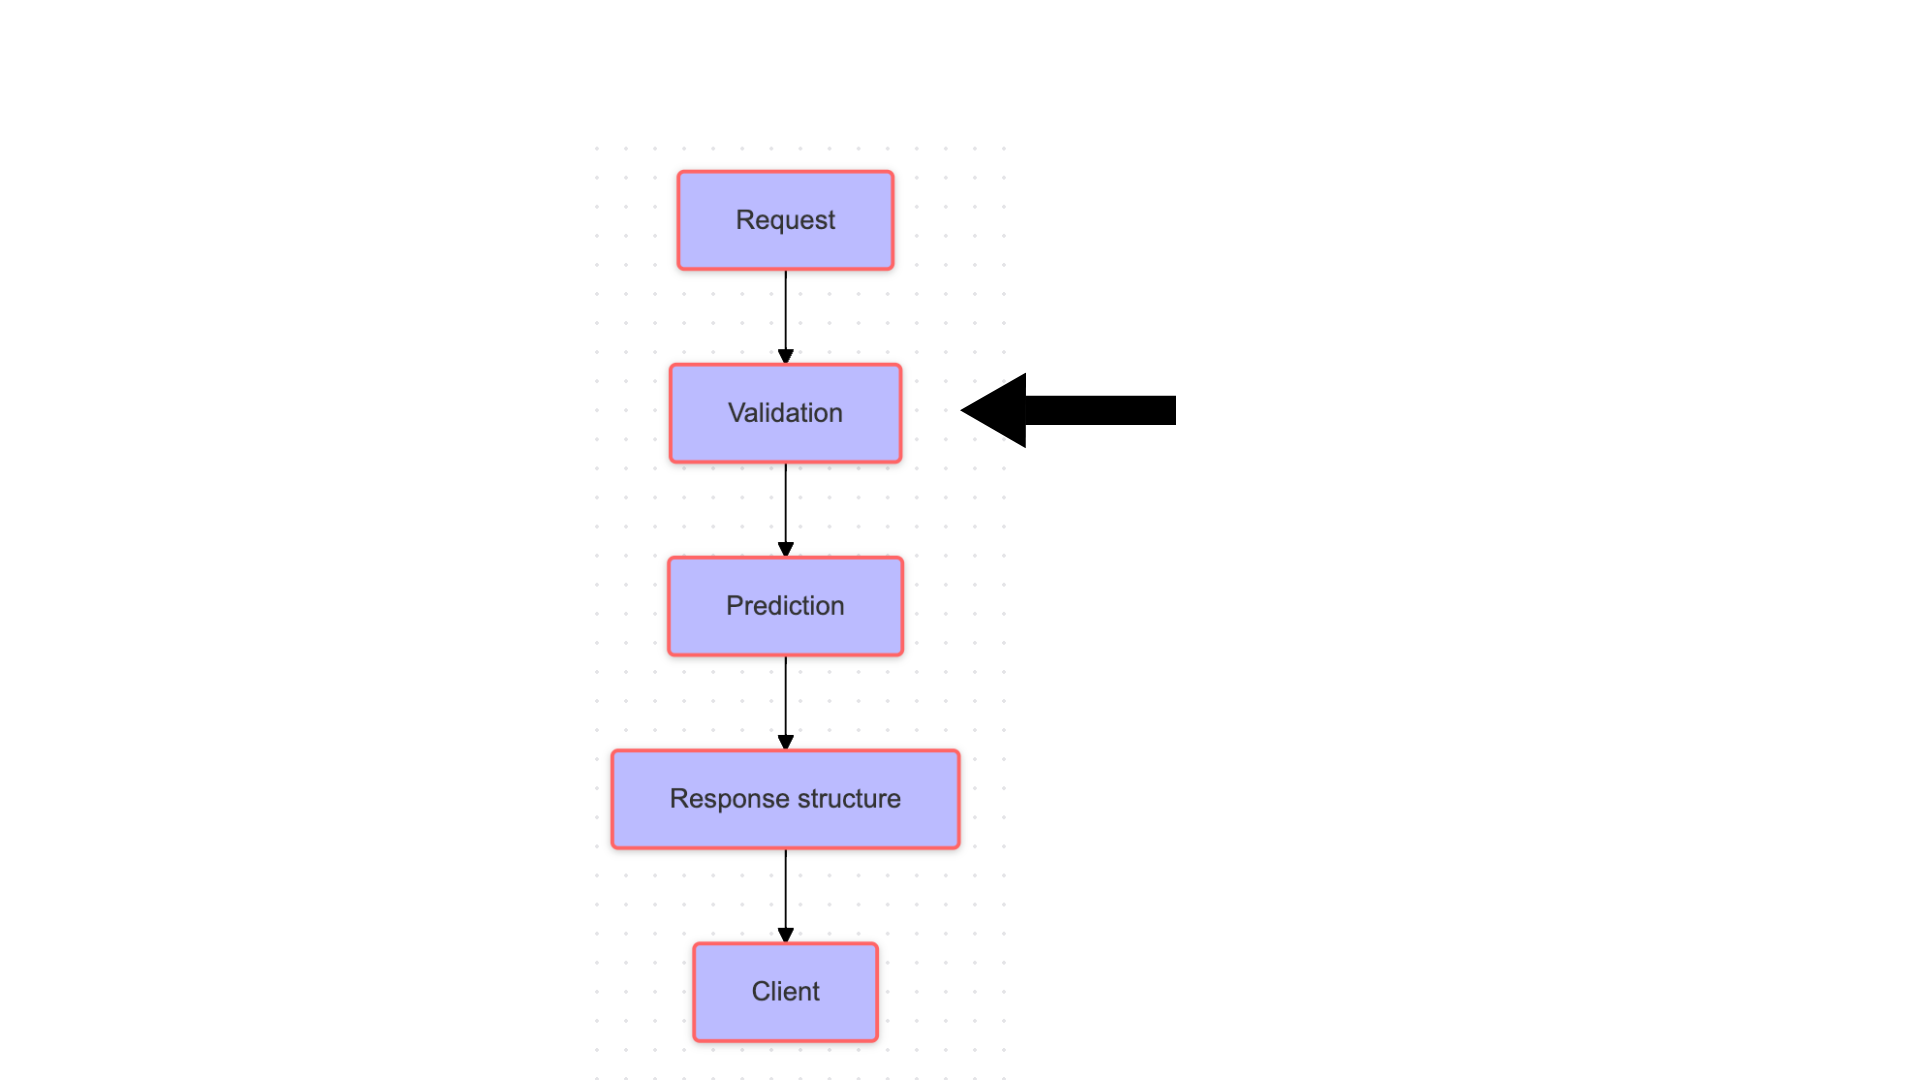
顯示以 FastAPI 進行機器學習預測的流程圖

使用 FastAPI 將 AI 佈署到生產環境

為何要驗證輸入?


  • 確保資料完整性
  • 預防應用程式出錯
  • 與 Pydantic 整合
  • 提供強大的驗證工具


Pydantic 的標誌

使用 FastAPI 將 AI 佈署到生產環境

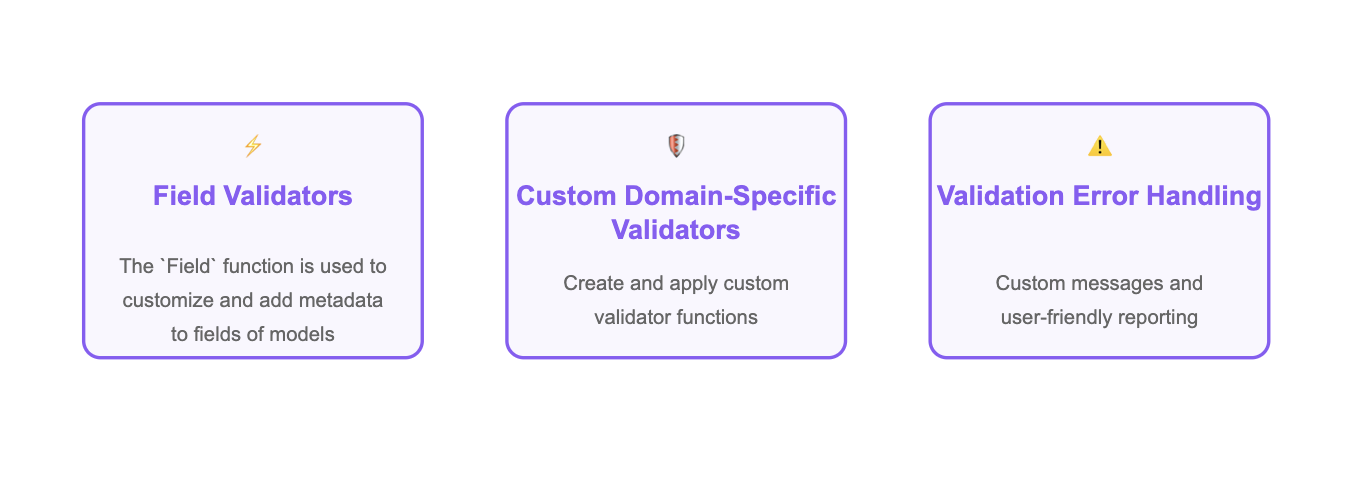
Pydantic 的預設函式

使用 pydantic 進行欄位驗證

使用 FastAPI 將 AI 佈署到生產環境

使用 pydantic 的自訂驗證

使用 pydantic 進行自訂驗證

使用 FastAPI 將 AI 佈署到生產環境

友善的錯誤回報

驗證期間的錯誤回報

使用 FastAPI 將 AI 佈署到生產環境

Pydantic 欄位驗證器

  • 使用者註冊端點

  • 驗證使用者輸入的使用者名稱:

from pydantic import BaseModel, Field
class User(BaseModel):
    username: str = Field(..., min_length=3, max_length=50)
使用 FastAPI 將 AI 佈署到生產環境

加入自訂驗證器

class User(BaseModel):
    username: str = Field(..., 
                          min_length=3, 
                          max_length=50)
    age: int

@field_validator('age') def age_criteria(cls, age): if age < 13: raise ValueError('User must be at least 13') return age
使用 FastAPI 將 AI 佈署到生產環境

自訂驗證器實際運作

合法請求:

{"username": "john_doe", "age": 25}
Valid user: username='john_doe' age=25

非法請求:

{"username": "too_young", "age": 10}
Validation error for {'username': 'too_young', 'age': 10}: User must be at least 13
使用 FastAPI 將 AI 佈署到生產環境

整合示範

驗證期間的錯誤回報

  • 使用者名稱的欄位驗證器
  • 年齡的自訂驗證器
  • 驗證失敗時的錯誤訊息
使用 FastAPI 將 AI 佈署到生產環境

整合示範

@app.post("/users")
def create_user(user: User):
    return {"message": "User created",
            "user": user.model_dump()}

輸出:

{
  "message": "User created successfully",
    "user": {
          "username": "john_doe", 
           "age": 25
    }
}
使用 FastAPI 將 AI 佈署到生產環境

一起來練習吧!

使用 FastAPI 將 AI 佈署到生產環境

Preparing Video For Download...