使用 FastAPI 將 AI 佈署到生產環境
Matt Eckerle
Software and Data Engineering Leader
from fastapi import FastAPI
from fastapi.security import APIKeyHeader
header_scheme = APIKeyHeader(

                      name="X-API-Key",

                      auto_error=True

                 )
from fastapi import FastAPI from fastapi.security import APIKeyHeader header_scheme = APIKeyHeader(
name="X-API-Key",
auto_error=True
)
from fastapi.security import APIKeyHeader
from fastapi import Depends, HTTPException


header_scheme = APIKeyHeader(name="X-API-Key",
                             auto_error=True)

API_SECRET_KEY = "your-secret-key"


@app.get("/items/")
def read_items(
    api_key: str = Depends(header_scheme)
):

    if api_key != API_SECRET_KEY:
        raise HTTPException(
            status_code=403,
            detail="Invalid API key")

    return {"api_key": api_key}
from fastapi.security import APIKeyHeader from fastapi import Depends, HTTPException
header_scheme = APIKeyHeader(name="X-API-Key", auto_error=True) API_SECRET_KEY = "your-secret-key"
@app.get("/items/") def read_items( api_key: str = Depends(header_scheme) ):
if api_key != API_SECRET_KEY: raise HTTPException( status_code=403, detail="Invalid API key")
return {"api_key": api_key}
ApiKeyHeader
Depends
HTTPException
test_api_key
API_SECRET_KEY
403
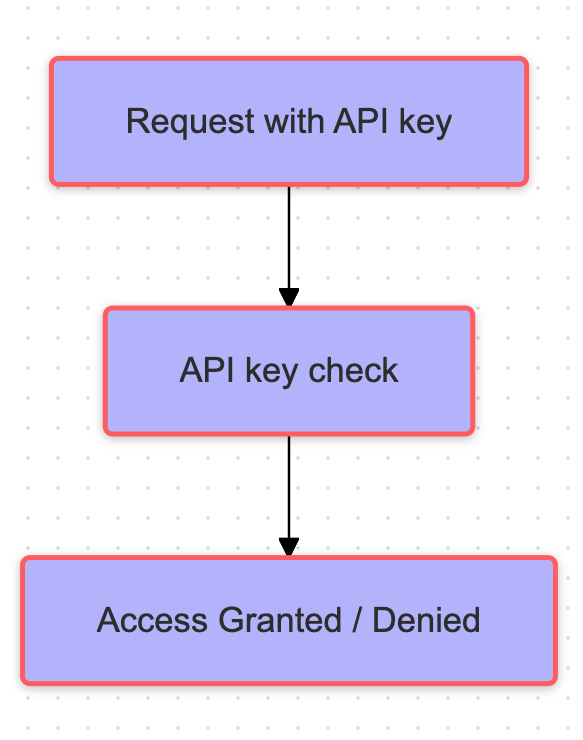
def verify_api_key(api_key: str = Depends(header_scheme)):
    if api_key != API_KEY:
        raise HTTPException(status_code=403,  detail="Invalid API key")
    return api_key


app = FastAPI(
    dependencies=[Depends(verify_api_key)]
)

@app.post("/predict")
def predict_sentiment(text: str):

    return {
        "text": text,
        "sentiment": "positive",
        "status": "success"
    }
def verify_api_key(api_key: str = Depends(header_scheme)): if api_key != API_KEY: raise HTTPException(status_code=403, detail="Invalid API key") return api_key
app = FastAPI( dependencies=[Depends(verify_api_key)] )
@app.post("/predict") def predict_sentiment(text: str):
return { "text": text, "sentiment": "positive", "status": "success" }
無效 API key 的指令:
curl -X POST \
  http://localhost:8000/predict \
  -H "X-API-Key: wrong-key" \
  -H "Content-Type: application/json" \
  -d '{"text": "This product is amazing!"}'
有效 API key 的指令:
curl -X POST \
  http://localhost:8000/predict \
  -H "X-API-Key: your-secret-key" \
  -H "Content-Type: application/json" \
  -d '{"text": "This product is amazing!"}'
無效金鑰輸出:
{"detail":"Invalid API key"}
有效金鑰輸出:
{"text":"This product is amazing!",
 "sentiment":"positive",
 "status":"success"}