微調電腦視覺模型

使用 Hugging Face 的多模態模型

James Chapman

Curriculum Manager, DataCamp

微調視覺模型的目的
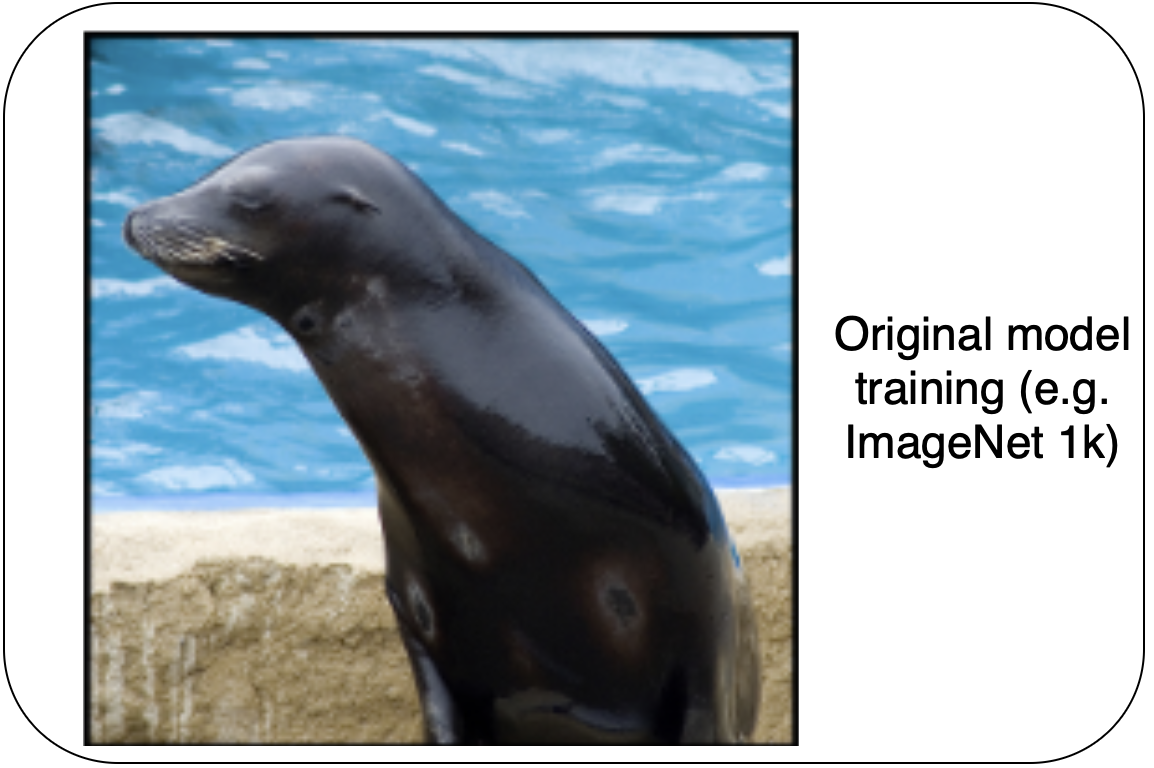
 

  • 新類別,例如:判別真實或 AI 生成影像的二元分類
  • 新影像領域,例如:X 光

用於預訓練的一般影像(海豹)

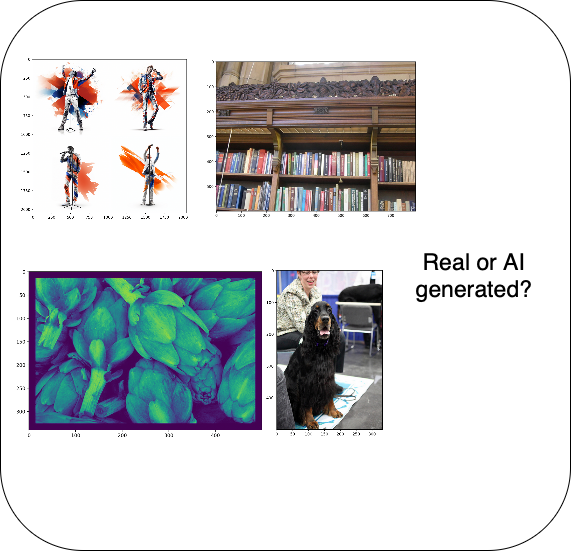
AI 生成影像範例

1 https://image-net.org/index.php
使用 Hugging Face 的多模態模型

微調視覺模型

AI 生成影像範例


  1. 將模型輸出調整為新預測
  2. 準備訓練用資料集
  3. 設定訓練選項
  4. 開始訓練!
使用 Hugging Face 的多模態模型

模型更新

from datasets import load_dataset
dataset = load_dataset("ideepankarsharma2003/Midjourney_v6_Classification_small_shuf
fled")['train']

data_splits = dataset.train_test_split(test_size=0.2, seed=42)
labels = data_splits["train"].features["label"].names
label2id, id2label = dict(), dict() for i, label in enumerate(labels): label2id[label] = str(i) id2label[str(i)] = label
使用 Hugging Face 的多模態模型

模型更新

from transformers import AutoModelForImageClassification
checkpoint = "google/mobilenet_v2_1.0_224"
model = AutoModelForImageClassification.from_pretrained(
    checkpoint,
    num_labels=len(labels),

id2label=id2label, label2id=label2id,
ignore_mismatched_sizes=True
)
使用 Hugging Face 的多模態模型

資料集準備

from transformers import AutoImageProcessor
image_processor = AutoImageProcessor.from_pretrained(checkpoint)


from torchvision.transforms import Compose, Normalize, ToTensor
normalize = Normalize(mean=image_processor.image_mean, std=image_processor.image_std)
transform = Compose([ToTensor(), normalize])
def transforms(examples): examples["pixel_values"] = [transform(img.convert("RGB")) for img in examples["image"]] del examples["image"] return examples
dataset = dataset.with_transform(transforms)
使用 Hugging Face 的多模態模型

繪製轉換後資料

import matplotlib.pyplot as plt
plt.imshow(dataset["train"][0]["pixel_values"].permute(1, 2, 0))
plt.show()
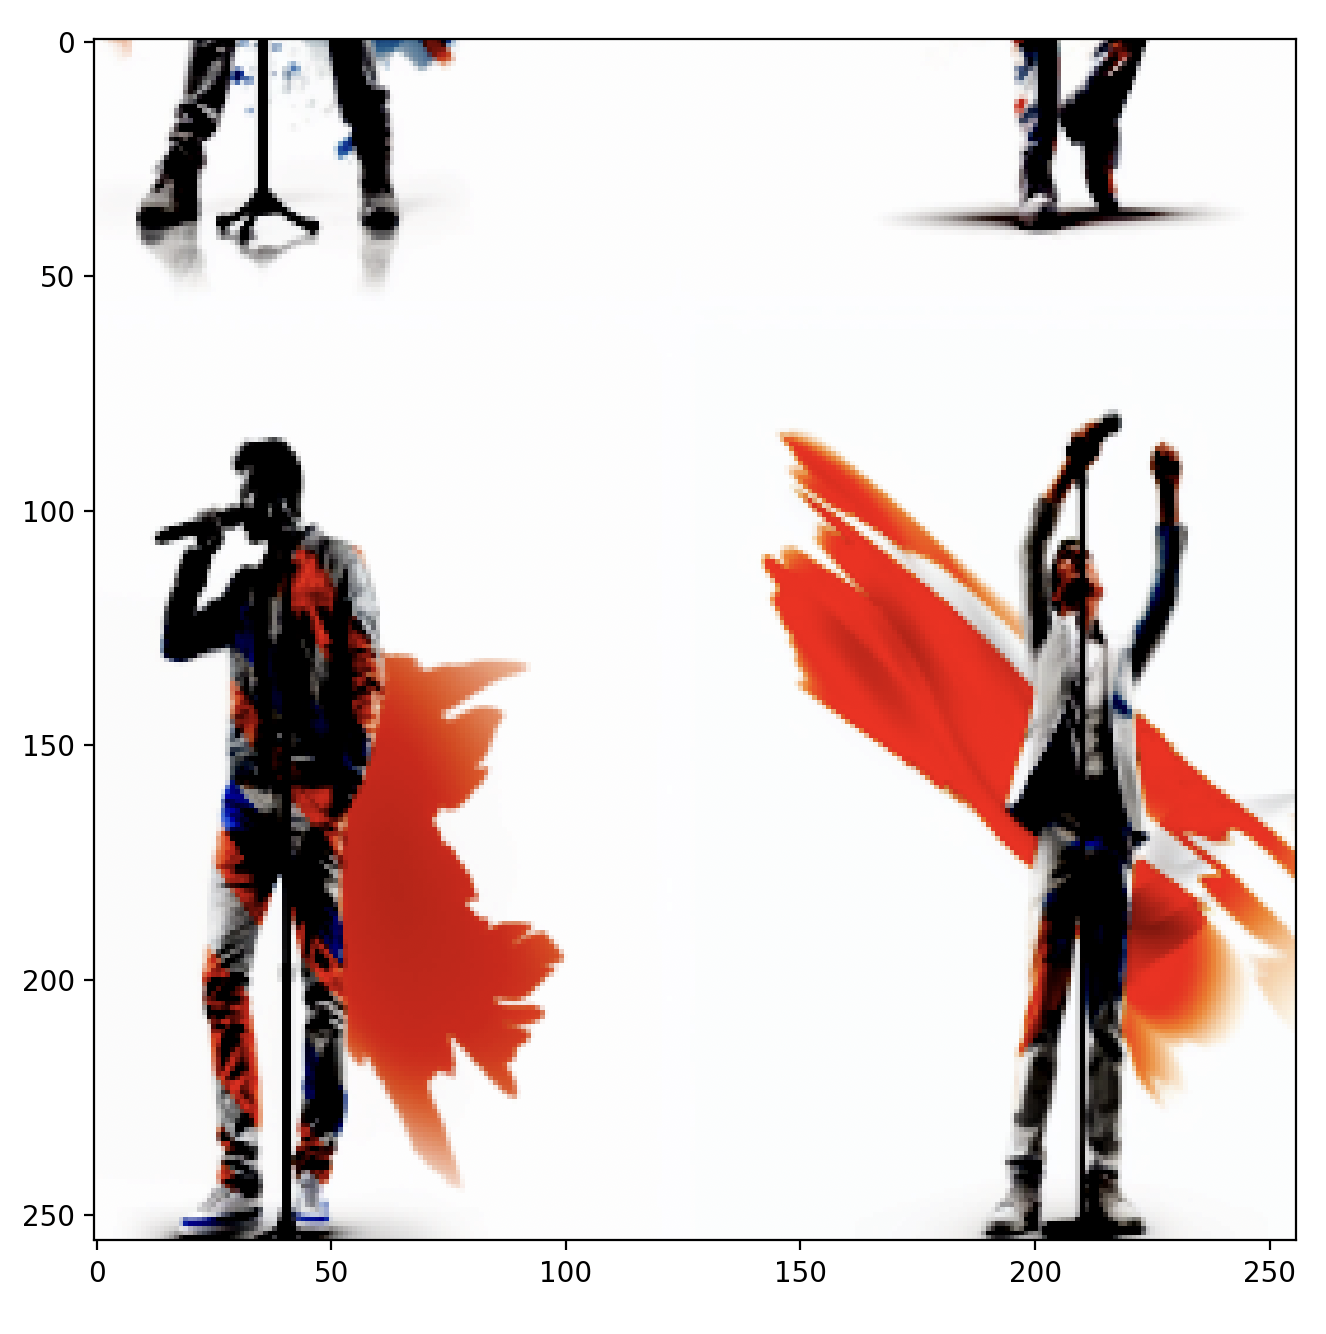
新資料集中轉換後的影像

使用 Hugging Face 的多模態模型

訓練

from transformers import TrainingArguments

training_args = TrainingArguments(
    output_dir="dataset_finetune",

learning_rate=6e-5,
gradient_accumulation_steps=4,
num_train_epochs=3,
push_to_hub=False )
from transformers import Trainer,
    DefaultDataCollator

data_collator = DefaultDataCollator()

trainer = Trainer(

model=model,
args=training_args,
train_dataset=dataset["train"], eval_dataset=dataset["test"],
processing_class=image_processor,
data_collator=data_collator
)
使用 Hugging Face 的多模態模型

評估

predictions = trainer.predict(dataset["test"])
predictions.metrics["test_accuracy"]
0.455
trainer.train()
{..., 'eval_accuracy': 0.93, ...}
使用 Hugging Face 的多模態模型

一起來練習吧!

使用 Hugging Face 的多模態模型

Preparing Video For Download...