案例研究:使用 R 的 Shiny 建置網頁應用程式
Dean Attali
Shiny Consultant
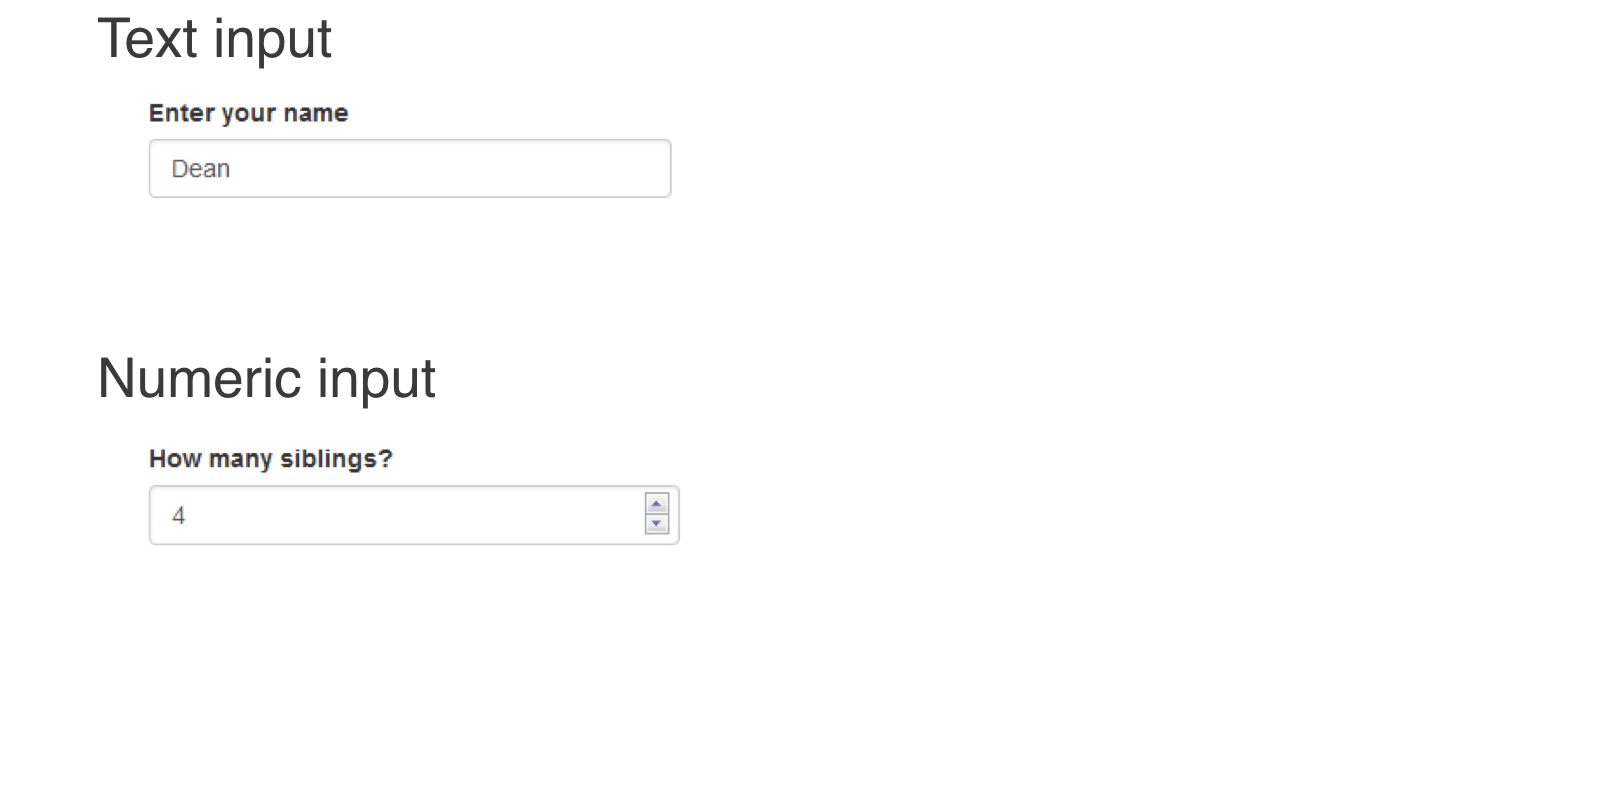
ui <- fluidPage(
    textInput(inputId = "name", label = "Enter your name",
              value = "Dean"),
    numericInput(inputId = "sibs", label = "How many siblings?",
                 value = 4, min = 0)
)
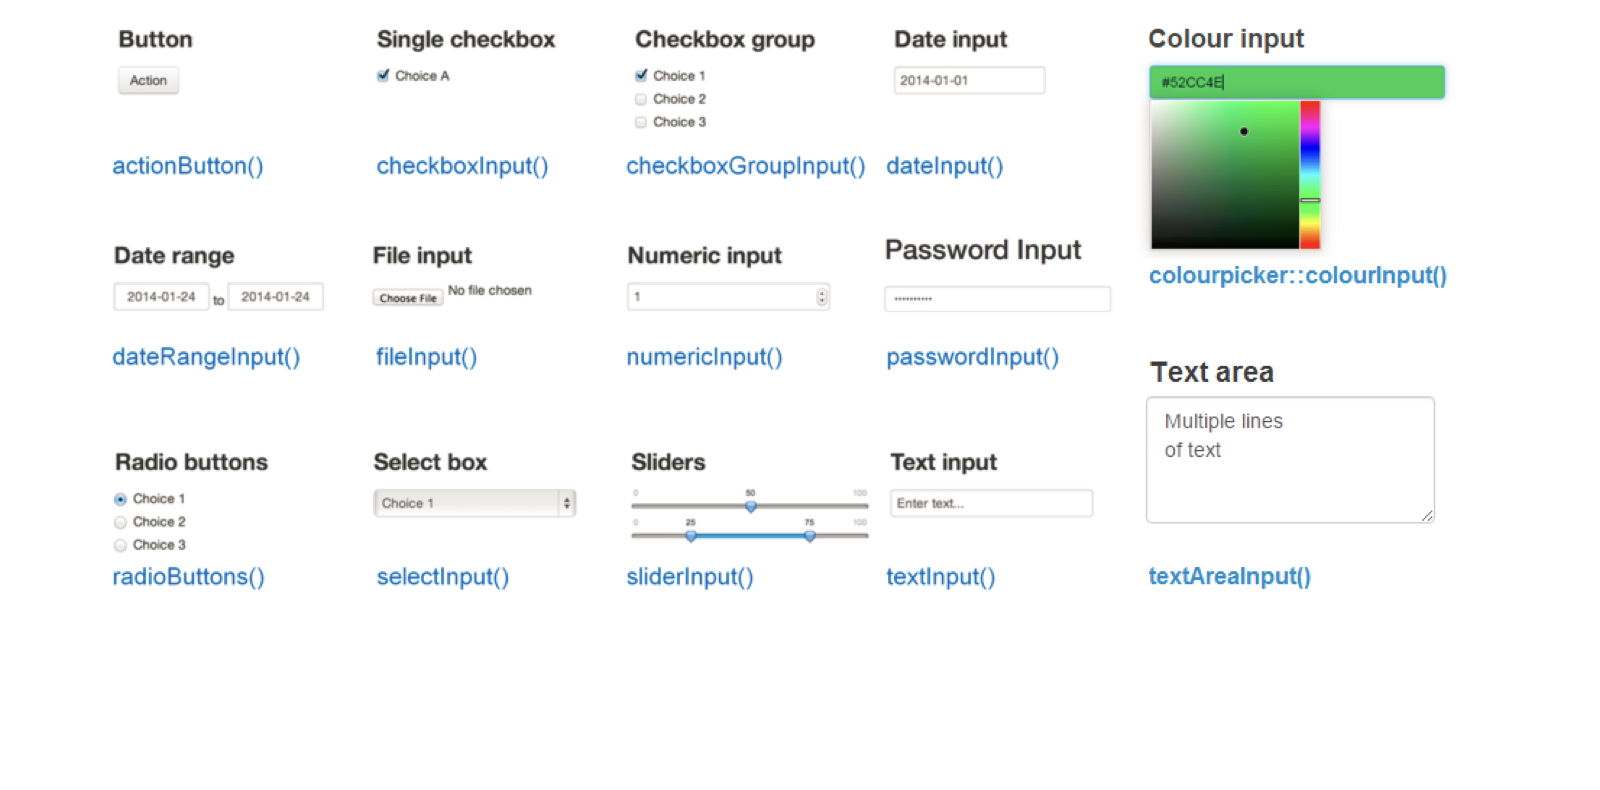
*Input(inputId, label, ...)
inputId
label
...
兩個步驟:
建立輸出容器(在 UI)
ui <- fluidPage(
 "Plot goes here:",
 plotOutput(outputId = "my_plot")
)
撰寫 R 程式碼產生輸出(在 server)
server <- function(input, output) {

  # Code for building outputs

}
input
output
ui <- fluidPage(
    numericInput("num", "Number of rows", value = 10, min = 0),
    tableOutput("my_table")
)

server <- function(input, output) {
    output$my_table <- renderTable({
        head(iris, n = input$num)
    })
}
ui <- fluidPage( numericInput("num", "Number of rows", value = 10, min = 0), tableOutput("my_table") )
server <- function(input, output) { output$my_table <- renderTable({ head(iris, n = input$num) }) }
renderPlot()
renderText()
output$<outputId>
input$<inputId>