Condition と Switch
Power Automate 入門

Anushika Agarwal
Cloud Data Engineer
アクションの場所
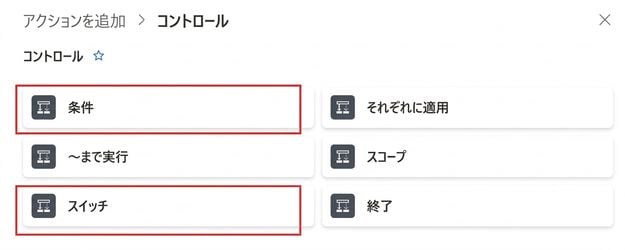
- どちらもアクション選択画面の Control カテゴリにあります
- Apply to each や Do until と同じカテゴリです
- + をクリックしてアクション名を検索するか、Built-in → Control で絞り込みます
Condition アクション
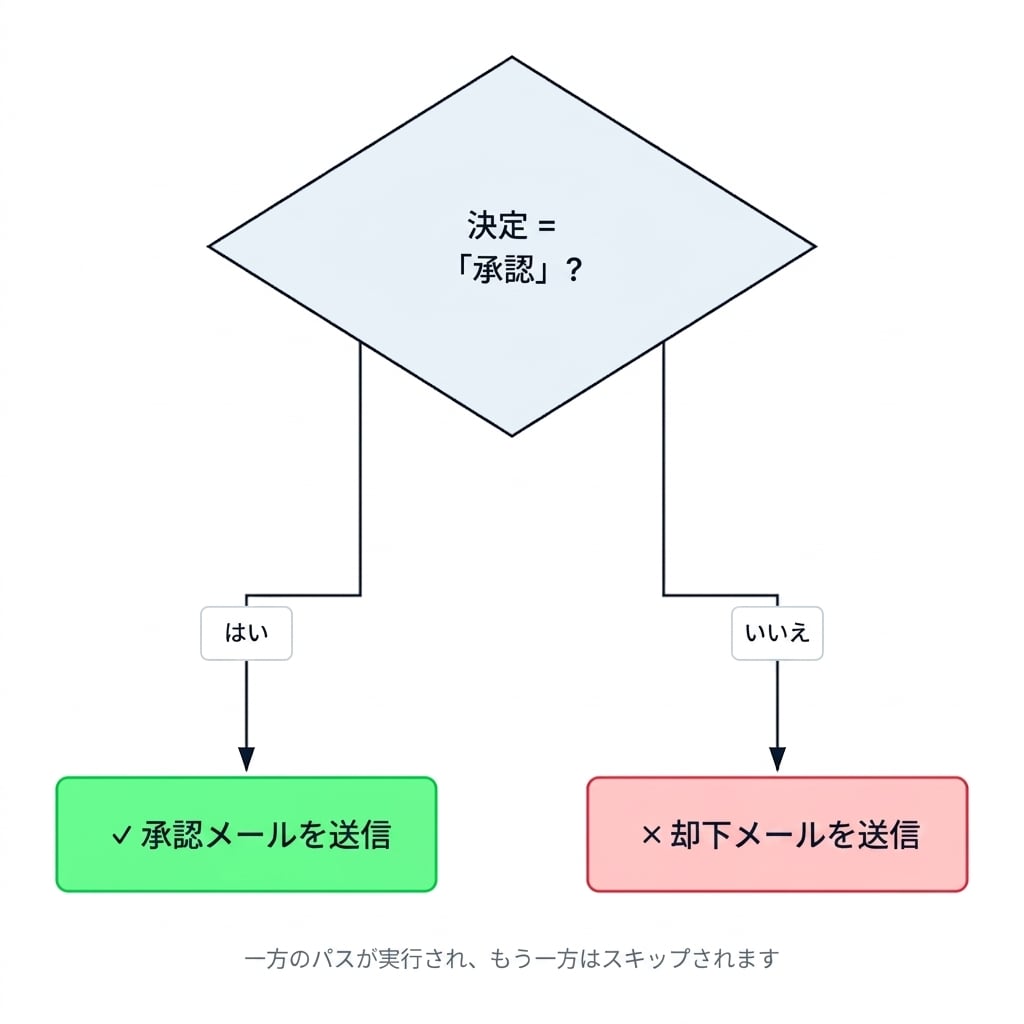
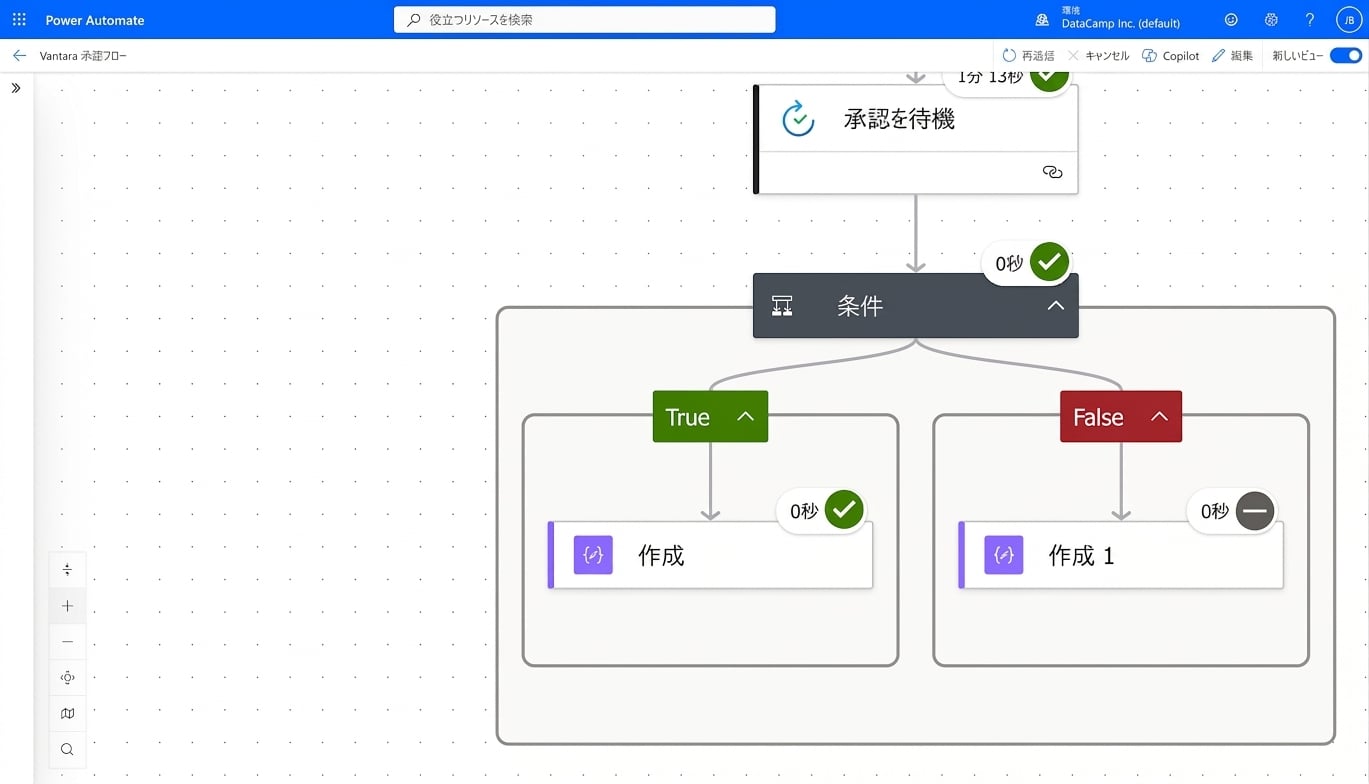
- ルールを true または false として評価します
- True 分岐 → 一連のアクションを実行
- False 分岐 → 別のアクションを実行
- 旧デザインでは「Yes」/「No」と表記
Condition の設定
$$
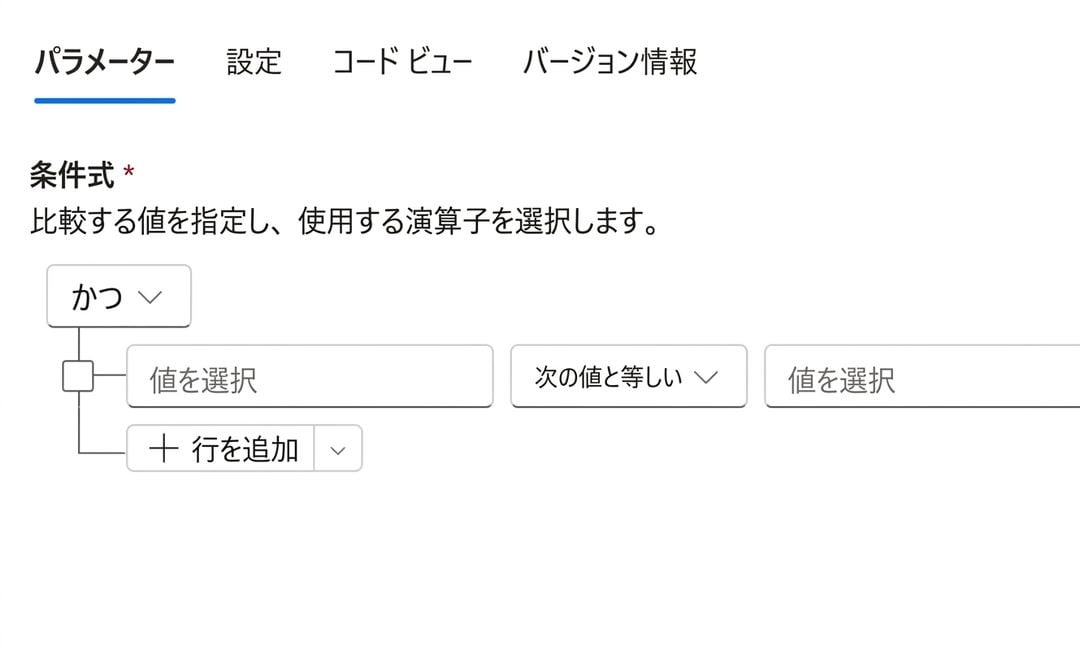
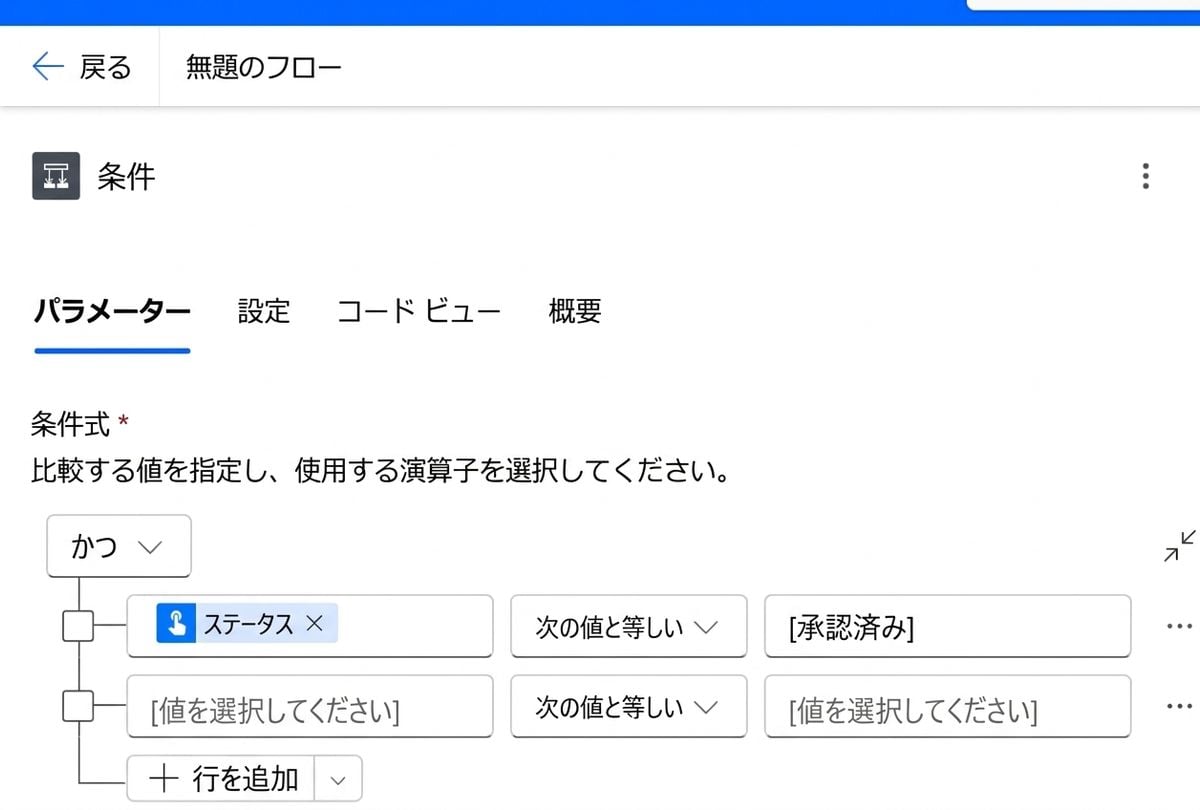
- 3 つの枠:Left 値、Operator、Right 値
Condition の設定
$$
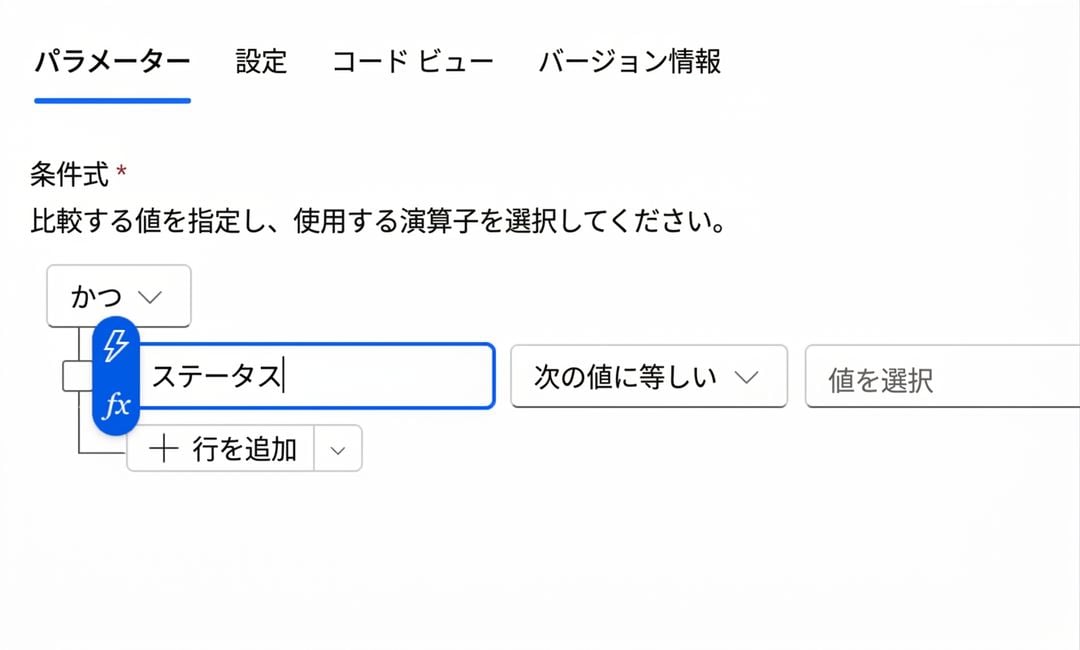
- 3 つの枠:Left 値、Operator、Right 値
- Left:確認する値。通常は動的コンテンツトークンや変数
Condition の設定
$$
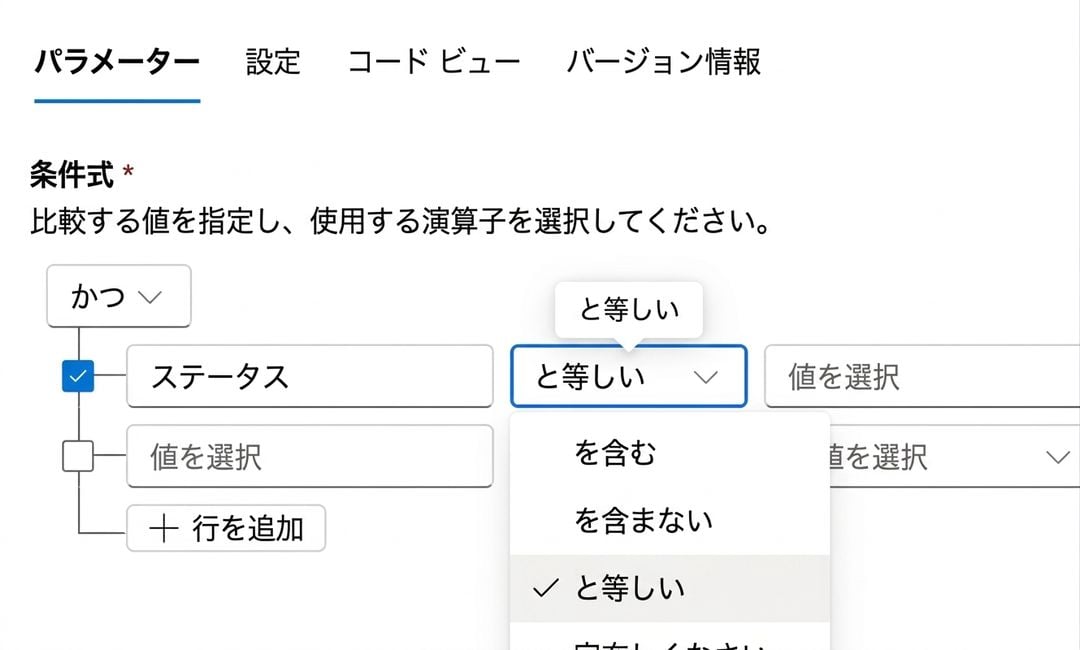
- 3 つの枠:Left 値、Operator、Right 値
- Left:確認する値。通常は動的コンテンツトークンや変数
- Operator:is equal to、contains、is greater than、is empty など
Condition の設定
$$
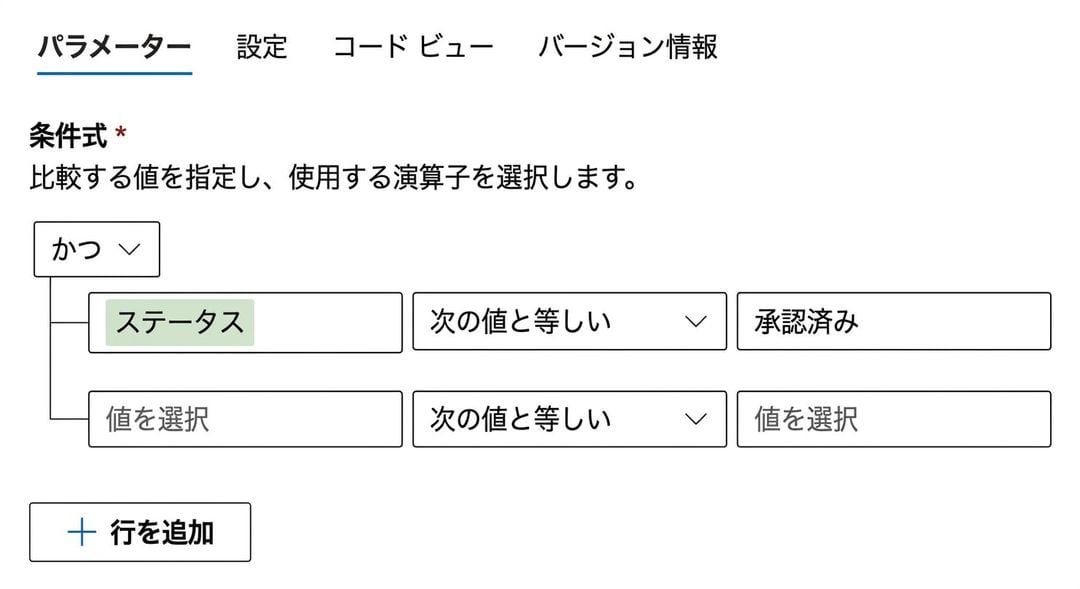
- 3 つの枠:Left 値、Operator、Right 値
- Left:確認する値。通常は動的コンテンツトークンや変数
- Operator:is equal to、contains、is greater than、is empty など
- Right:比較対象の値
AND / OR でルールを組み合わせる
$$
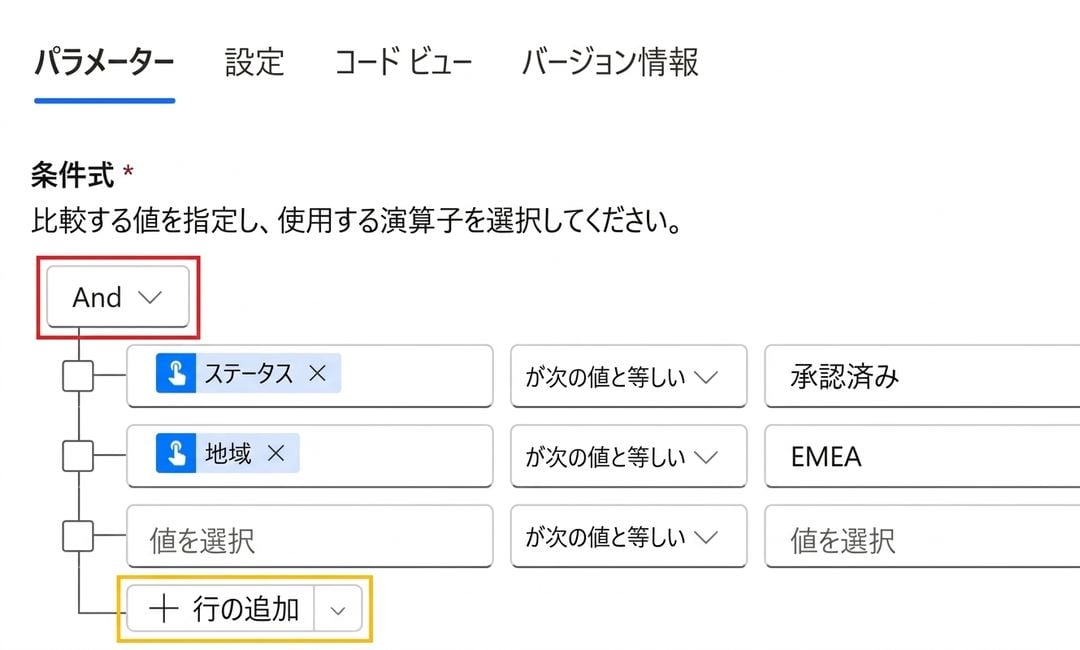
- Add → Add row をクリックしてルールを追加します
- And → すべてのルールが true である必要があります
- Or → いずれか 1 つのルールが true であれば十分です
$$
- AND と OR を組み合わせる場合は Add row group でグループ化します
よくある間違い
- 大文字小文字の区別:"Approved" ≠ "approved"
- 末尾の空白:"Approved " ≠ "Approved"
- 型の不一致:文字列と数値の比較
$$
toLower() や trim() で入力値を正規化しましょう
Switch アクション
$$
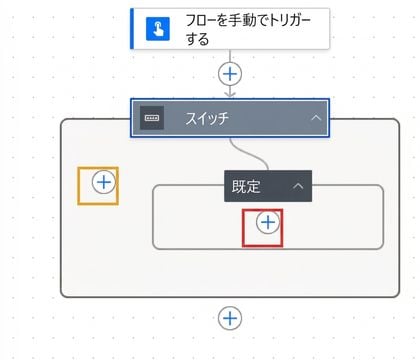
- 1 つの値を複数のケースと照合します
- 各ケースは異なるアクションを実行します
- Default ケースは想定外の値を処理します
Condition と Switch の比較
| シナリオ |
使用するアクション |
| 2 つの結果(yes/no) |
Condition |
| 3 つ以上の値 |
Switch |
| 範囲チェック(> 100) |
Condition |
$$
- Condition の入れ子も可能ですが、すぐに複雑になります
練習しましょう!
Power Automate 入門
 Preparing Video For Download...